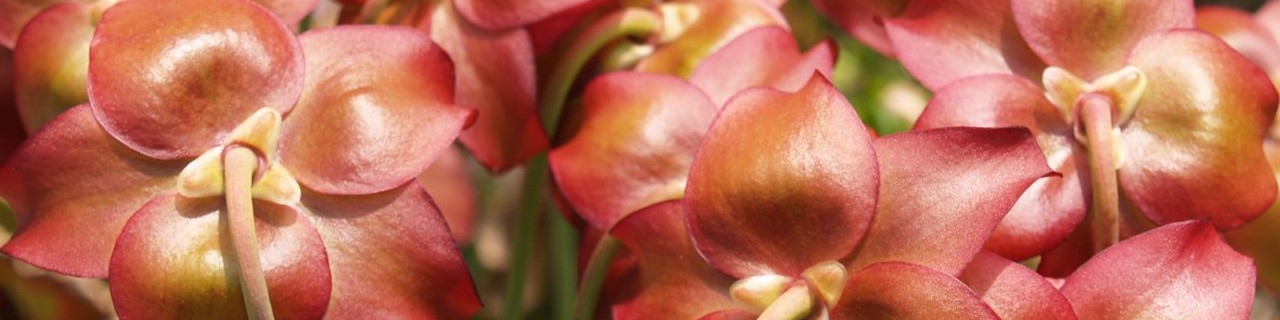
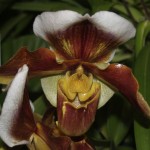
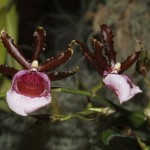
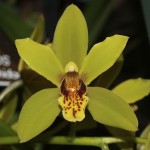
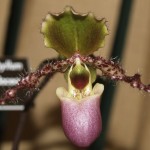
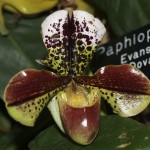
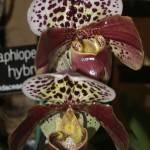
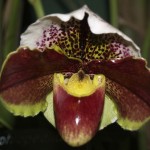
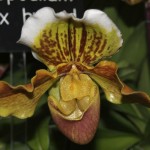
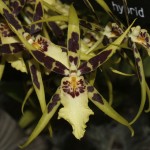
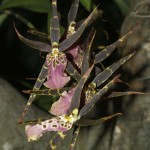
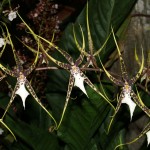
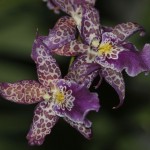
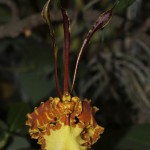
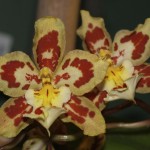
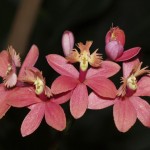
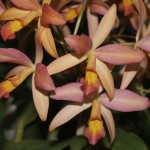
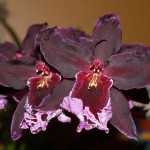
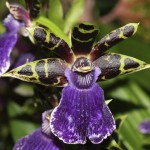
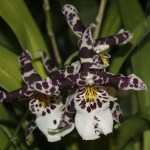
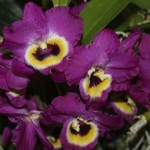
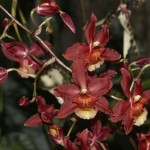
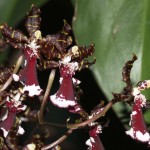
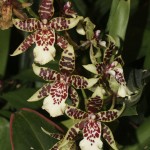
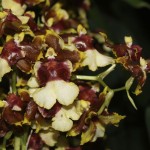
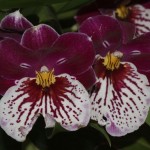
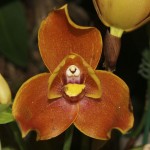
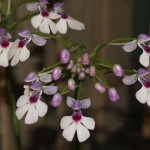
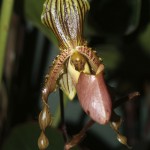
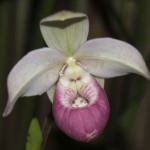
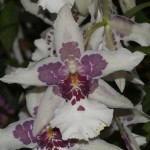
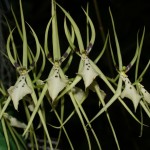
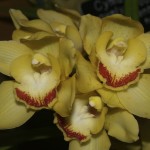
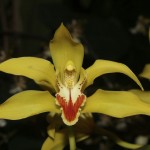
Last weekend I went to see National Museum of Natural History’s 2013 Orchids of Latin America exhibit. The exhibit is now over, but it had an amazing variety of orchids. I love orchids. I think they are insanely beautiful, and I am amazed by the variety of them. Granted, some of that variety is due to humans breeding them. Below are photos of some of the orchids that were there.
Month: April 2013


Hacking a Chandelier
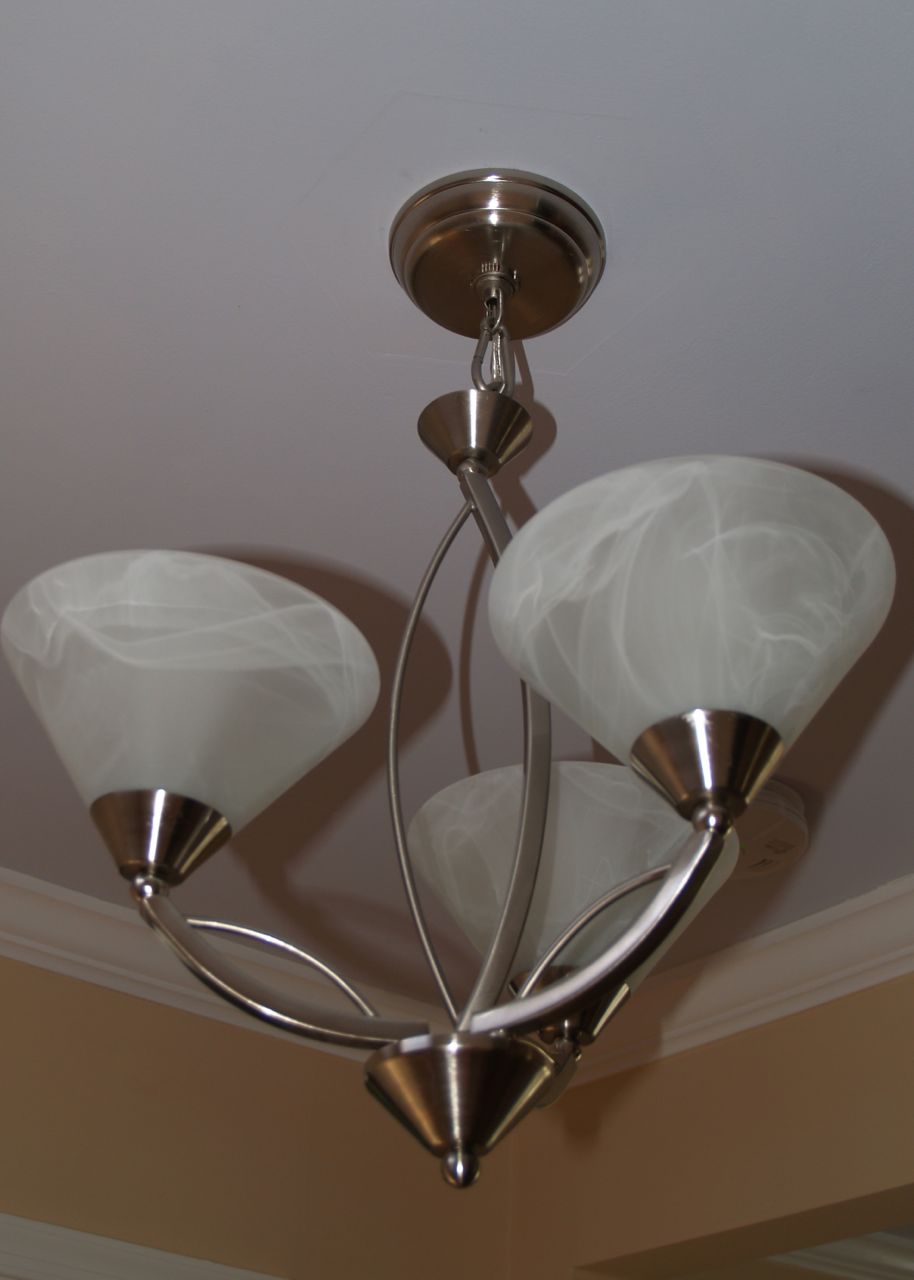
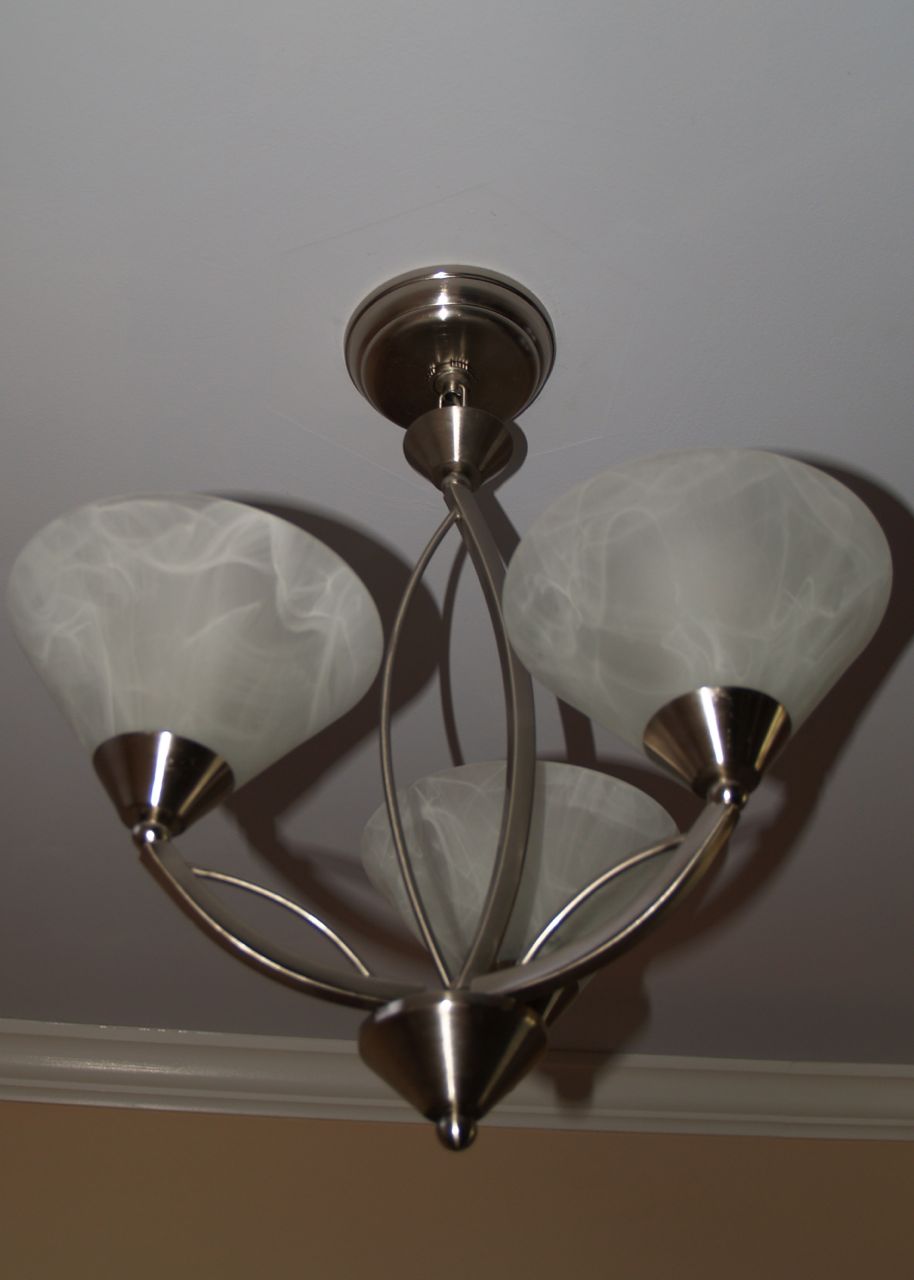
As part of my home renovations, I have been installing new light fixtures, including several from ELK Lighting’s Elysburg line. I wanted to use a three light chandelier in the downstairs foyer by the front door and at the second floor landing at the top of the stairs. The only problem is that they hang 22 inches from the ceiling (at their shortest), and since my house has 8 foot high ceiling, this means the chandelier is hanging a little low for an area where people are going to walk. As with all chandeliers, it came with chain to allow it to hang lower, but there is a limit how short it can be. Thus, I decided to hack the chandelier to make it even shorter. Here is the chandelier at its shortest as designed.
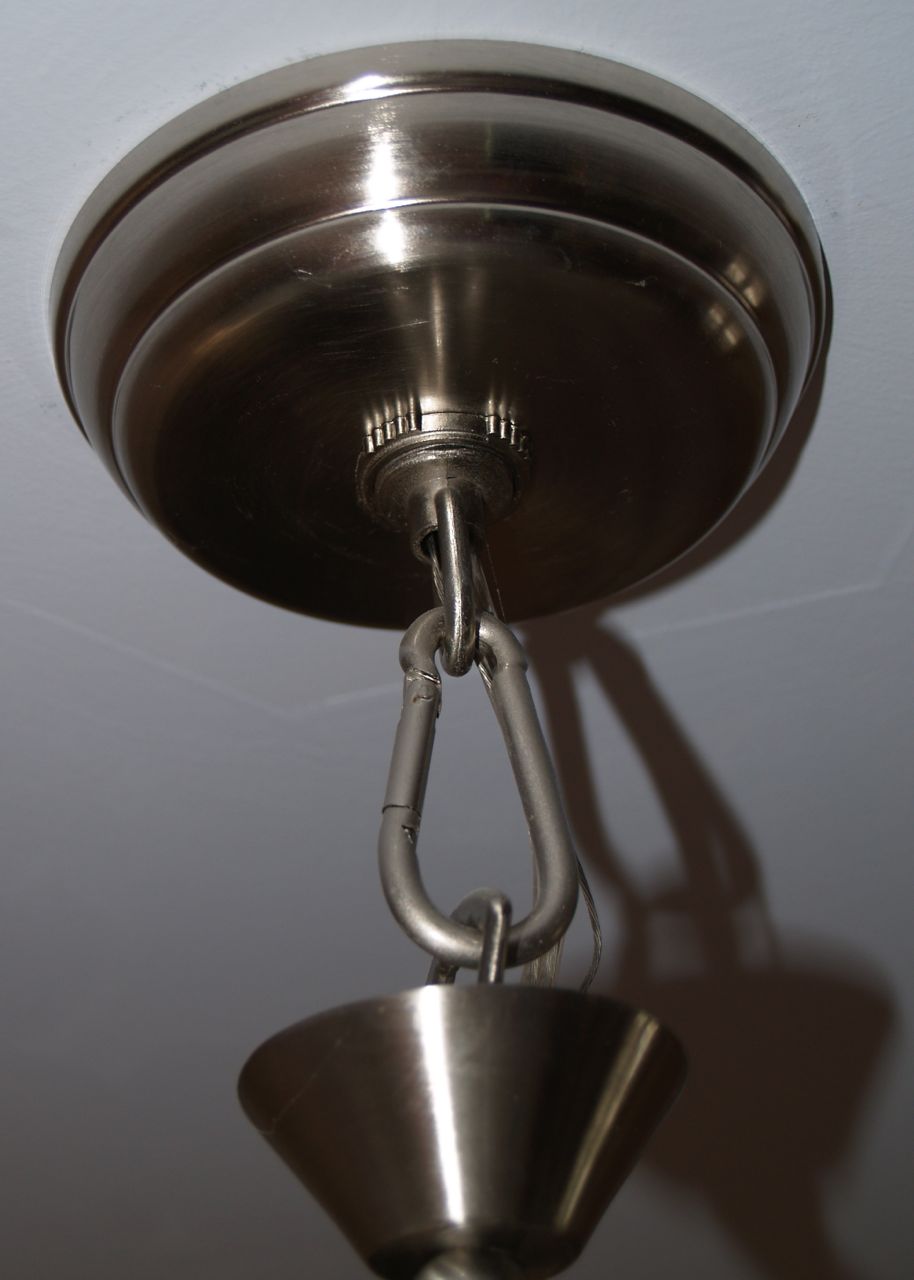
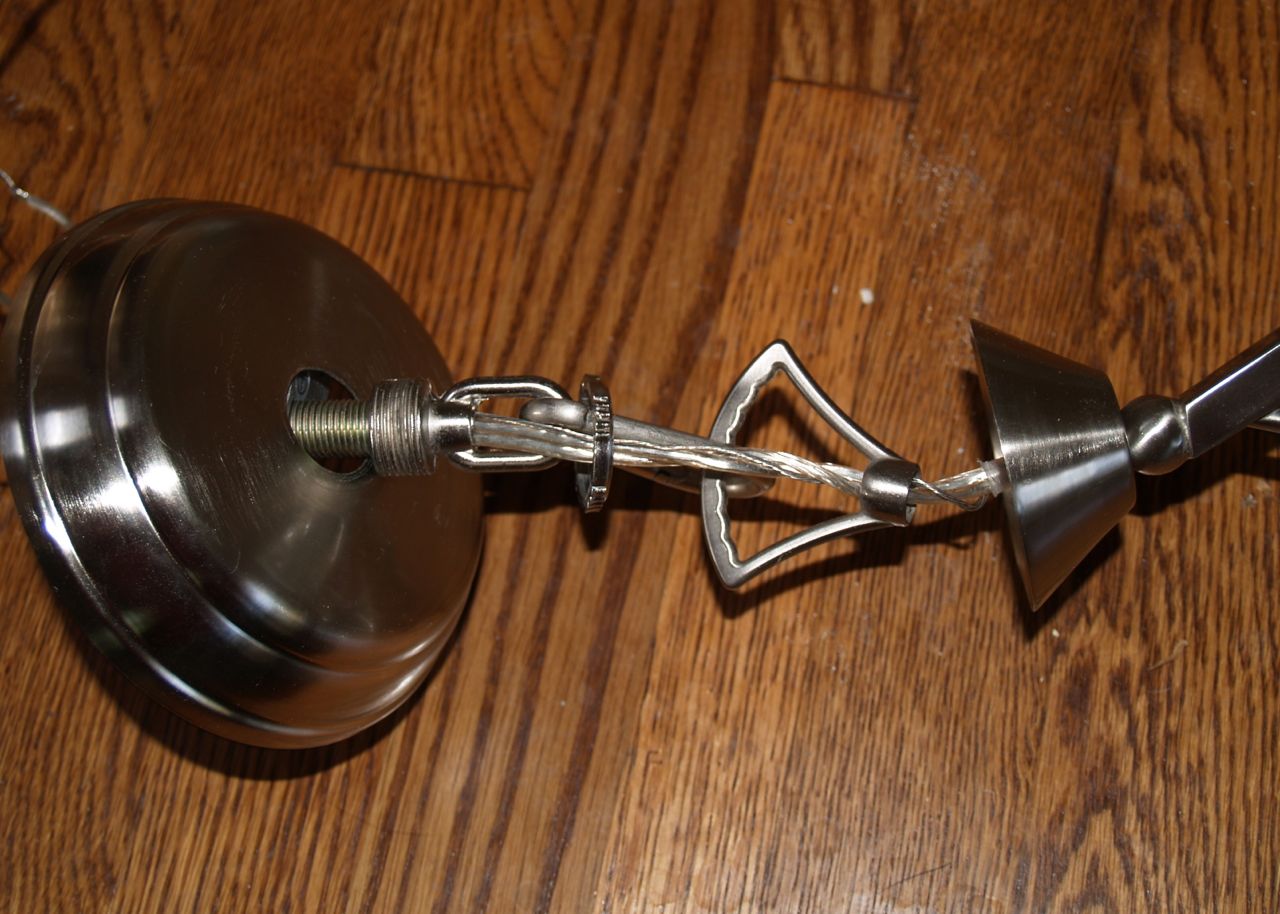
top of the chandelier before
Chandelier before
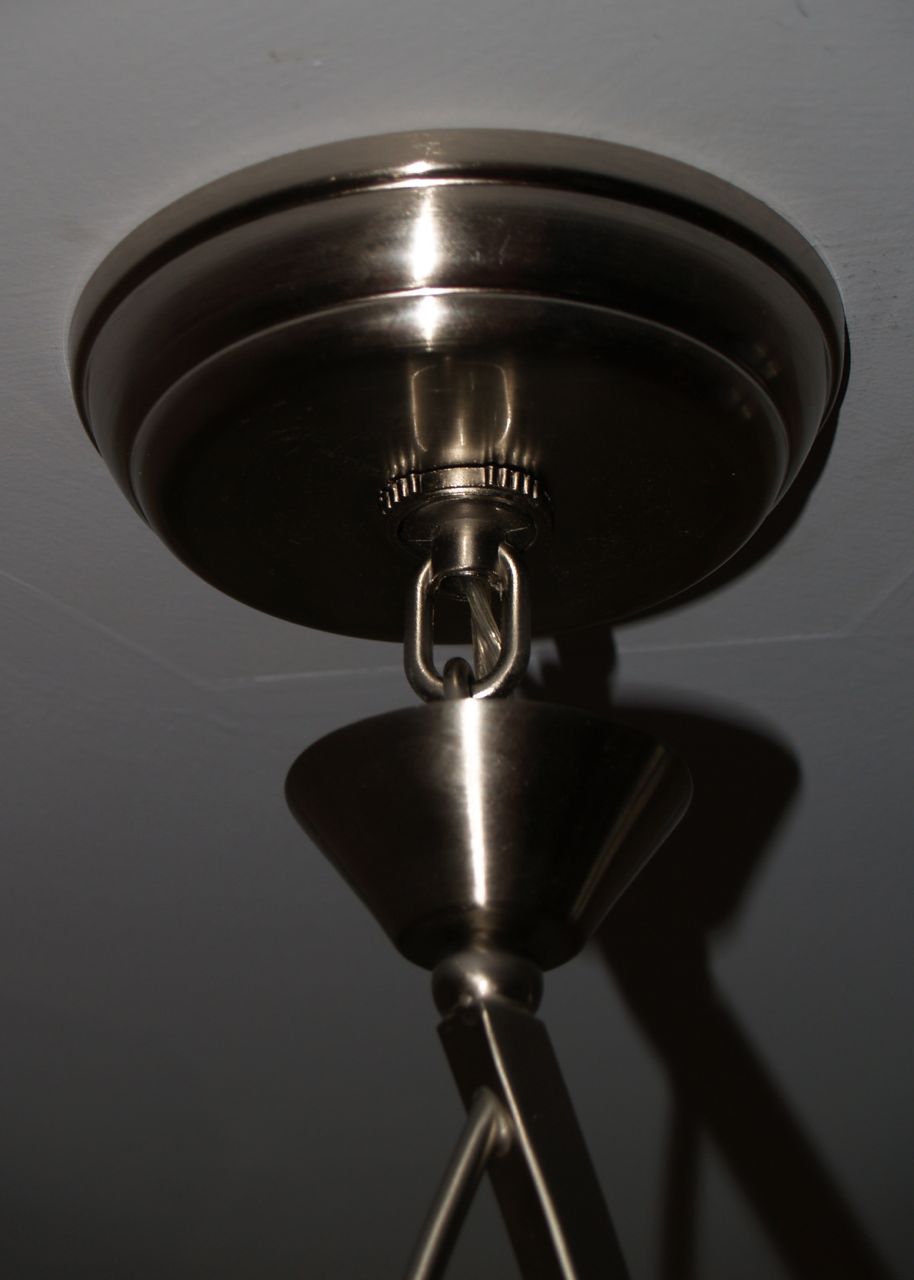
The way the chandelier connects to the outlet box is pretty standard.
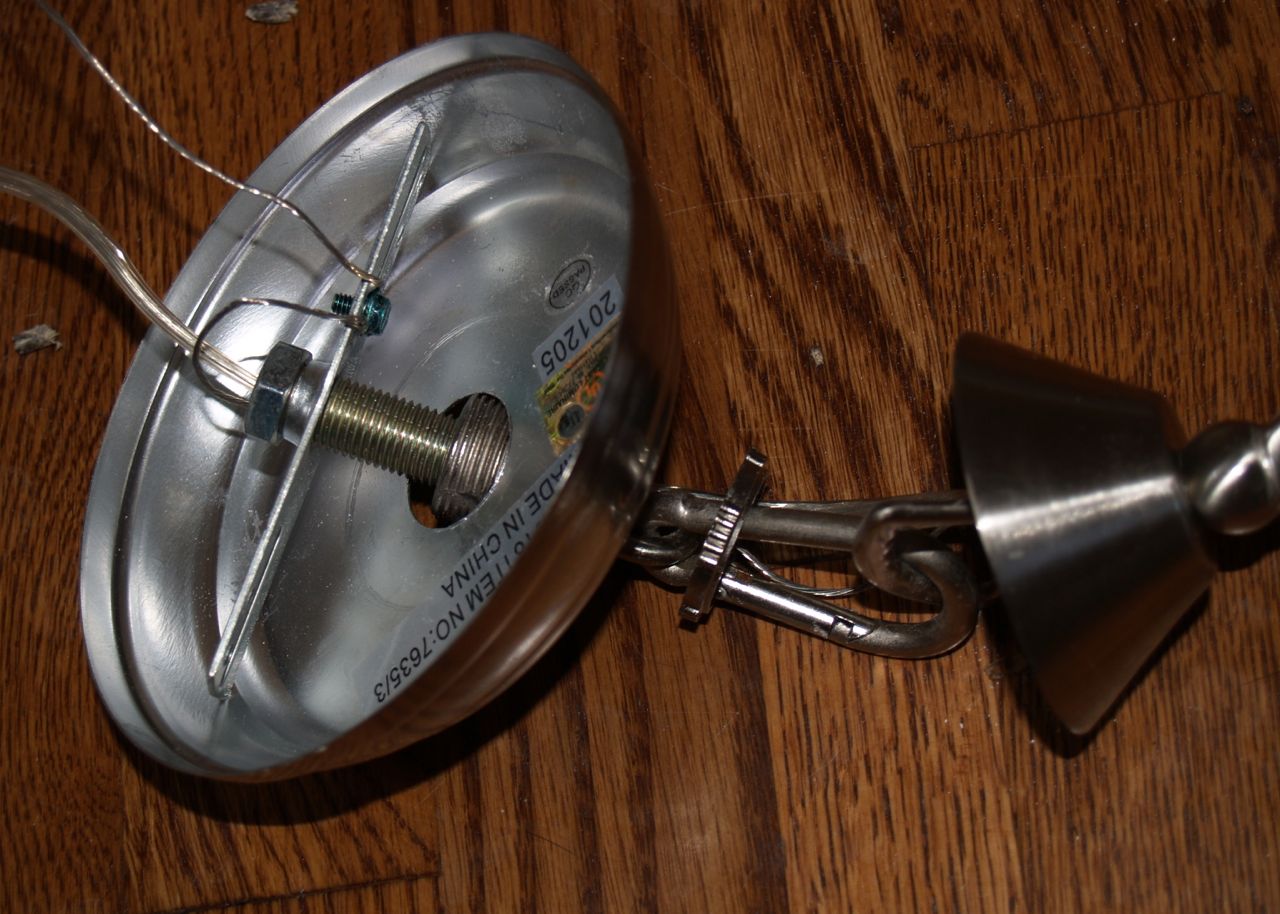
Outlet box crossbar holds screw pipe
Screw collar loop attaches to clip ring to canopy nut
The simplest way to shorten the fixture seemed to be to eliminate the screw collar loop, clip ring, and canopy nut by somehow connecting the light fixture screw directly to electrical box’s screw pipe. The problem of course is they are two different diameters and threading size. I considered using a bolt that was the same size as the fixture screw, in place of the screw pipe, then just connecting them using a coupling nut. However the light fixture screw is a M10 x 1.0, and after a half hour of internet searching, I couldn’t find a single vender for that size coupling nut. Another method that I thought of later, was to bring the light fixture screw directly to the box crossbar using a nut, then drill holes through the canopy and use screws through those holes to hold the whole fixture up. The problem with that is that I was a little weary of drilling holes in the canopy in case I messed up, and also, I would need decretive screw caps to cover the screws, and I didn’t know how to find those.
What I did, was searched to aisles of Home Depot in search of something I could use to connect the pieces somehow, and I finally came up with the following solution. These are the materials I used. I used the chain that came with the chandelier, a nut to fit the light fixture screw, and a crossbar adjustment kit I found in the electrical aisle. I bought the crossbar adjustment kit solely for the piece that in the photo is outside the package it came in. I have no idea what the piece is, but it looks like to two very strong washers held apart in a parallel manner by a bar.
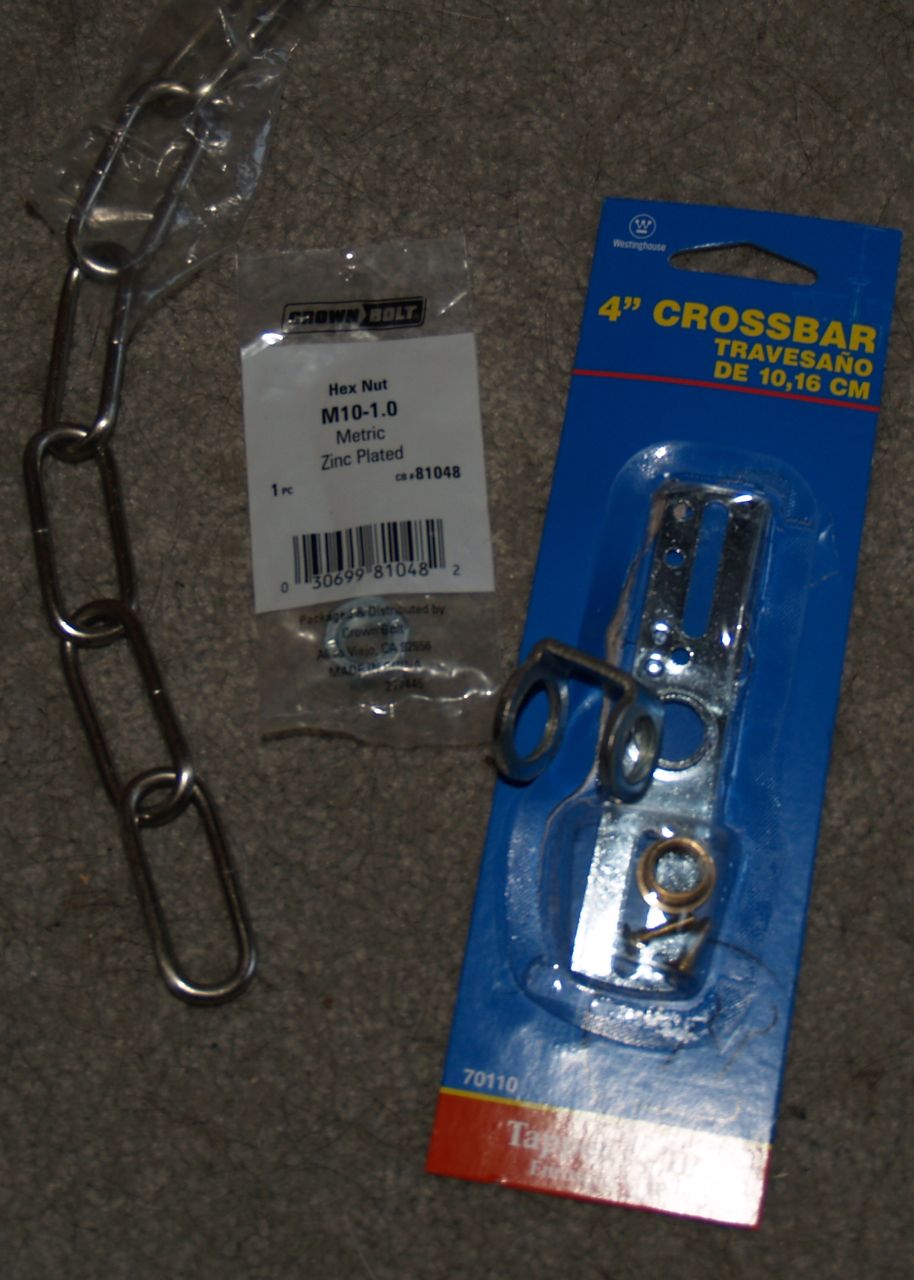
Materials for chandelier hack
Here’s what I did. I put the parallel washer thingy piece on chandelier screw, then used the nut to hold it on. I then cut one of the chain links in half and used it to connect the top part of the parallel washer thingy to the chandelier’s screw cap. [You will note that as an engineer, I sometimes use highly technical terms like “thingy”.] I had to use a pipe wrench to bend the cut chain link into a closed loop. It’s rather strong.
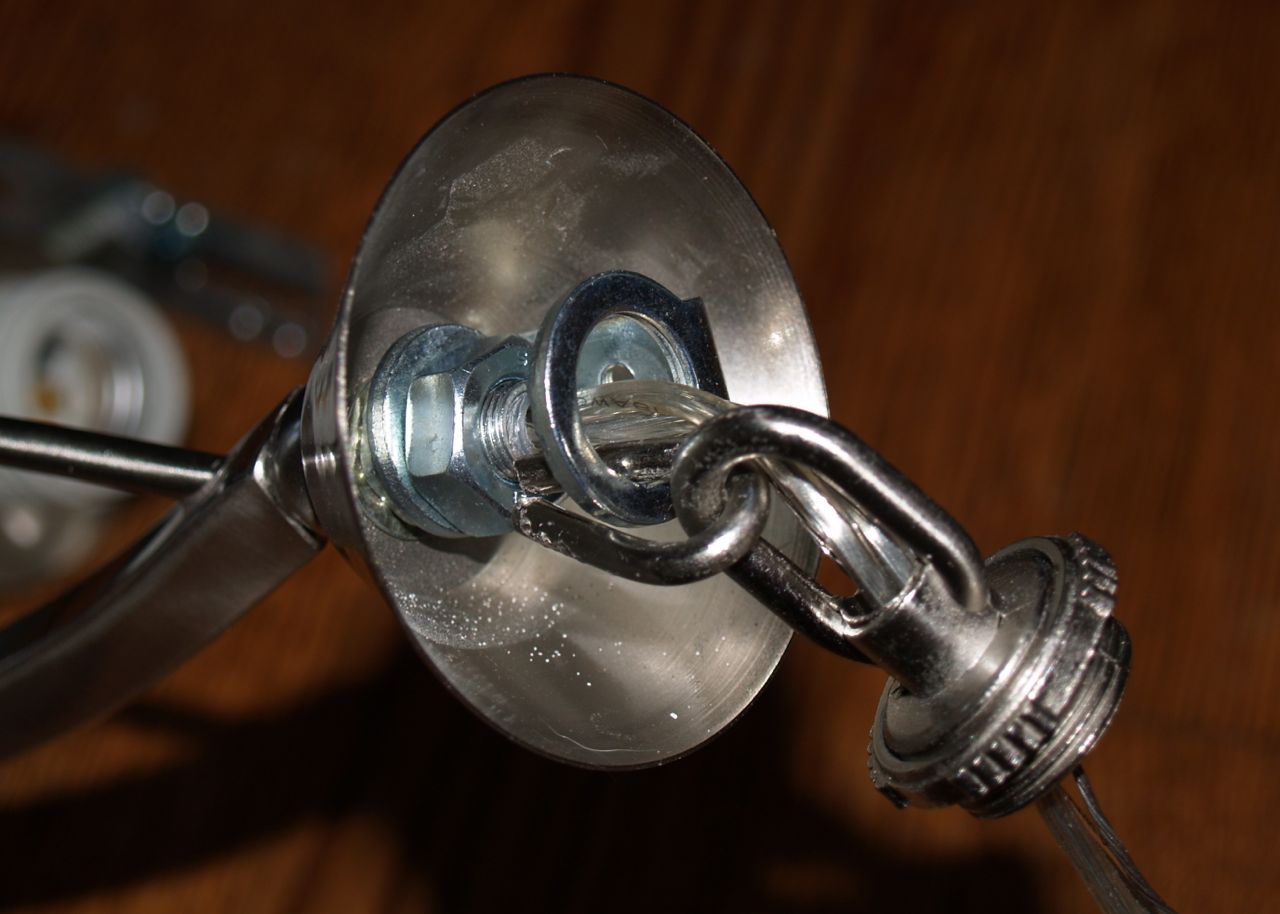
My hacked way of connecting the chandelier to the screw cap.
The finished chandelier now looks like this. I was able to shorten the entire chandelier by about two inches. Not that much, but enough that hopefully less people will hit their head.
Chandelier after
Top of the chandelier after
So that’s how I hacked the chandelier. If anyone out there has any suggestions for a better way I could have done it, that does not involve welding, I would love to hear it. Please leave a comment with suggestions.
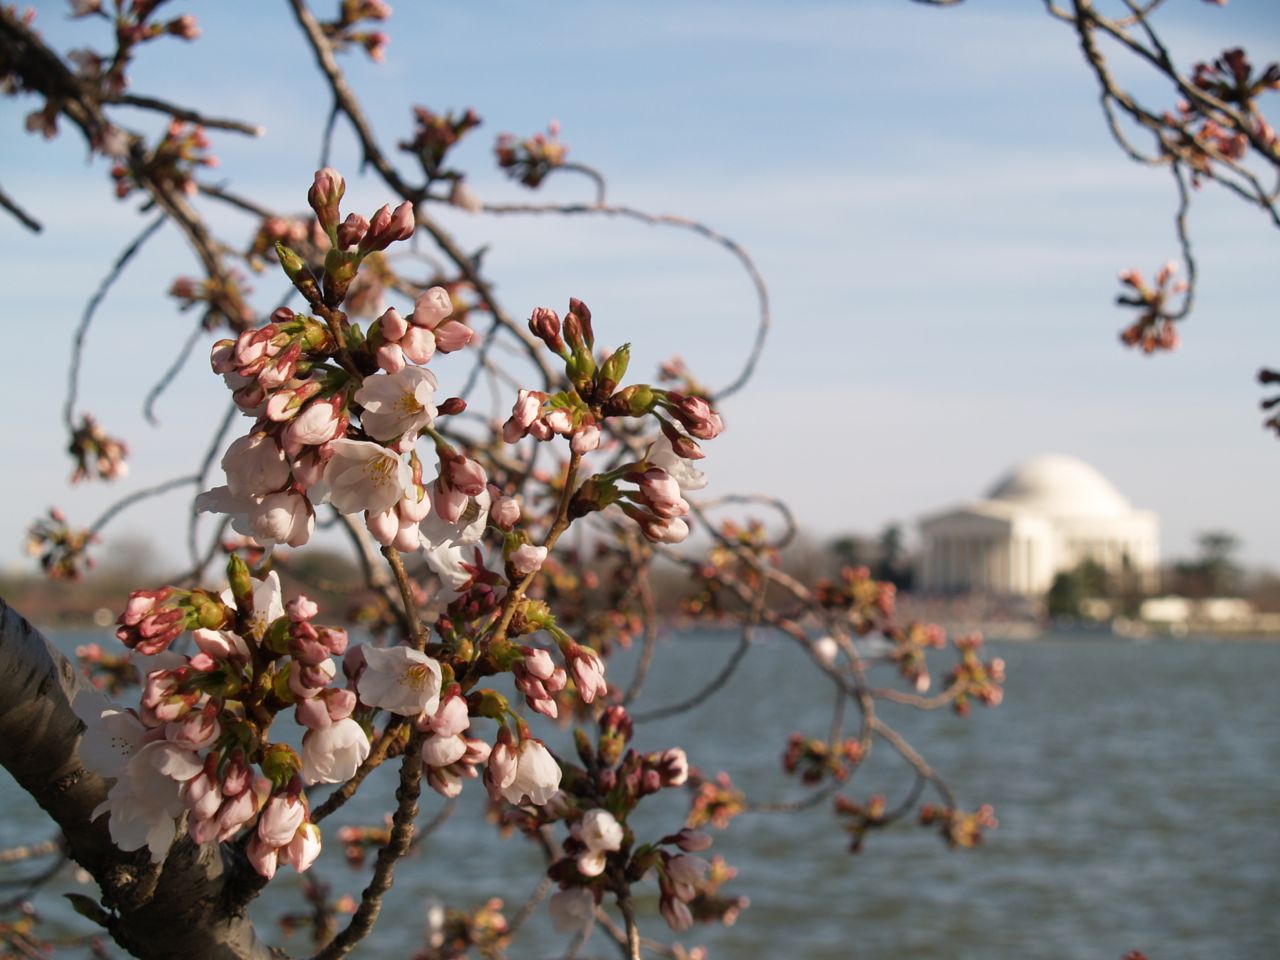
Cherry Blossom Time
I’ve lived in the DC area for two years now, and this is the first time I’ve visited the Tidal Basin to see the cherry blossoms. They were not quite in full bloom when I visited, but they were still quite pretty, and the DC monuments provide a nice backdrop for many of the photos. Here are a few of the photos I took.
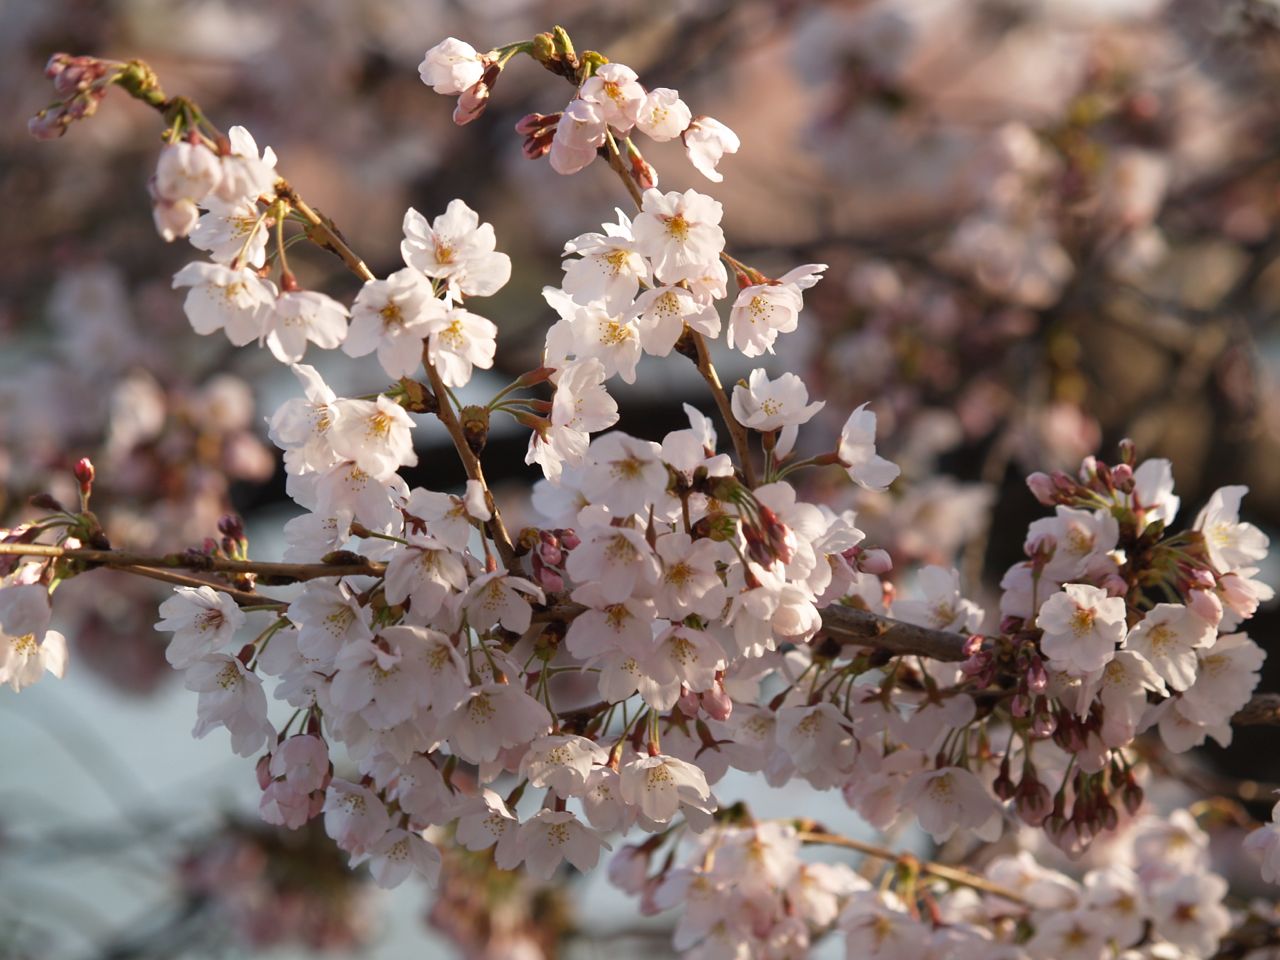
Cherry blossoms
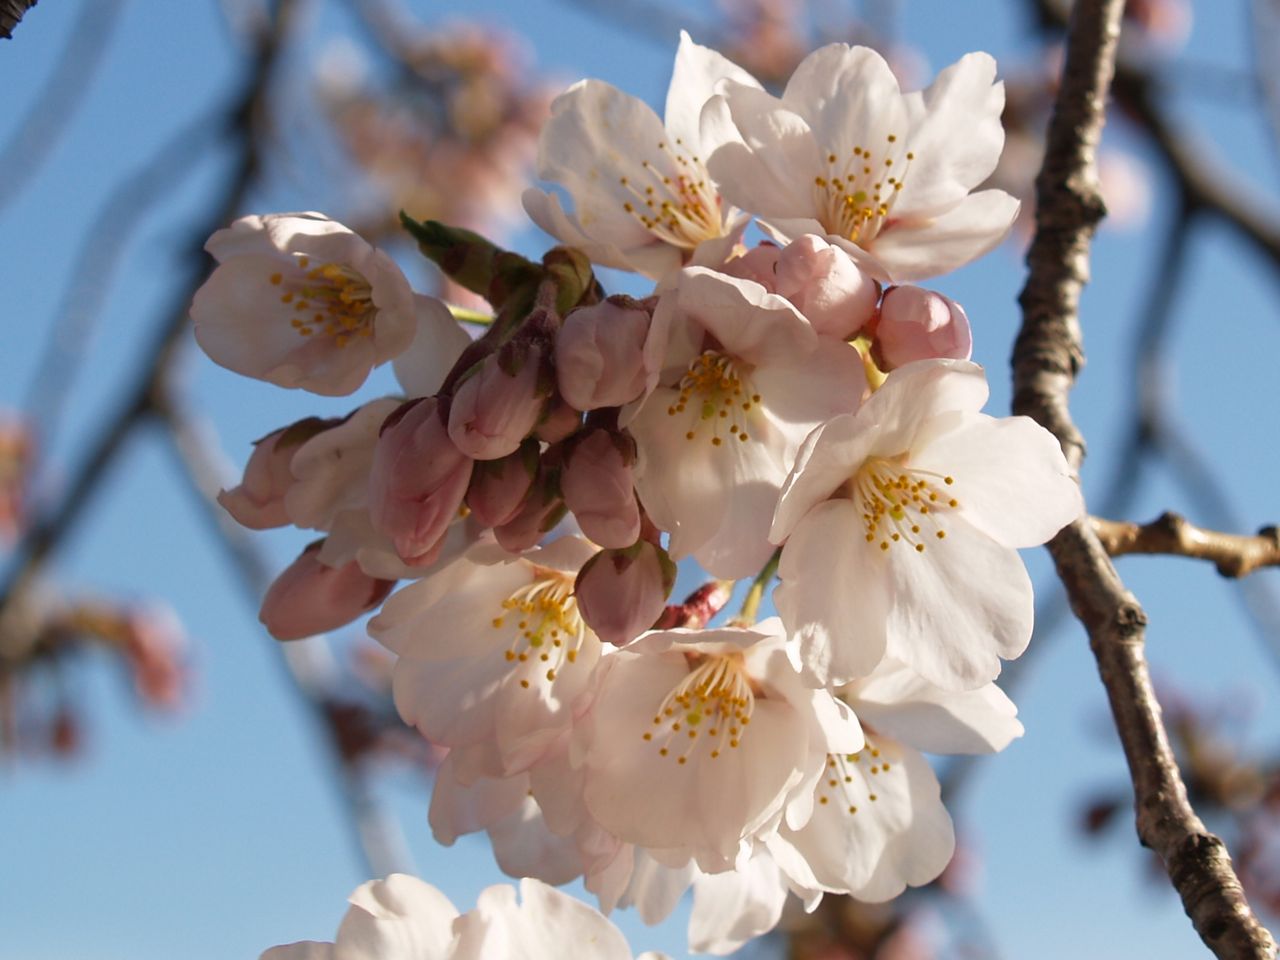
Cherry blossoms
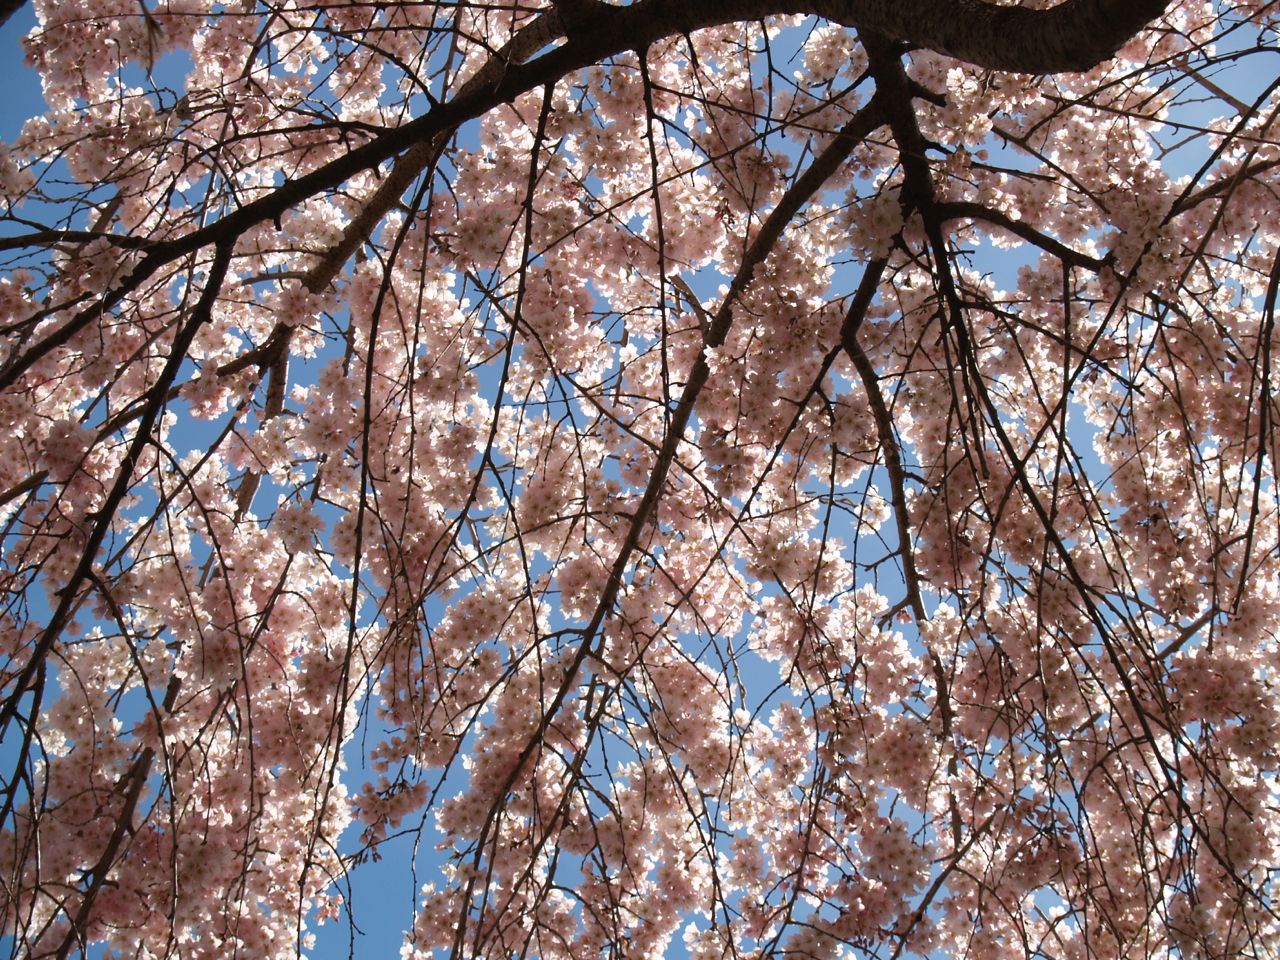
Cherry blossoms
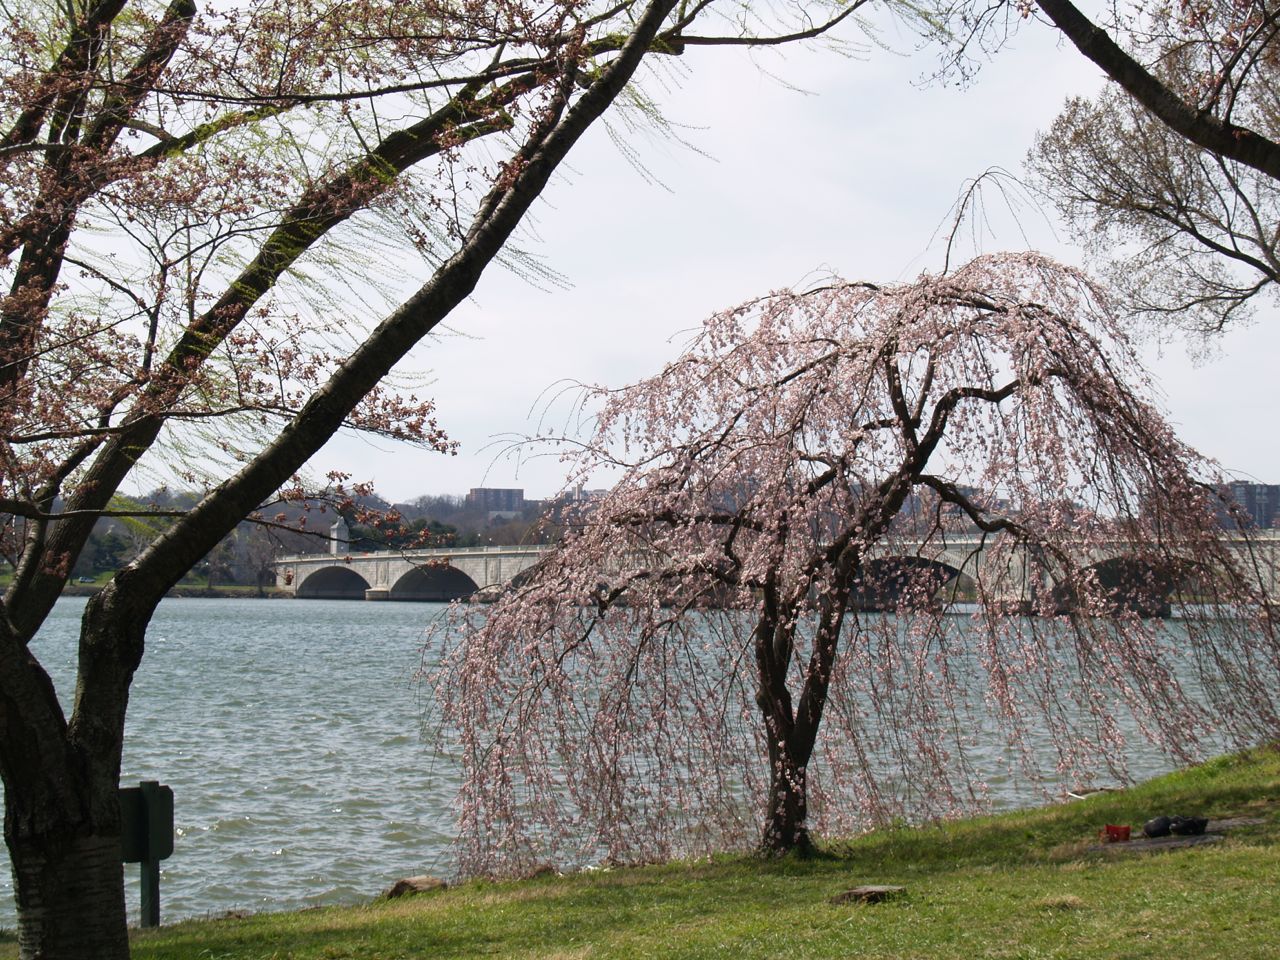
Cherry tree with Potomac River and Arlington Memorial Bridge
Cherry trees blooming on Potomac River near the 365 bridge

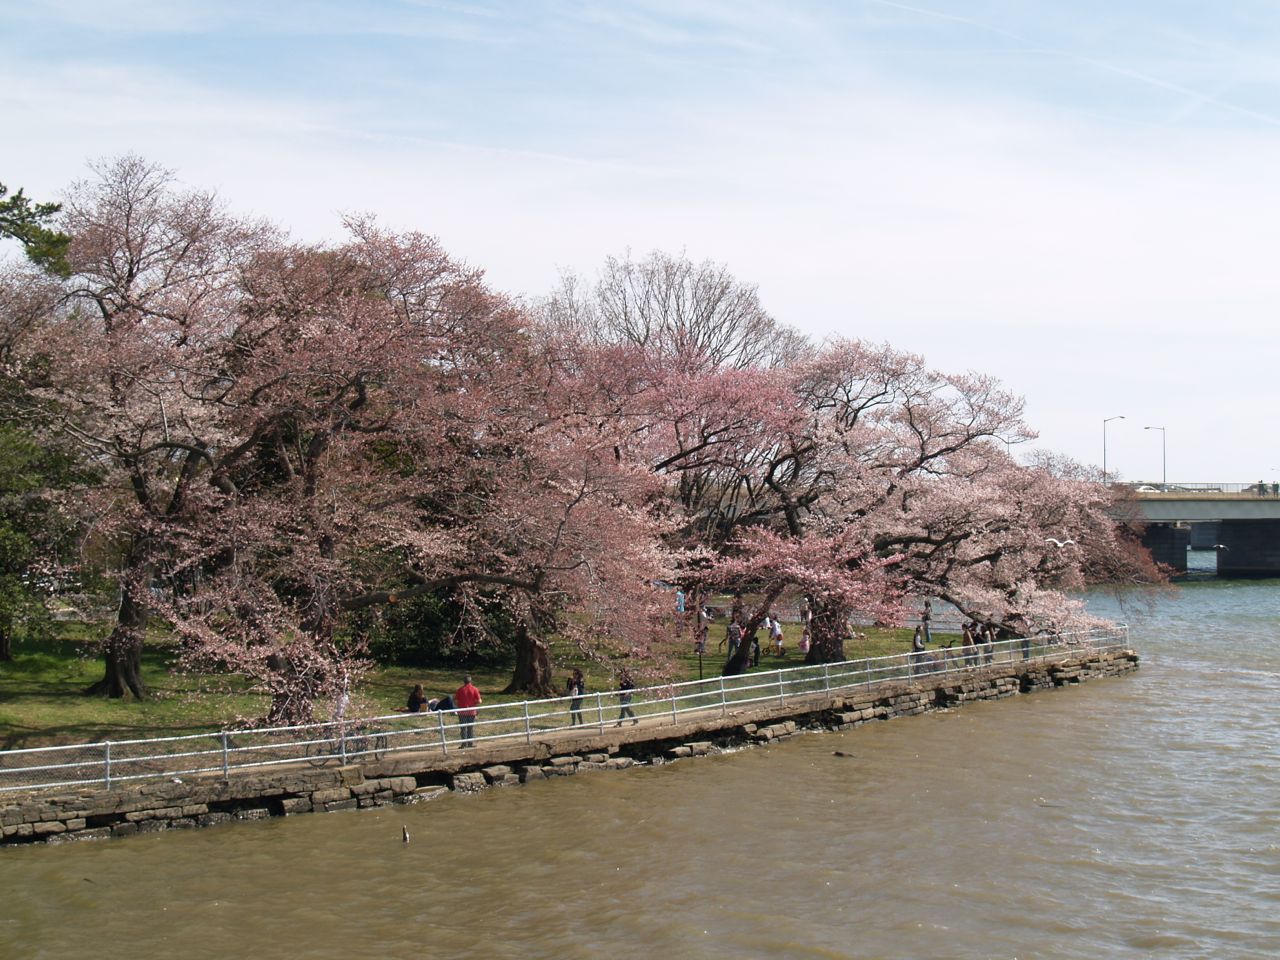
Cherry blossoms on Tidal Basin with more cherry trees blooming on other side
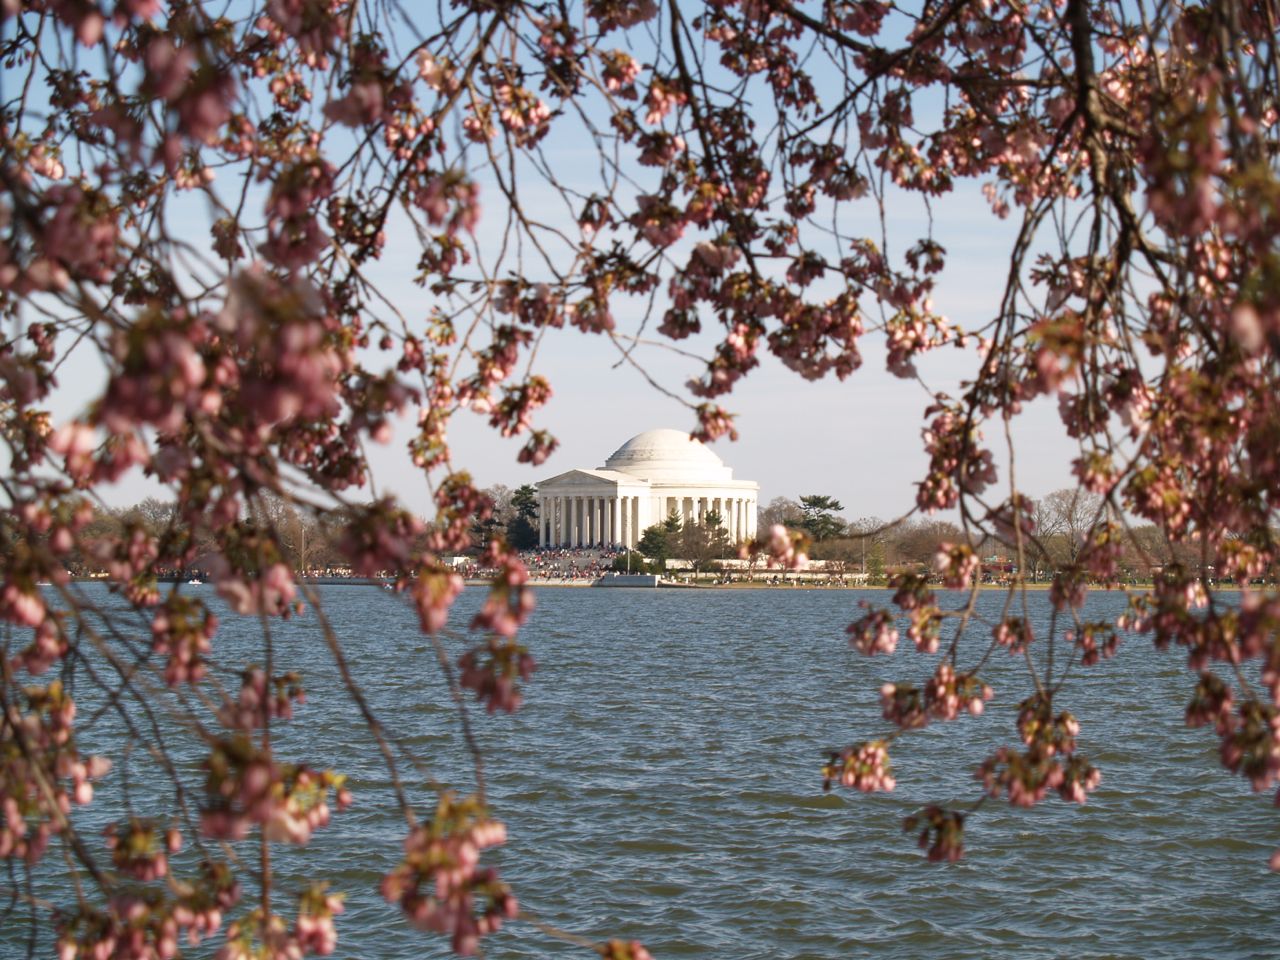
The Jefferson Memorial provides a lovely backdrop for cherry blossom photos.
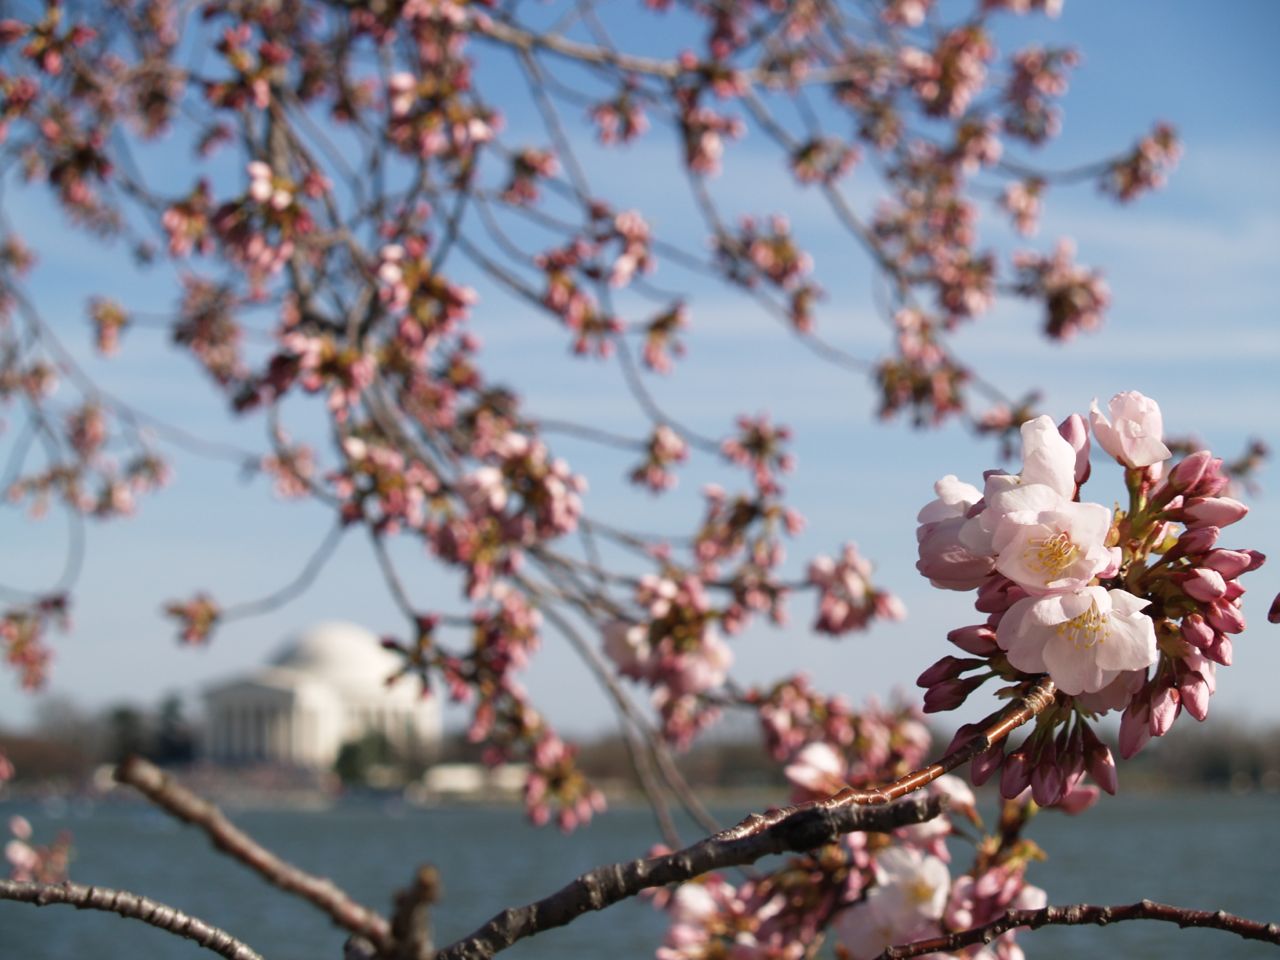
Cherry blossoms with the Jefferson Memorial
Cherry blossoms with the Jefferson Memorial
Cherry blossoms with the Jefferson Memorial
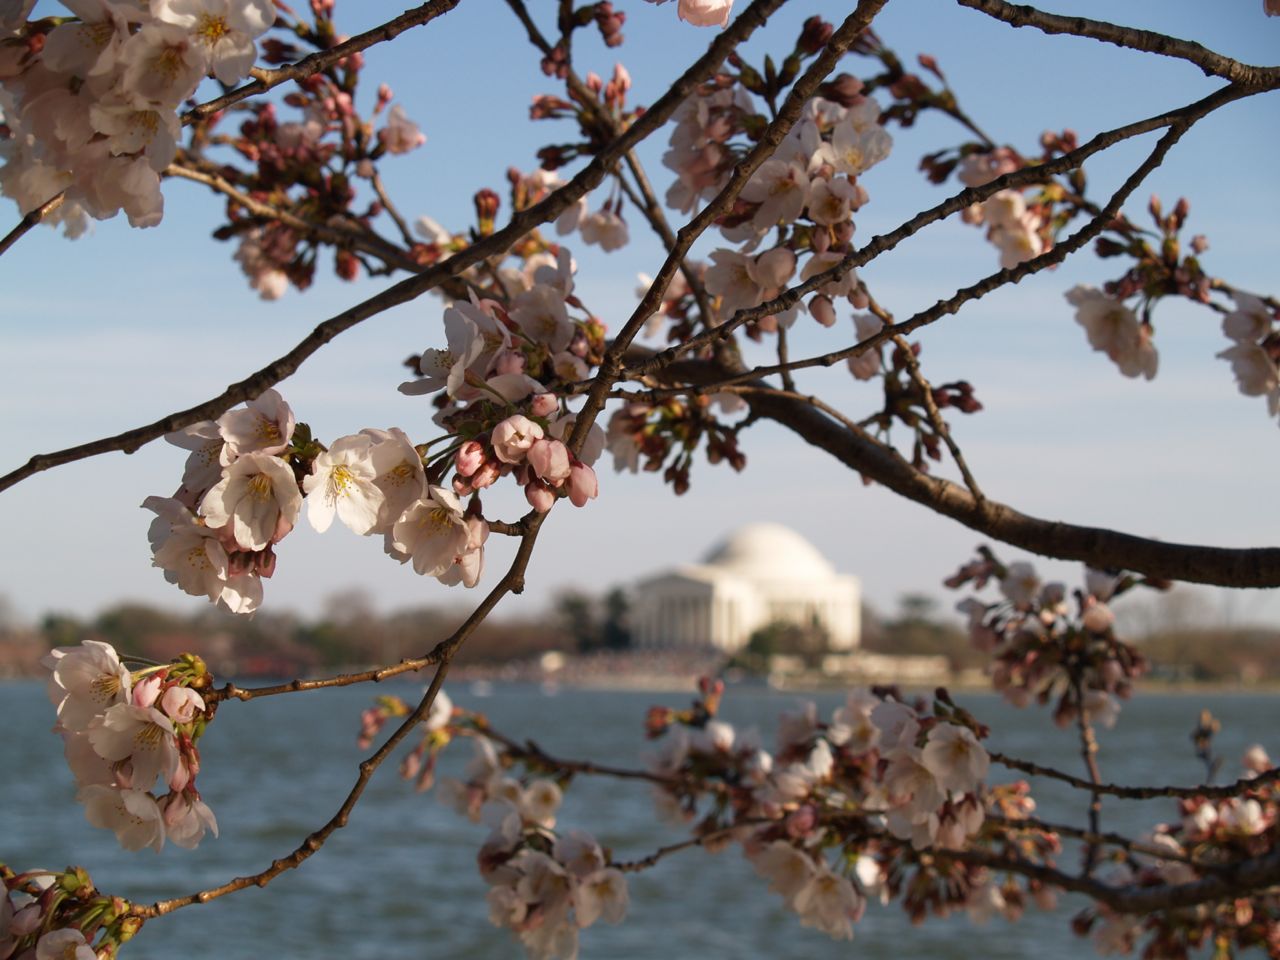
Cherry blossoms with the Jefferson Memorial
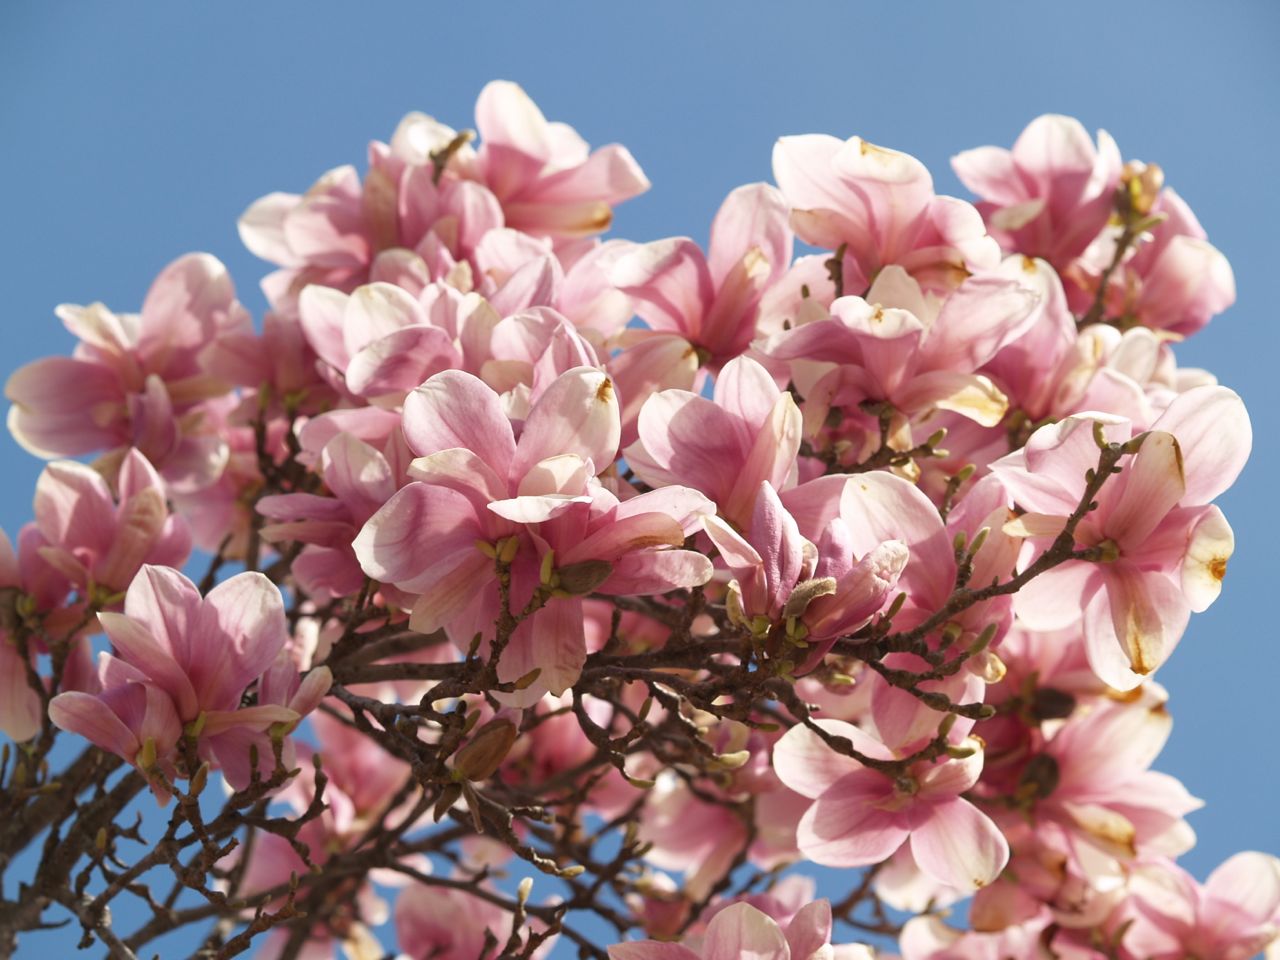
Other beautiful flowers are blooming near the Tidal Basin also, including one of my favorite flowers, saucer magnolias.

Saucer magnolia (Magnolia × soulangeana)
Saucer magnolia at the George Mason Memorial
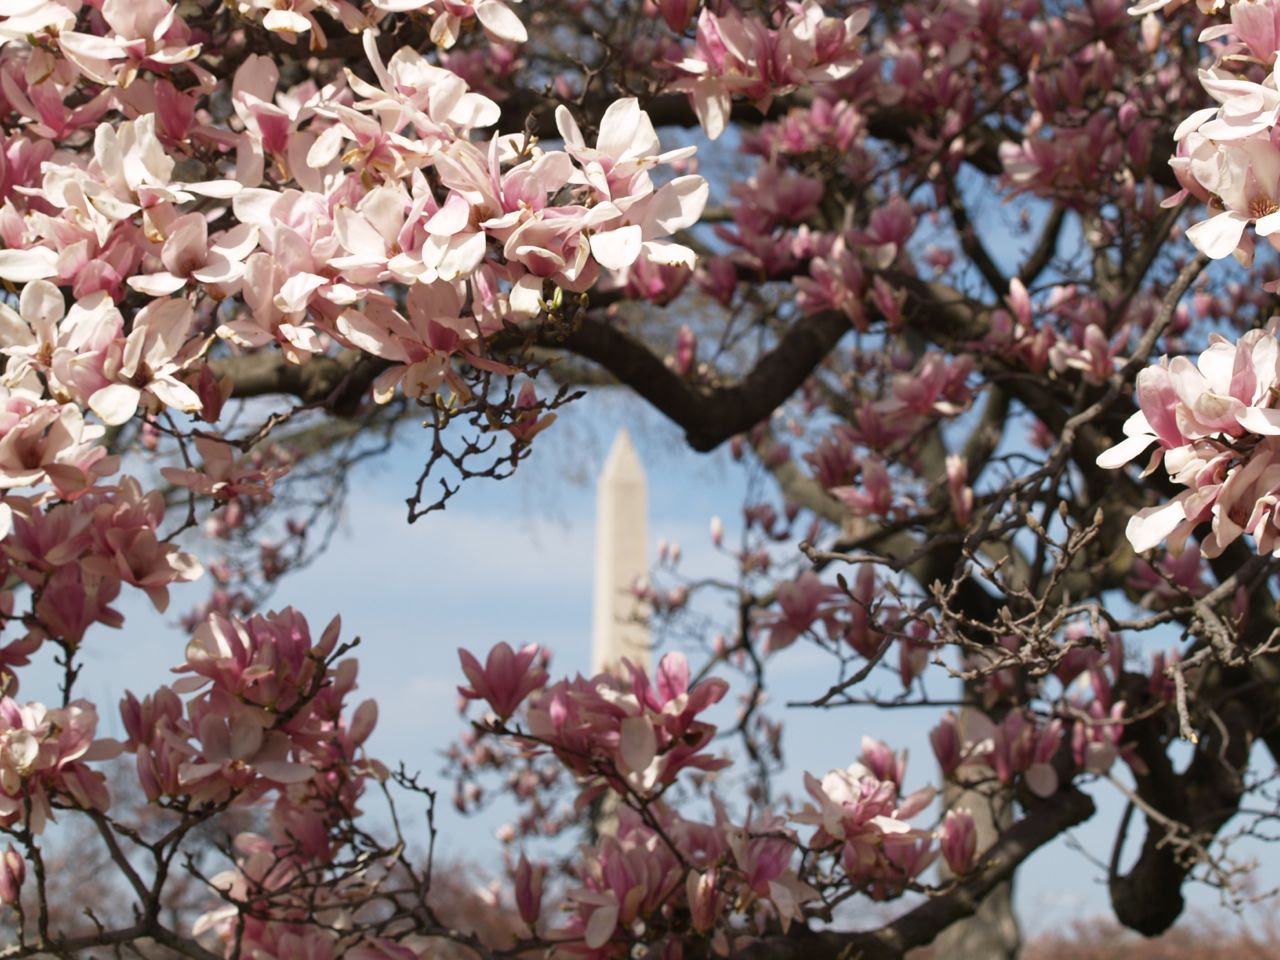
Saucer magnolia with the Washington Monument
Also forsythia is in full bloom.

Forsythia at the George Mason Memorial