
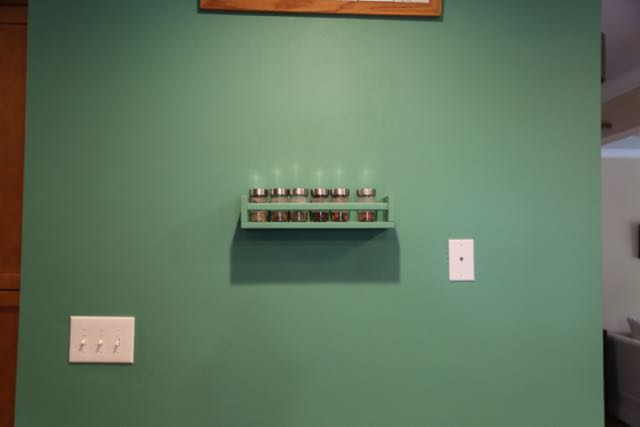
old spice rack
Here is the back story. The above photo is a spice rack I bought at IKEA. It was raw wood, and I painted it to match the wall. My initial intention was to see if I liked it there, then buy two more to place on either side if I did. I decided I did like it, but when I went to go buy two more, I couldn’t find them anymore. Then I realized, well this is stupid, I can just build a spice rack. Thus without further ado, how I built a spice rack.
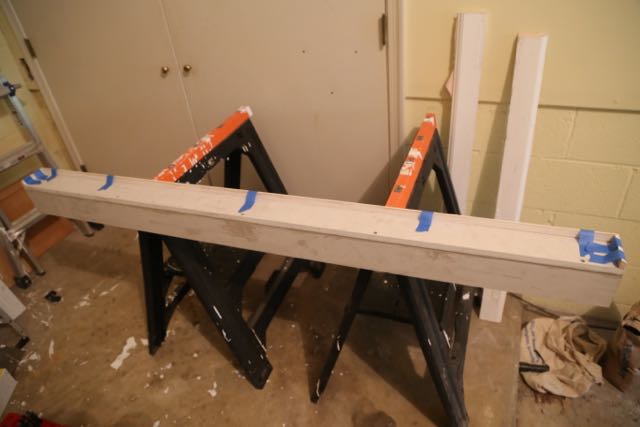
The building supplies consisted of two primed, composite wood 1 x 4’s (which are really 0.75″ x 3.5″), primed 0.25″ x 0.75″ shoe molding, flat head screws, and wood glue. I cut the wood planks to fit the length of the wall, and I cut the molding into three pieces, one, the length of the planks and two, the length of the depth of the planks. Then I mitered the molding. The molding will serve as a shelf stop to make sure nothing falls off the shelf, in theory at least.
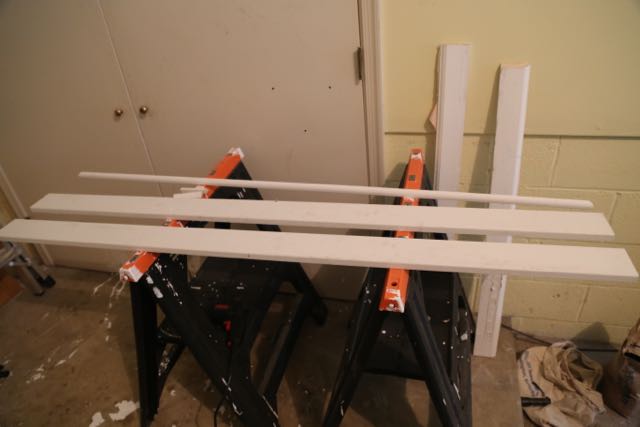
Building supplies
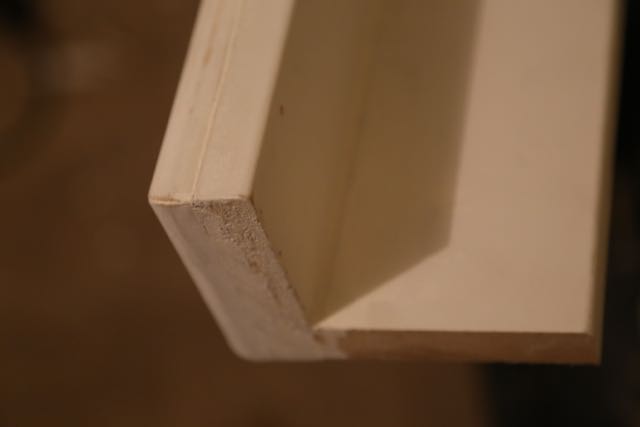
First, I joined the two planks to form an “L” shape.
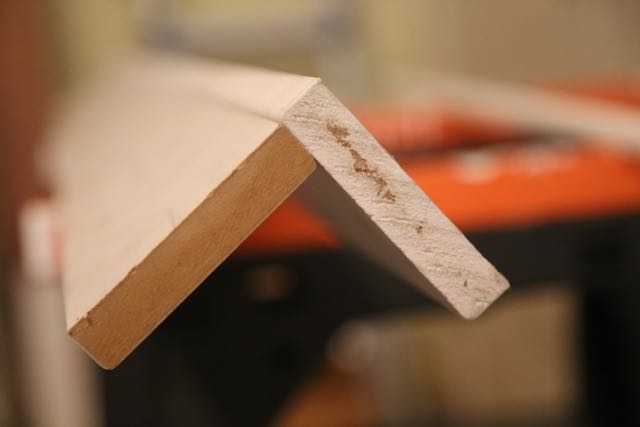
Two planks joined
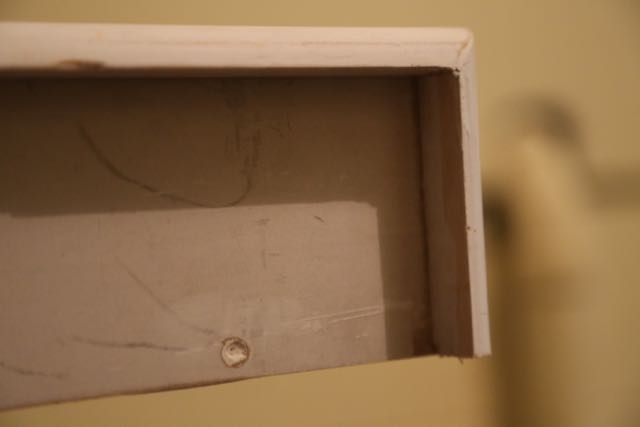
I used screws to attach them together. Before inserting the screws, I pre-drilled holes and also pre-drilled a larger hole the size of the screw head at the very top of where the screw would go, so that the screw head would be recessed into the wood. The side where the screw head is, will be the top of the shelf, and plank perpendicular to it will be the way I attach it to the wall.
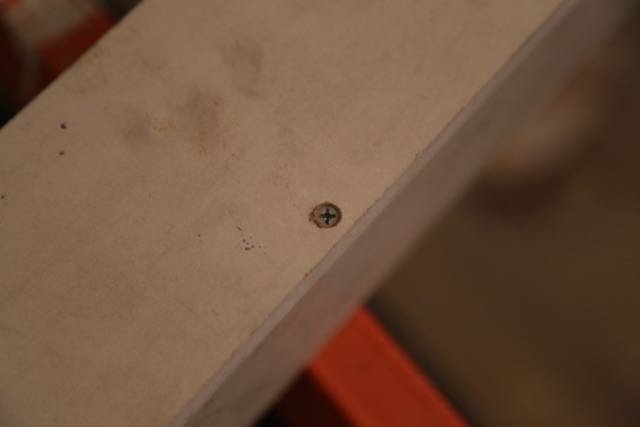
Screws used to join two planks
Then, I glued the long piece of shoe molding to the top of the plank, on the opposite side of the perpendicular plank.

Long stop piece glued and taped so it won’t move while glue dries
I then glued the two small pieces of shoe molding to the ends of the planks to complete the shelf stops. I used painter’s tape to keep the molding in place while the glue dried.
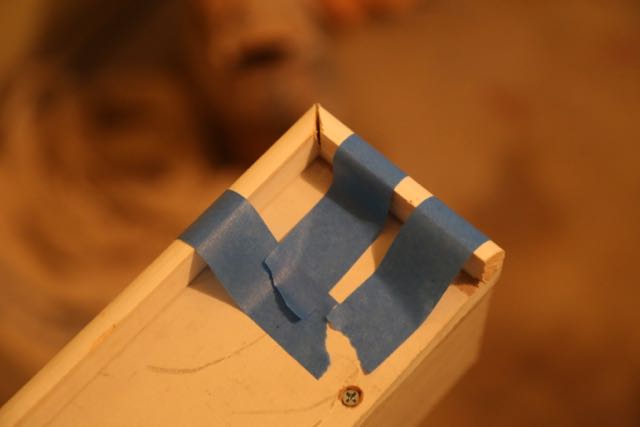
Tape pieces so they don’t move while glue dries
All pieces now joined, tape pieces so they don’t move while glue dries
Once the glue dried, I then used spackle to fill in the gaps and also the indentions where the screw heads are to make the shelf look more like one finished piece.
Sparkle used to fill in holes and gaps
Spackle used to fill in holes and gaps
I then painted the entire piece with the same paint that I used to paint the wall. Obviously it could be a different color, but I like how it seems to just be part of the wall when it is the same color and not some attention grabbing piece. I then hung it on the wall using more flat head screws that I screwed into the studs.
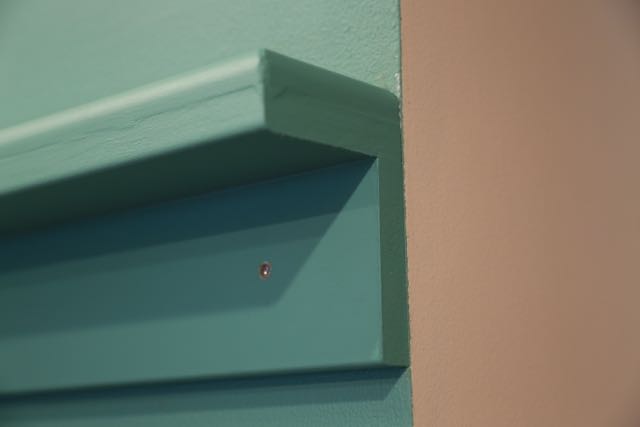
Completed rack hung on wall, notice recessed screw heads
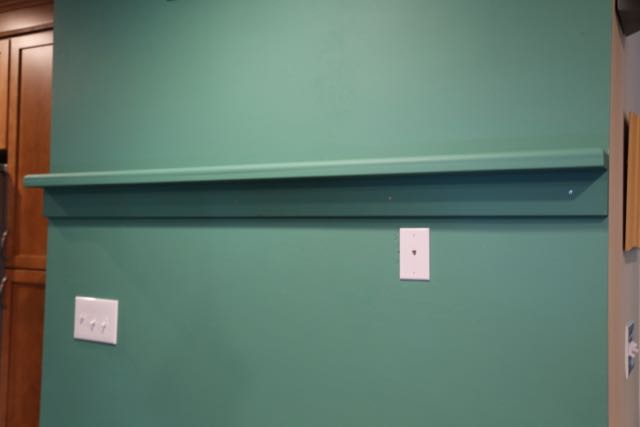
Completed rack hung on wall
I then filled in the volumes above the recessed screw heads with spackle.
Spackle used to fill indention from screw heads
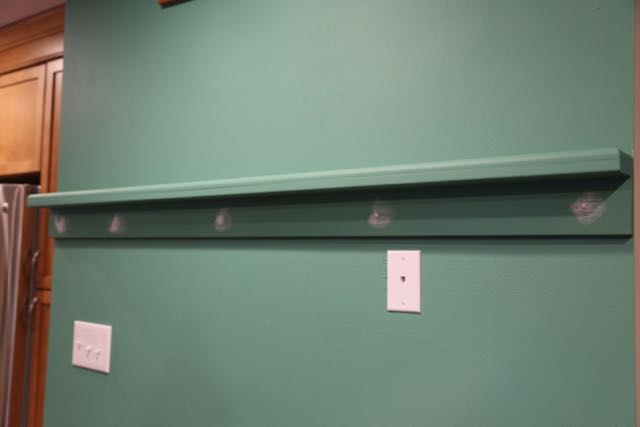
Finally, I sanded the spackled areas and painted. Below, my finished, custom built spice rack.

Finished spice rack
I really like the way that that spice rack happens to blend in with the green wall. My wife and I recently moved into a brand new house this past month. I feel like a new spice rack could help to keep our kitchen much more organized.