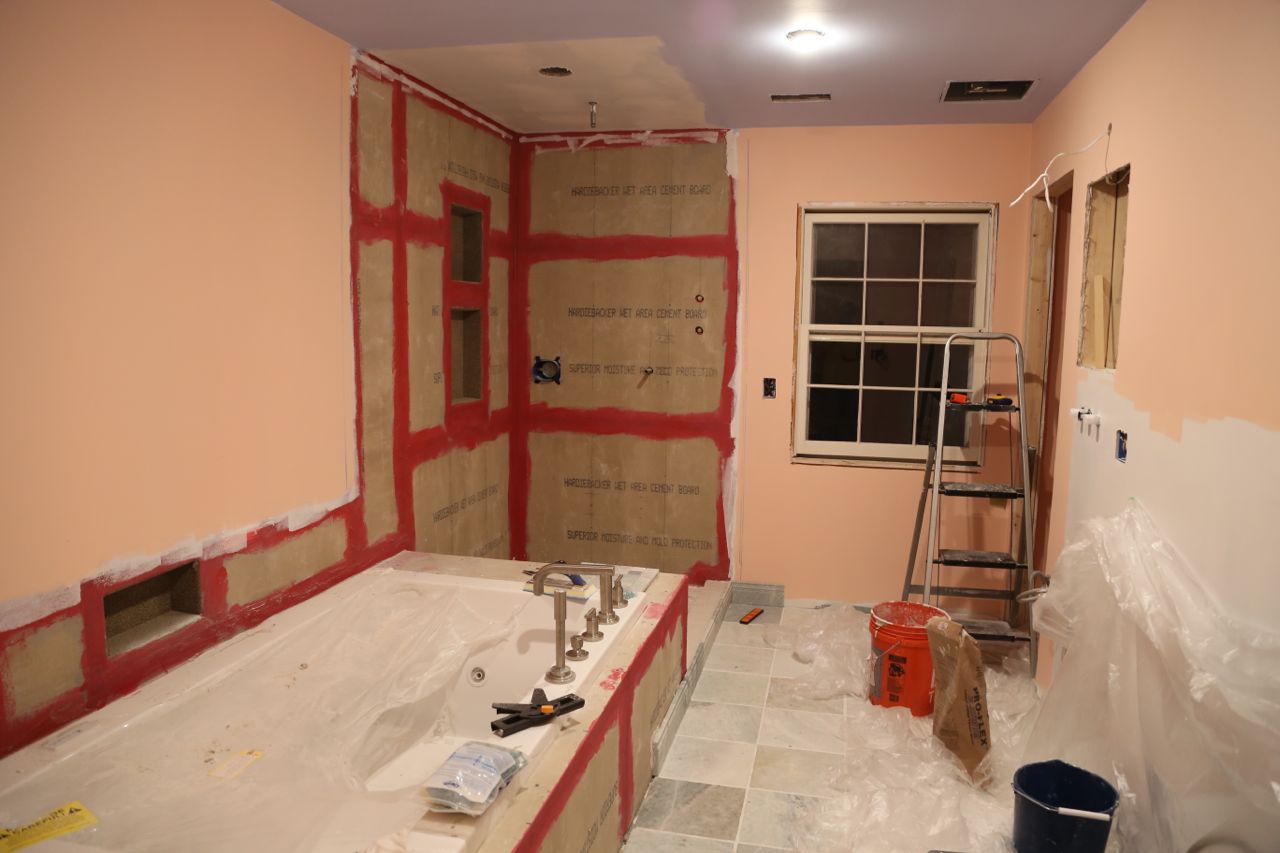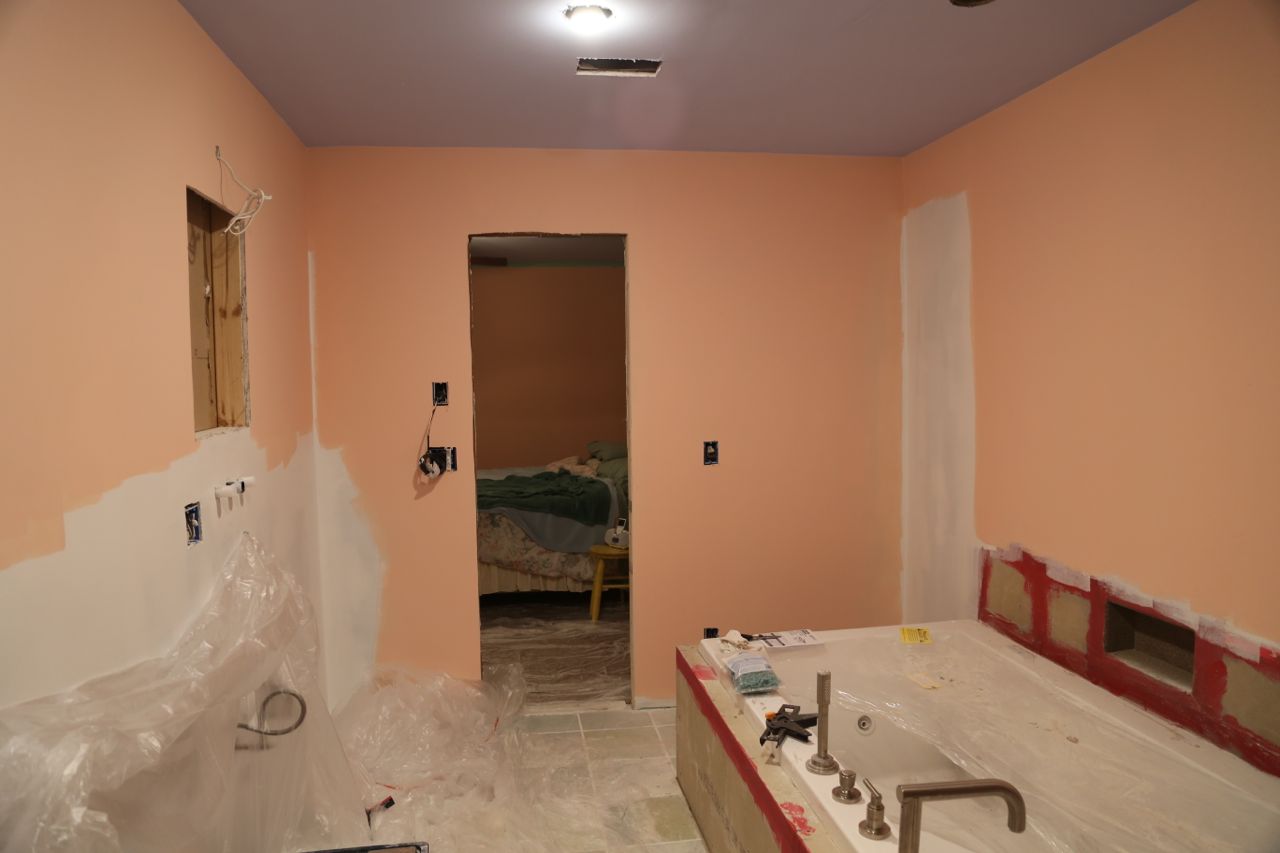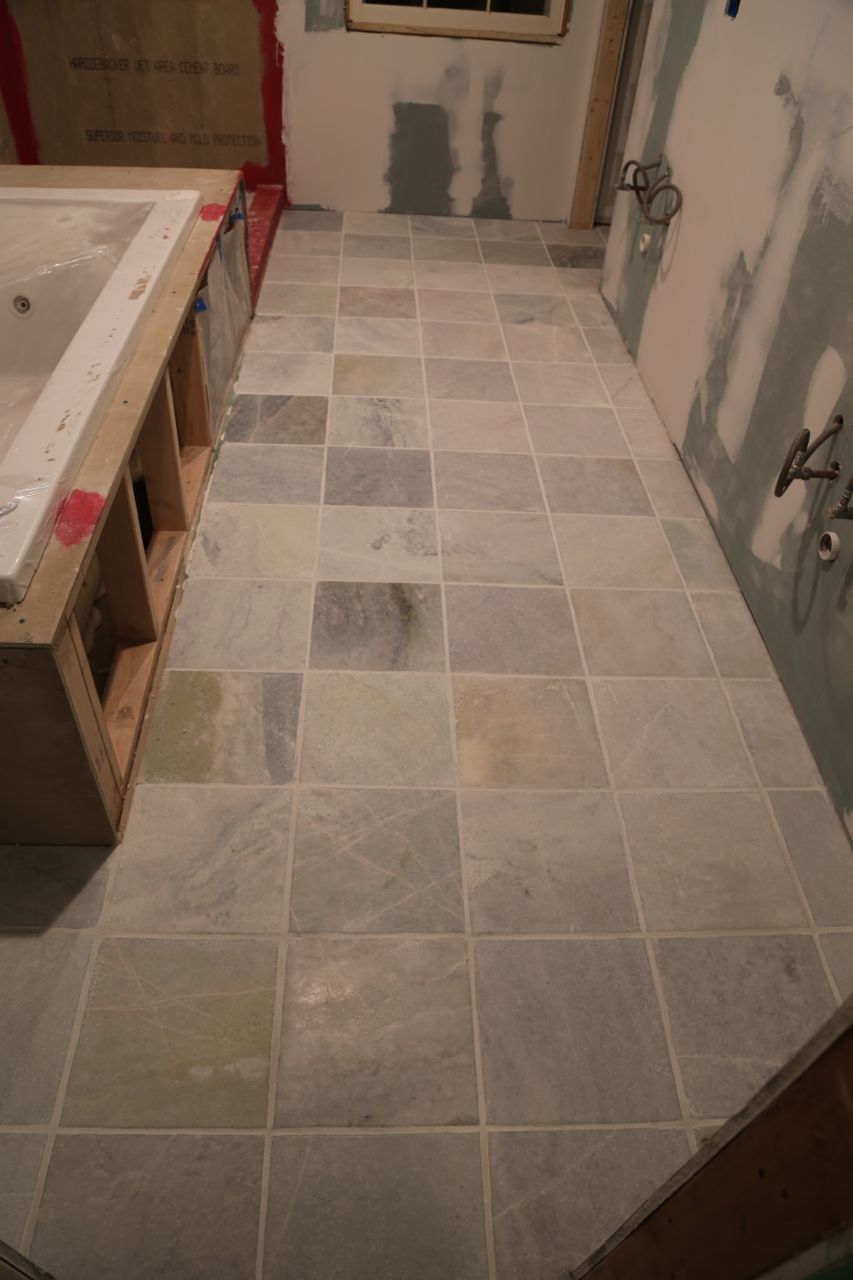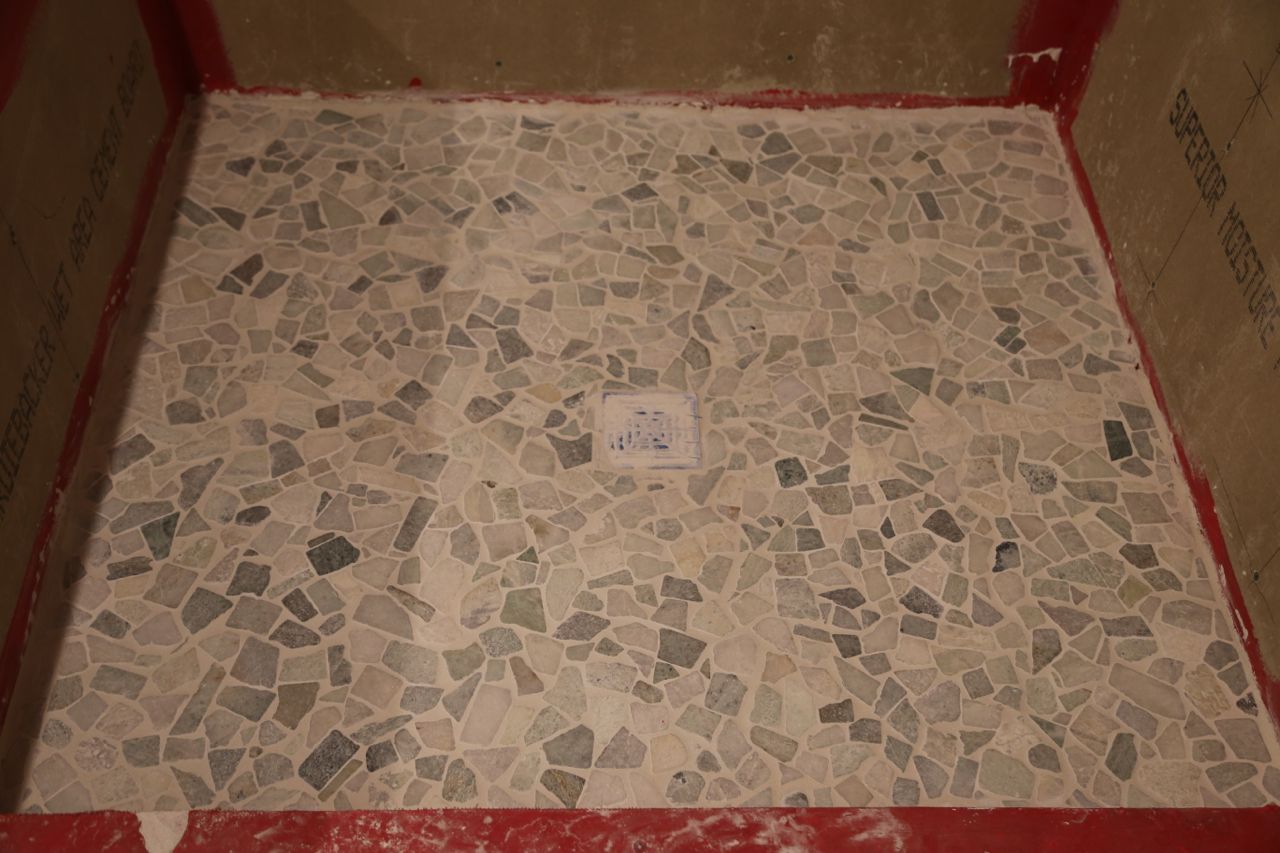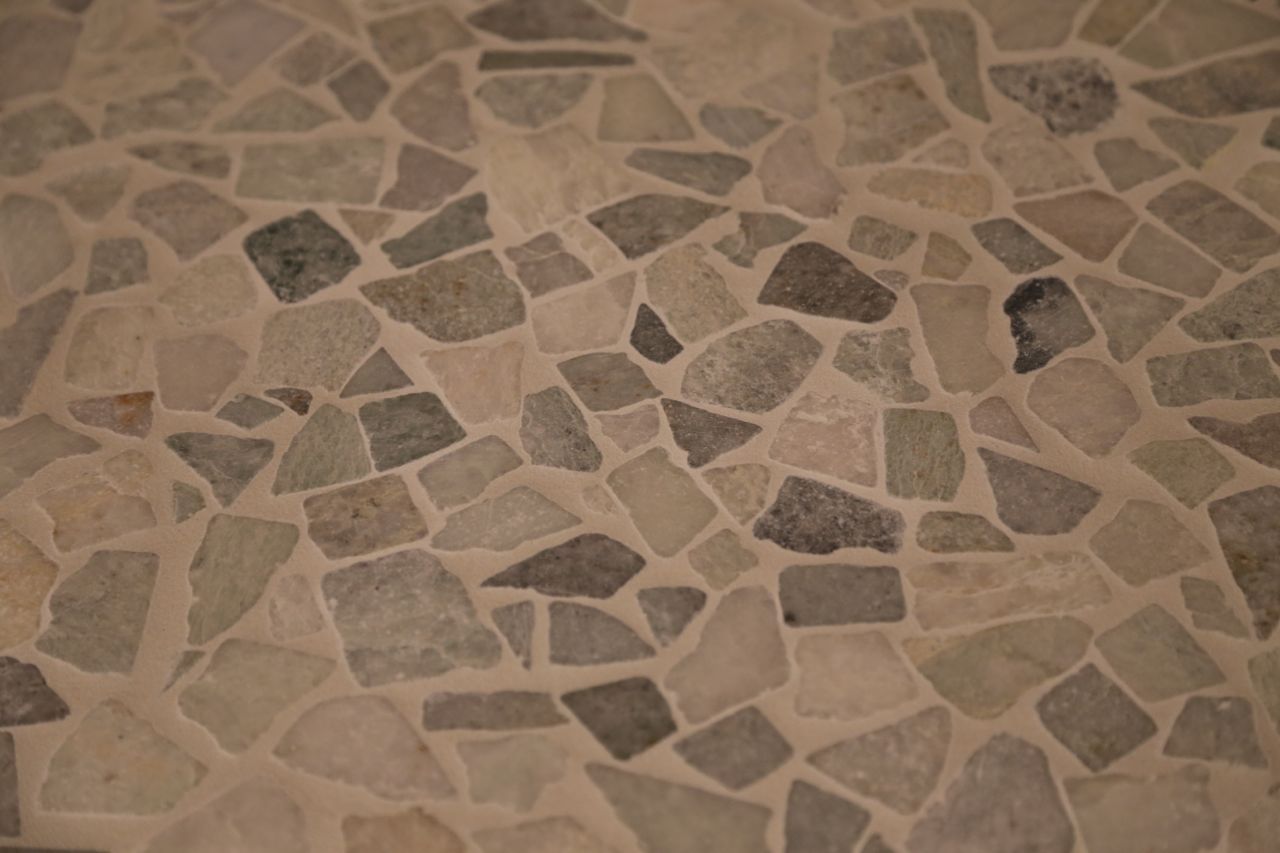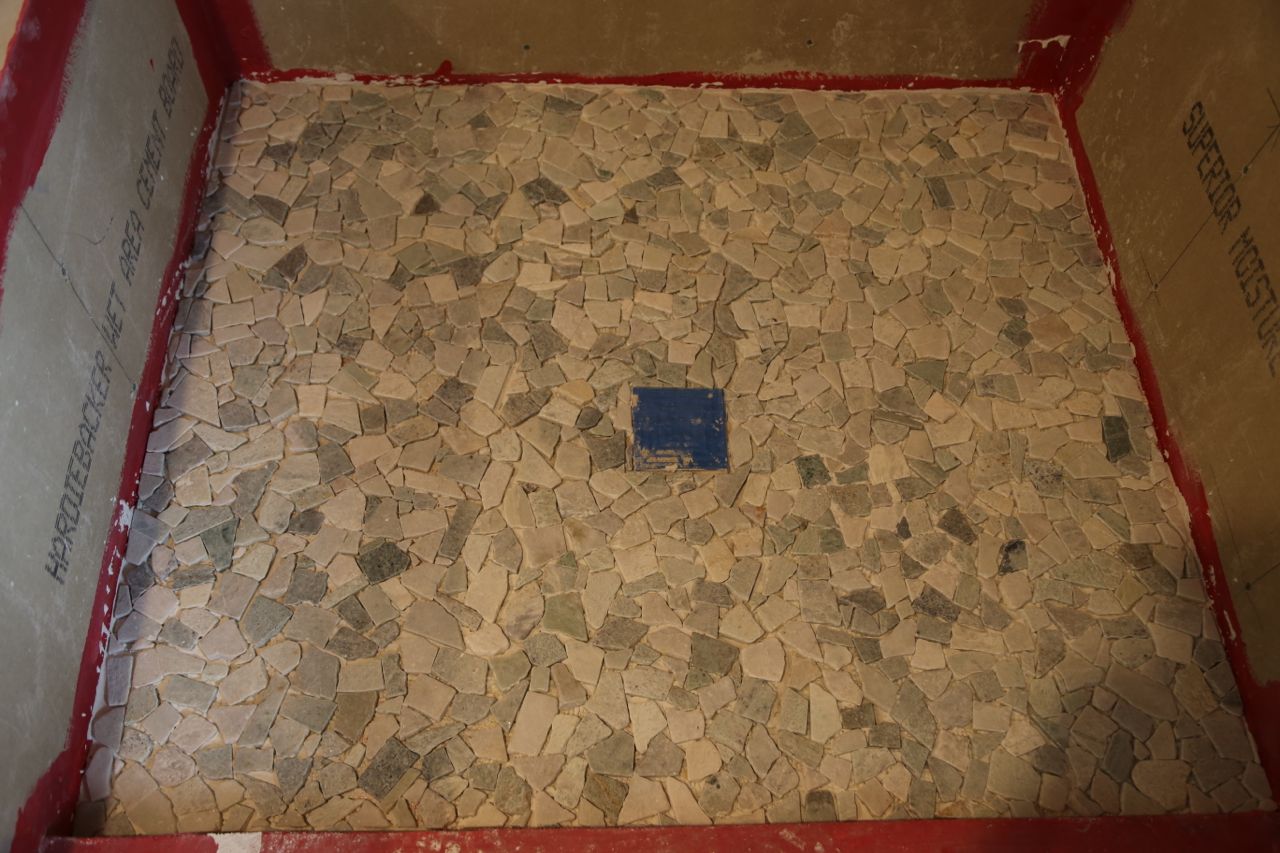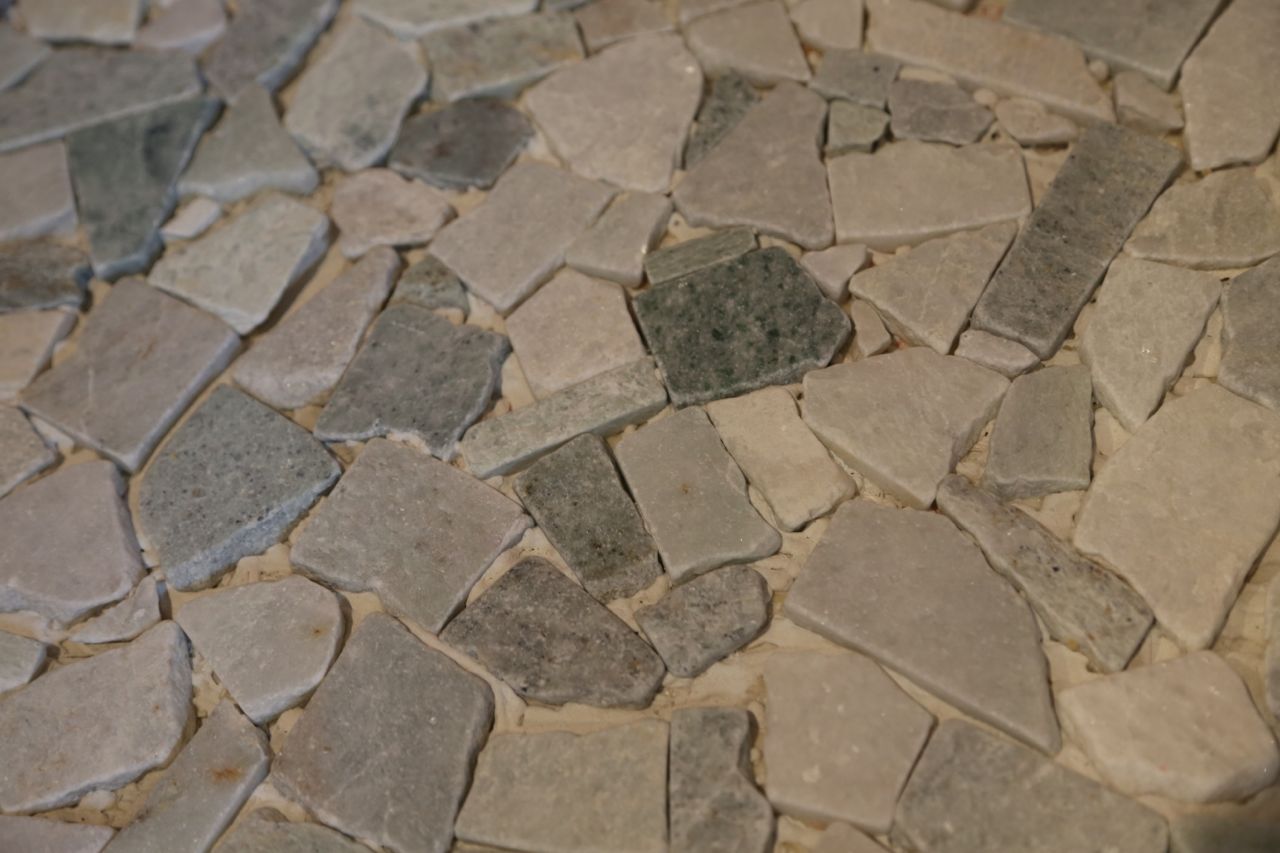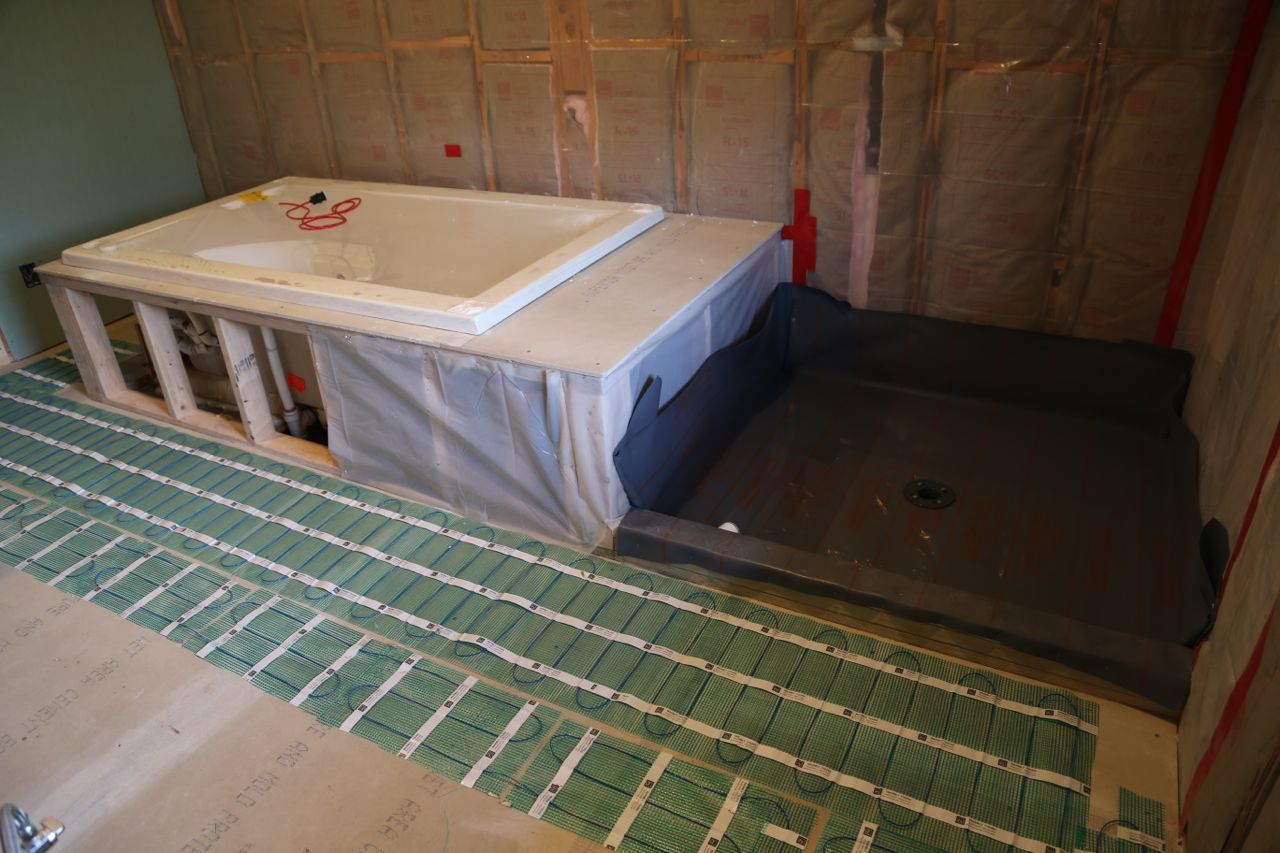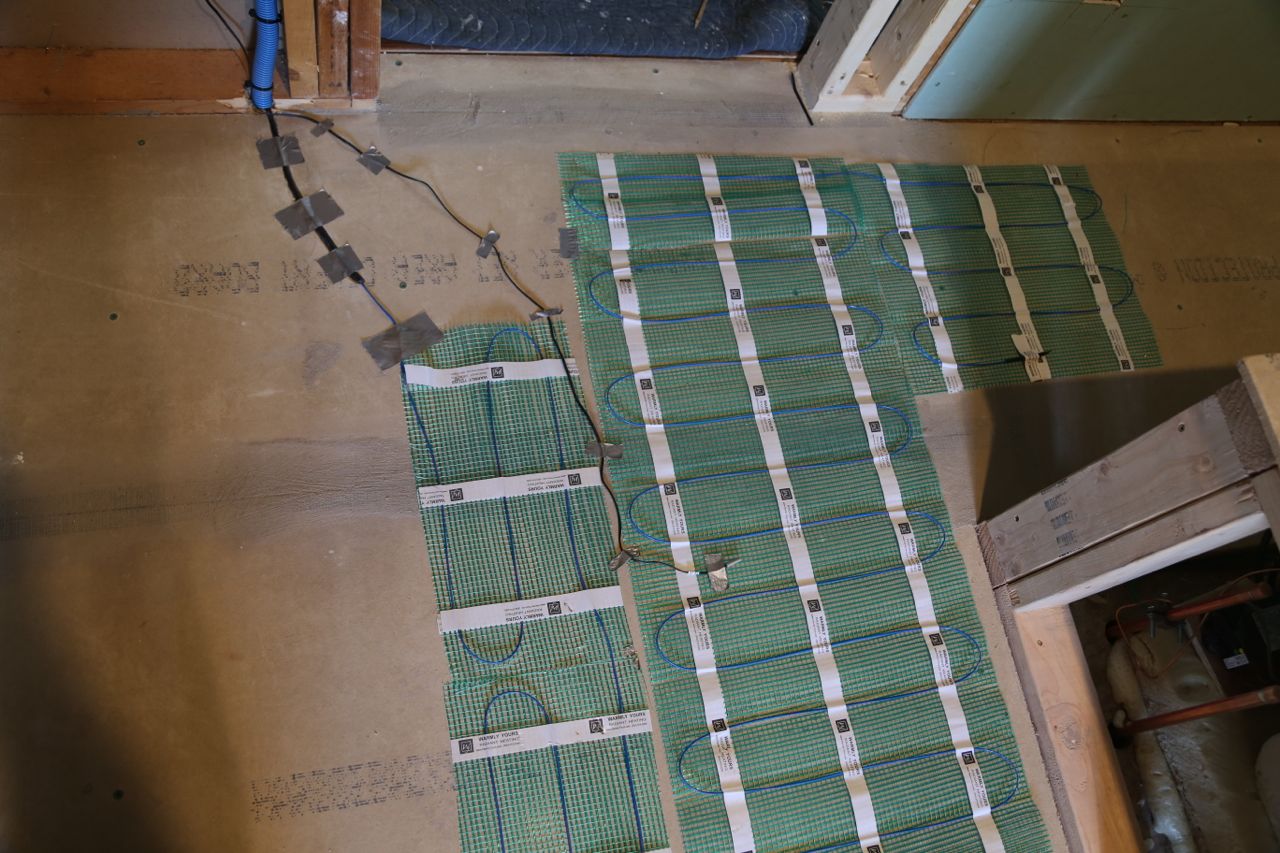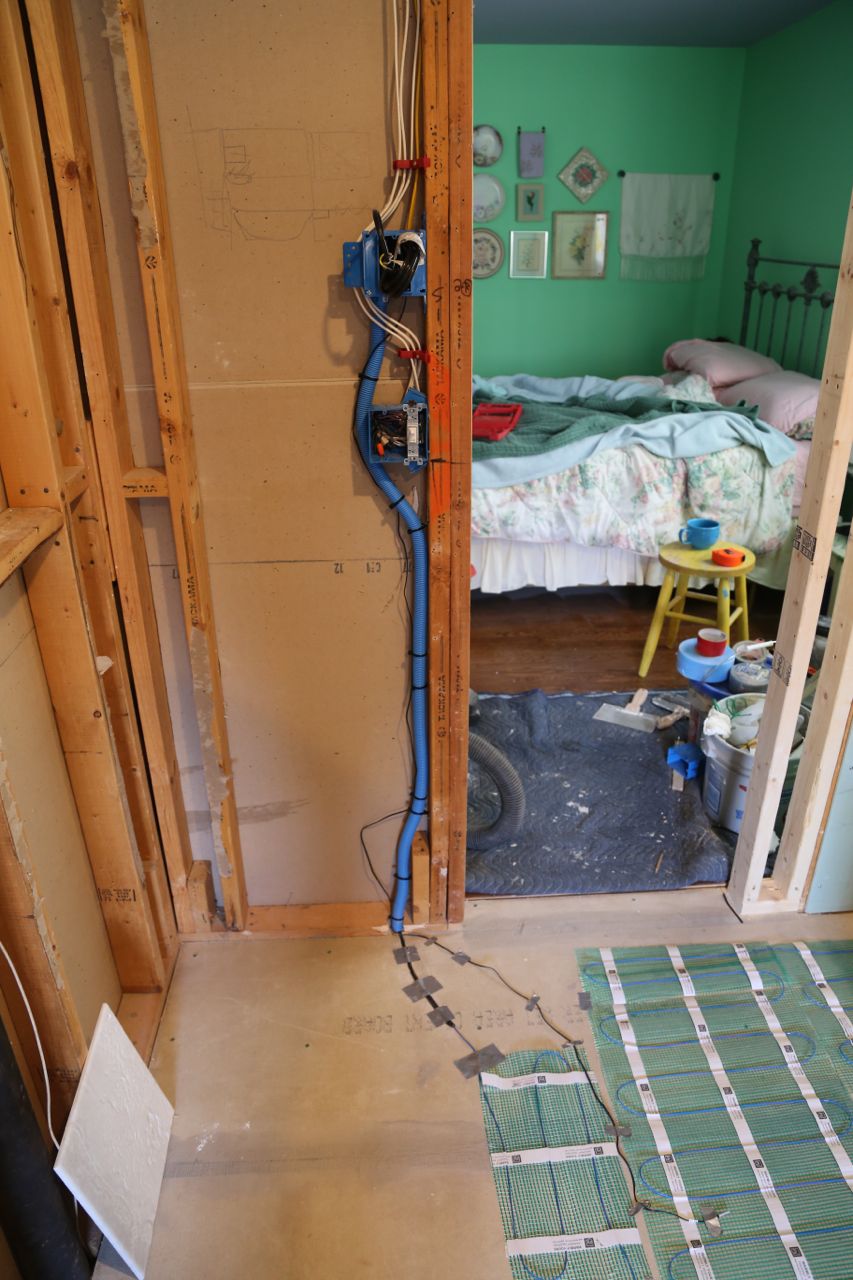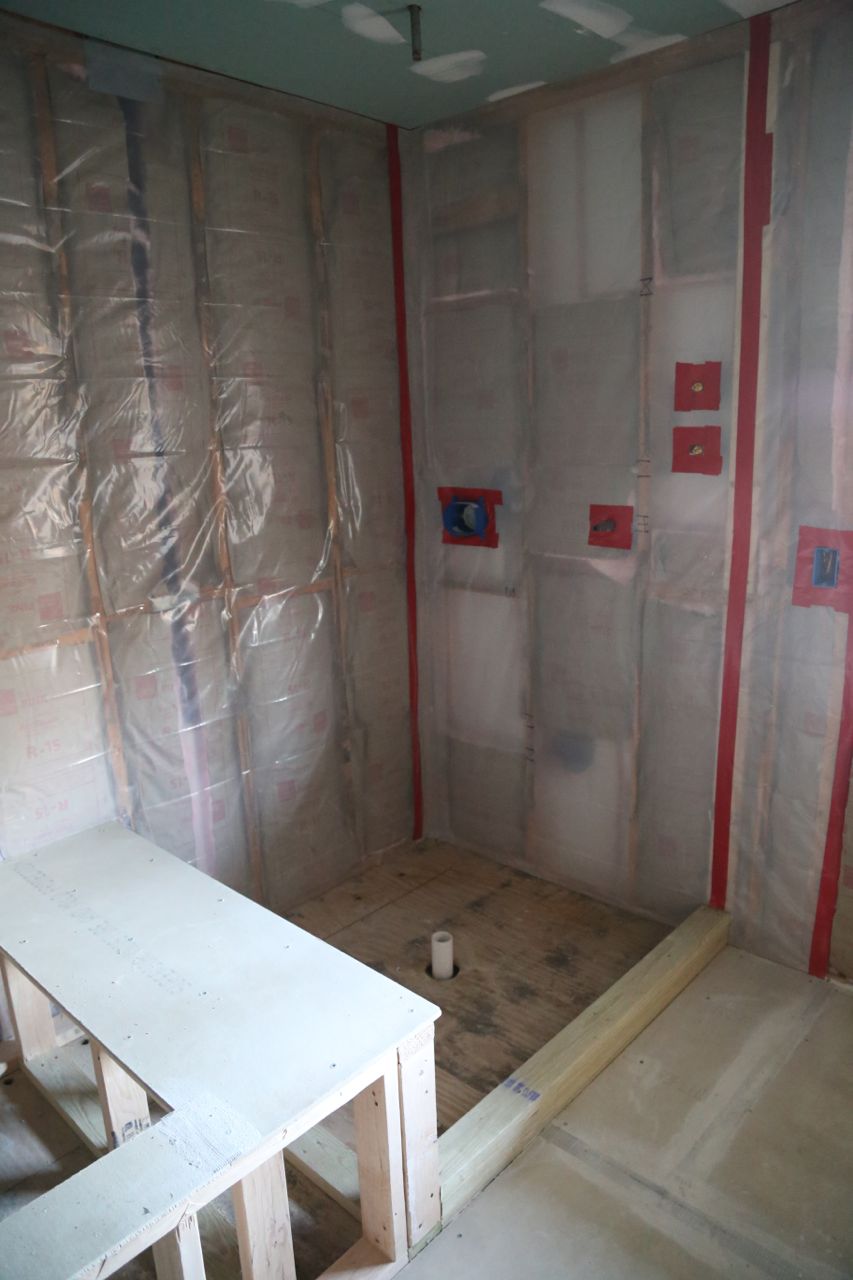
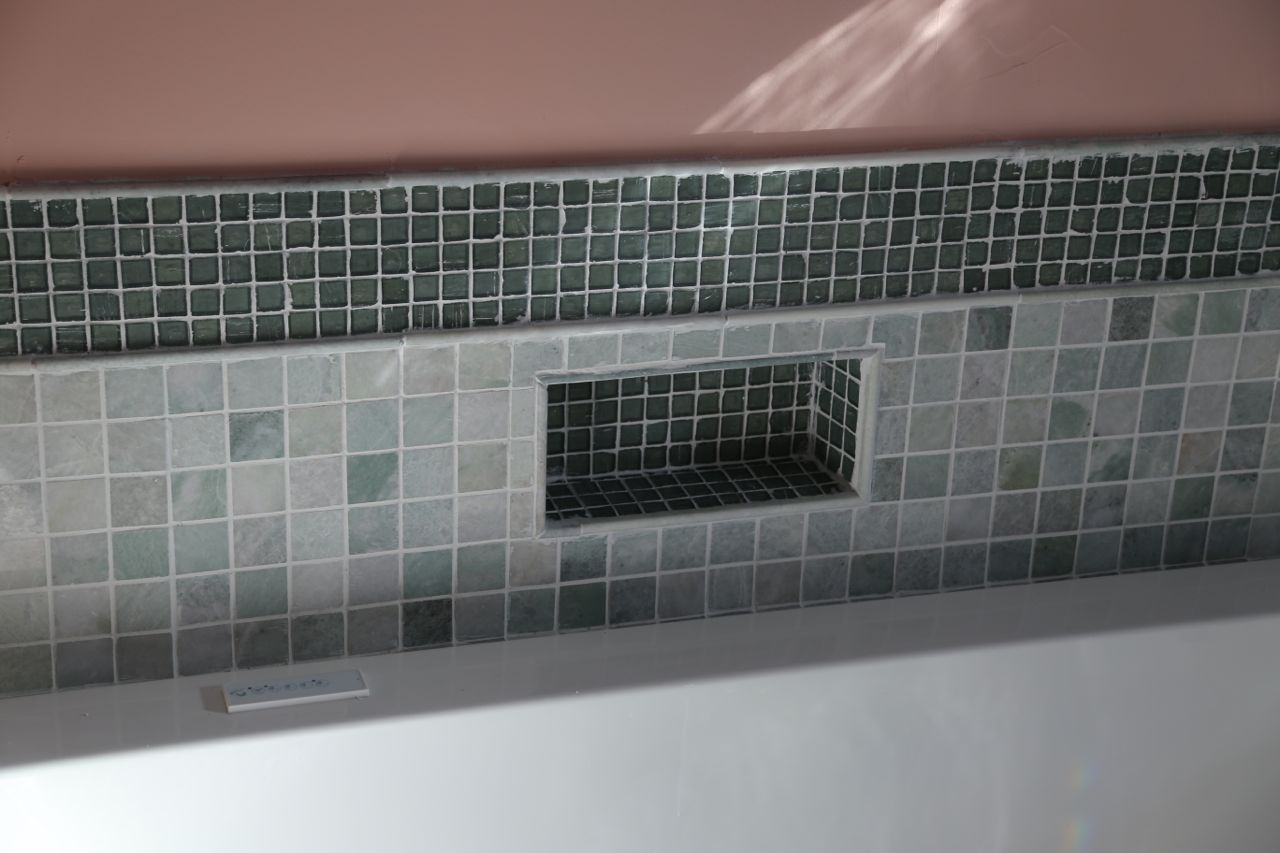
Another major milestone in my master bathroom renovation has been reach. I completely finished tiling the shower and tub area. I laid and grouted an huge amount of tile. I also tiled the ceiling above the shower because I am insane. I don’t know how many hours it took me, but it was a lot, several weekends and nights after my real job work. It looks great in my opinion, but it was a lot of work. I used two different types of tile. The vast majority of the tile is a gorgeous sea foam green marble tile called Biltmore. The main field tile is polished 2×2 inch Biltmore marble. I used various accent pieces for the edging such as the top of the top platform and a pencil around the niches. Skirting tile of the same marble is used for the baseboards of the platform and the walls. The same marble is used for the flooring, brushed 12×12 for the floor and tumbled cobble for the shower floor. I then used glass tile for accents in the niches and for the top of the tub backsplash. The glass tile is made partially from recycled glass bottles.
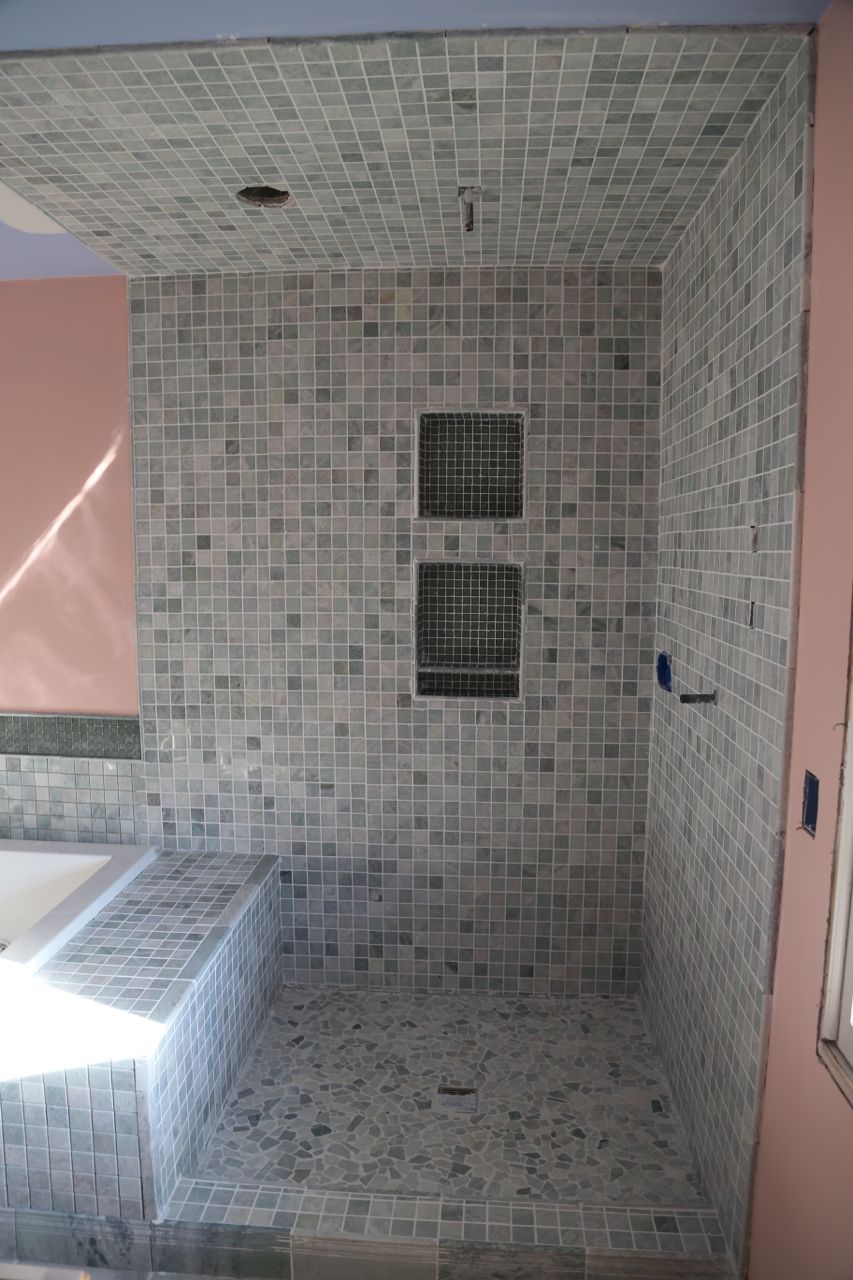
Shower tile
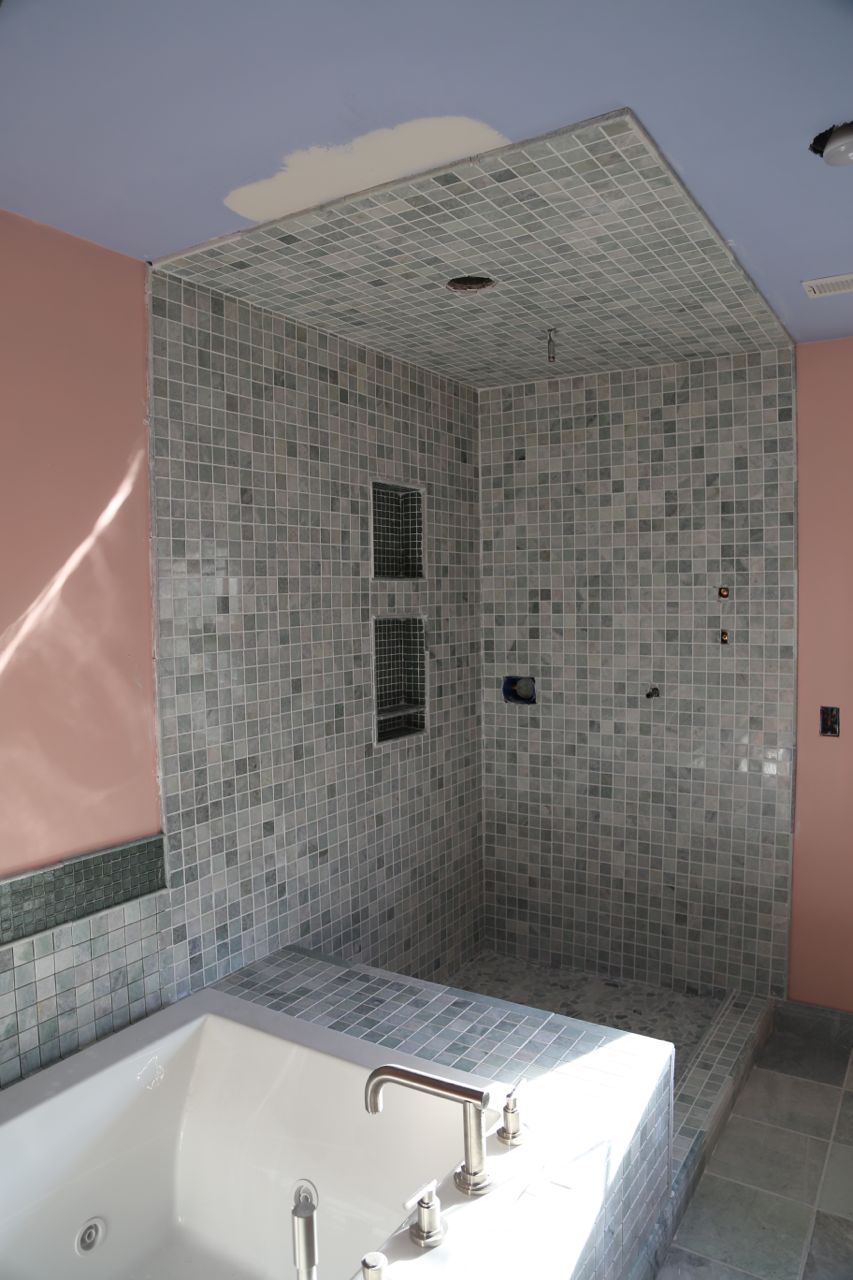
Shower tile
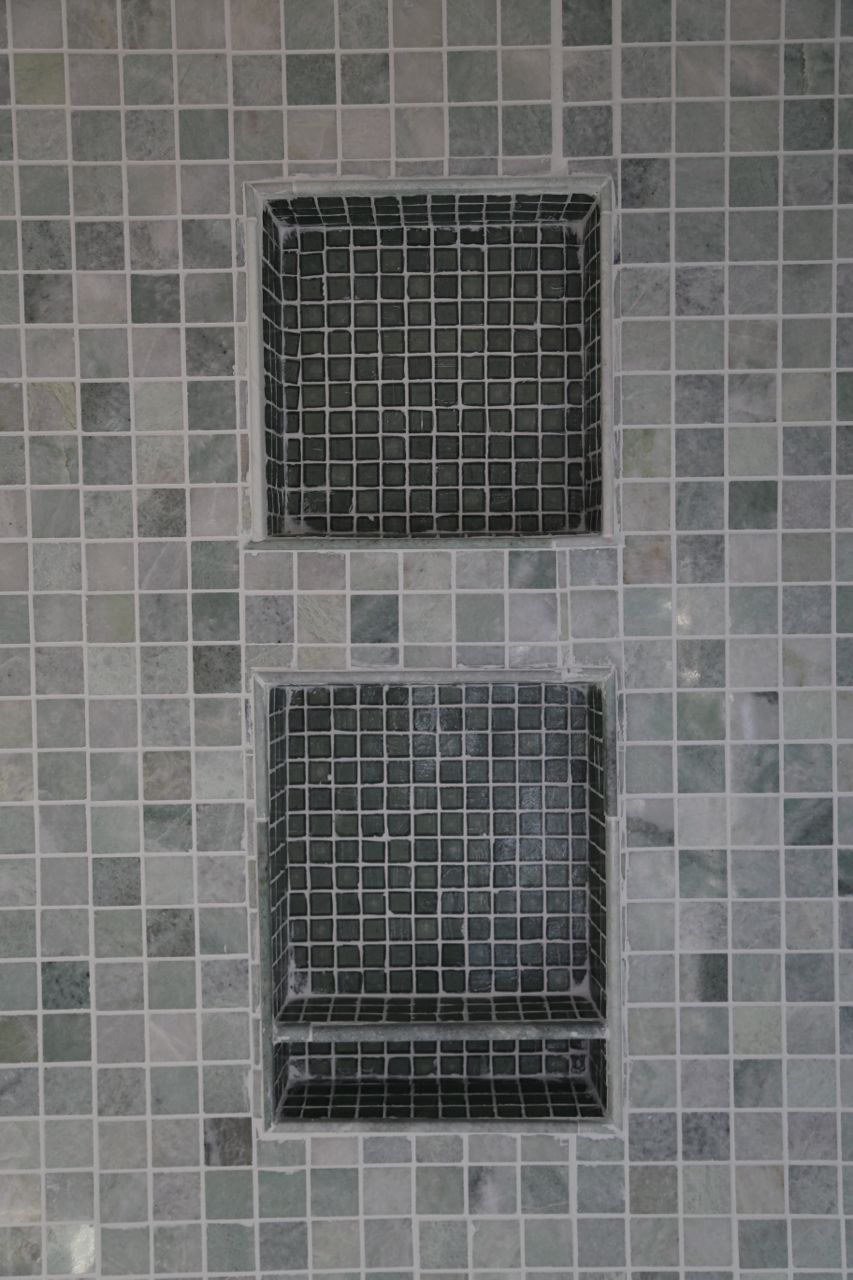
Shower niche tile
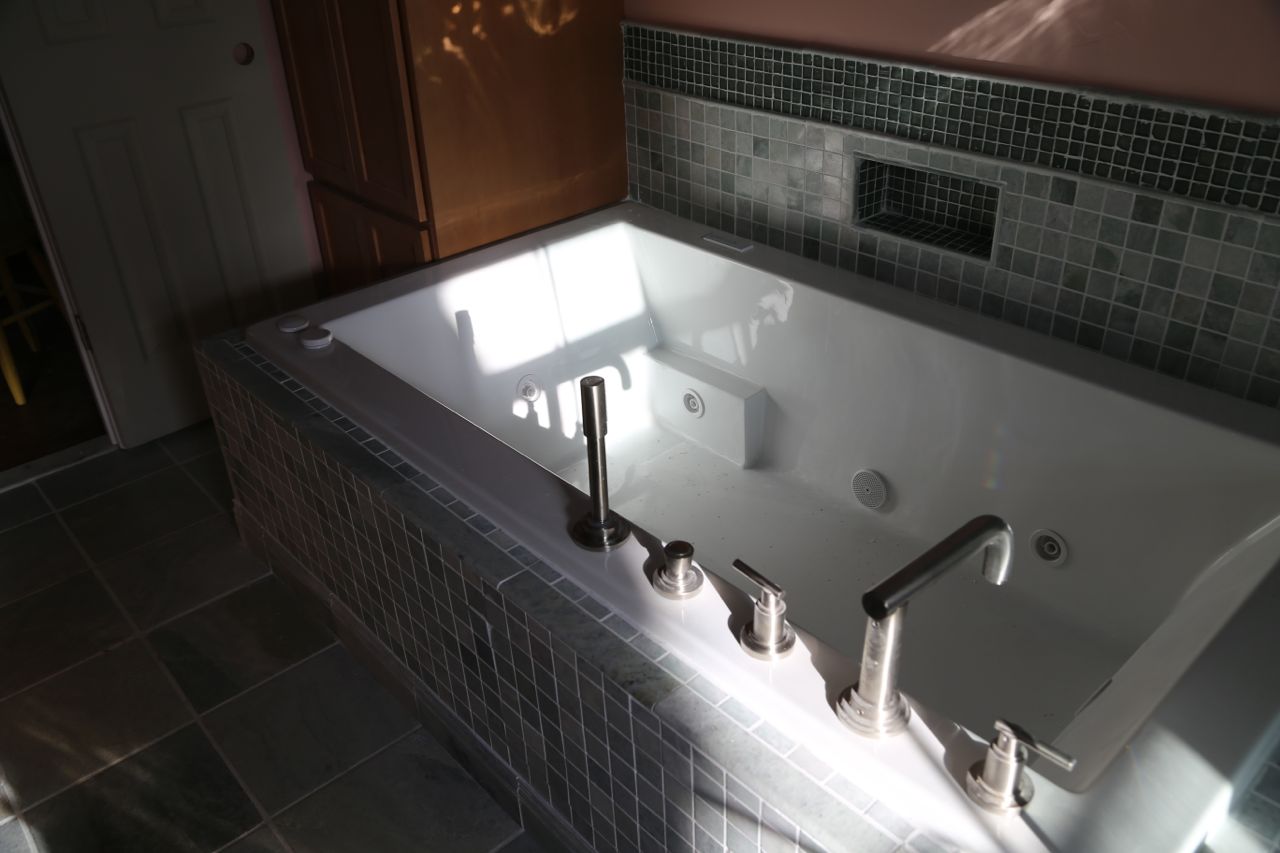
Tub tile
Tub backsplash
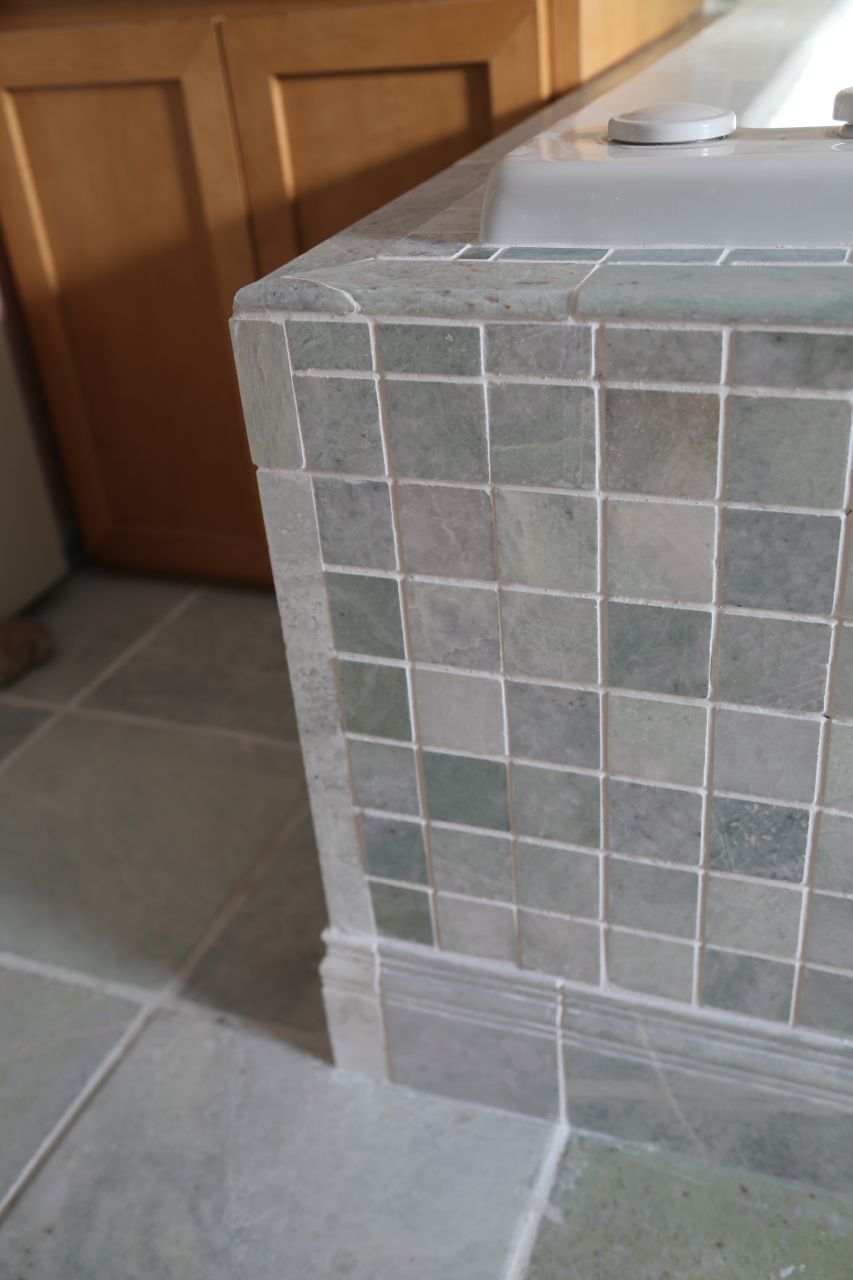
Tub platform corner
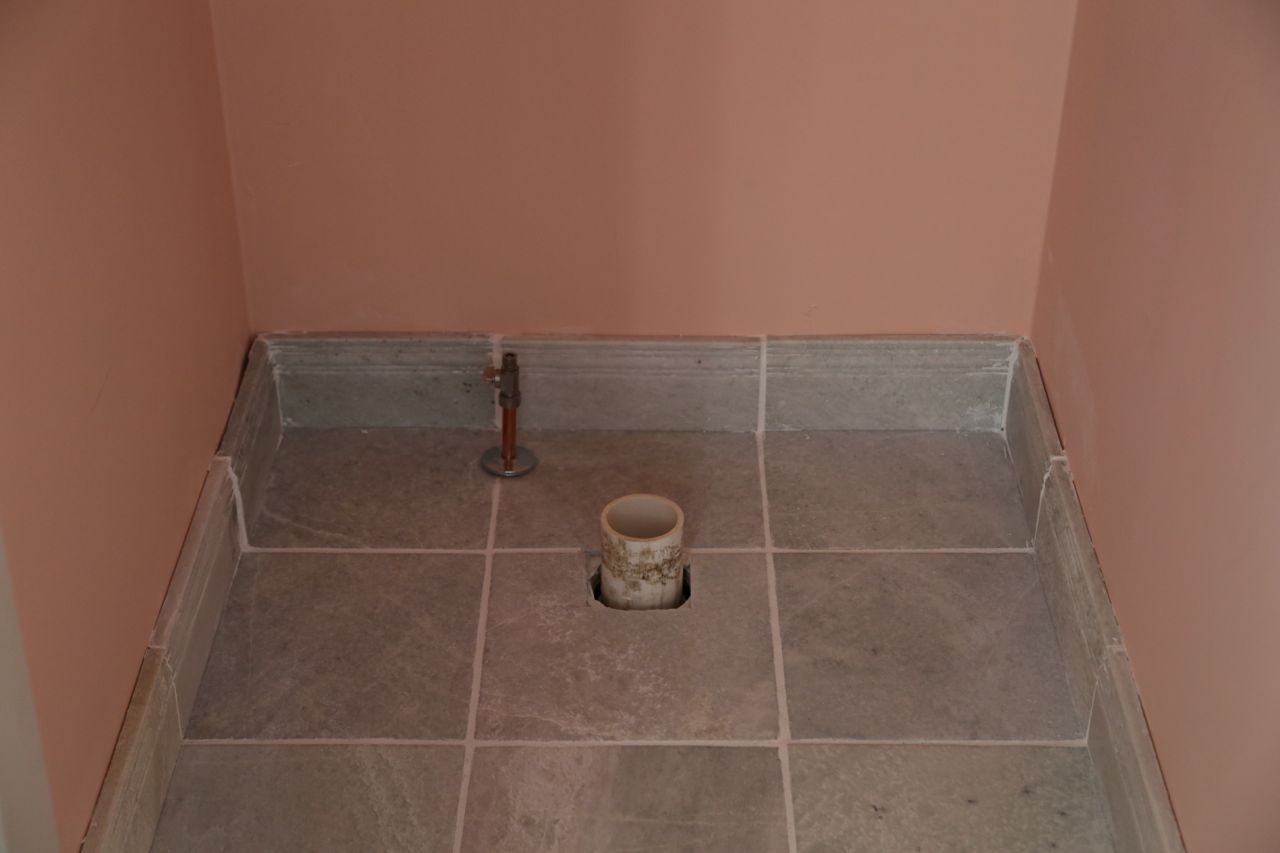
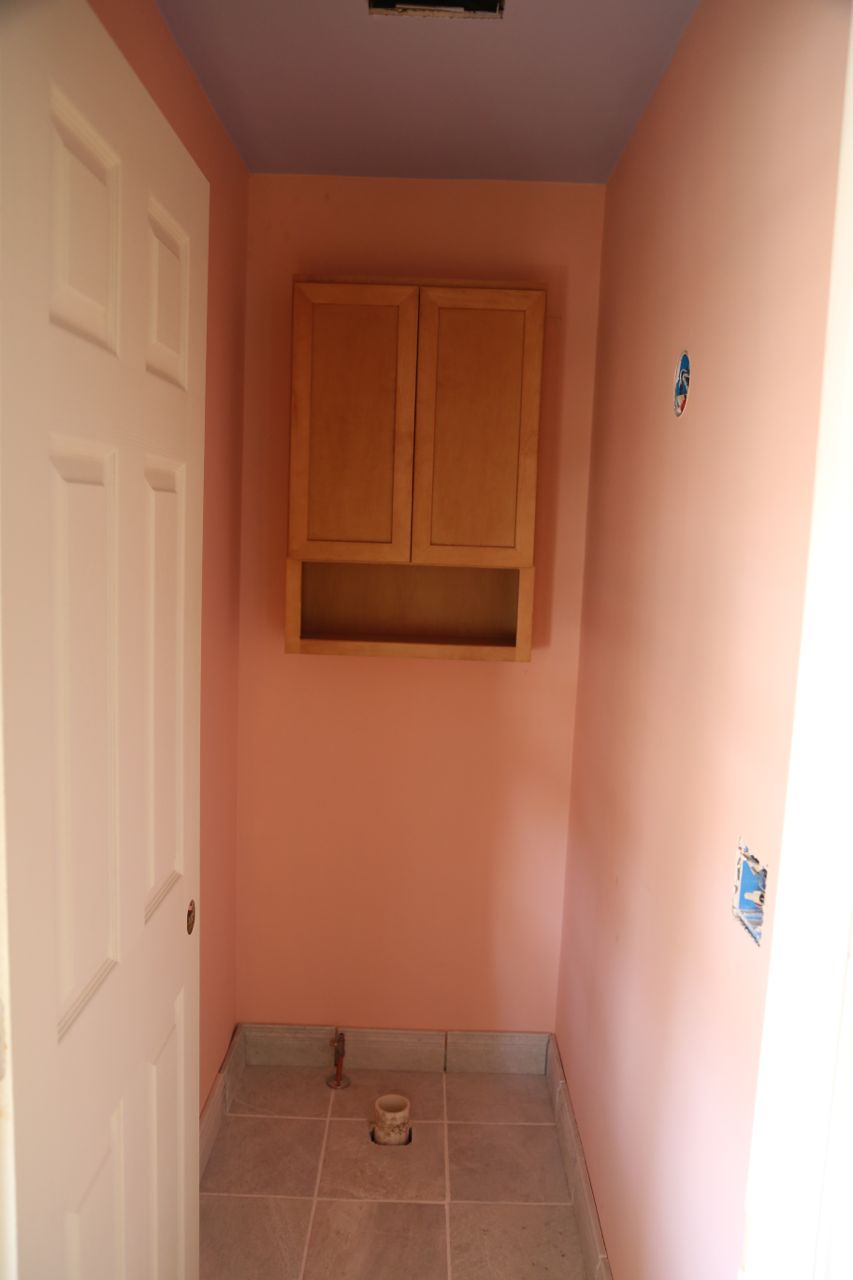
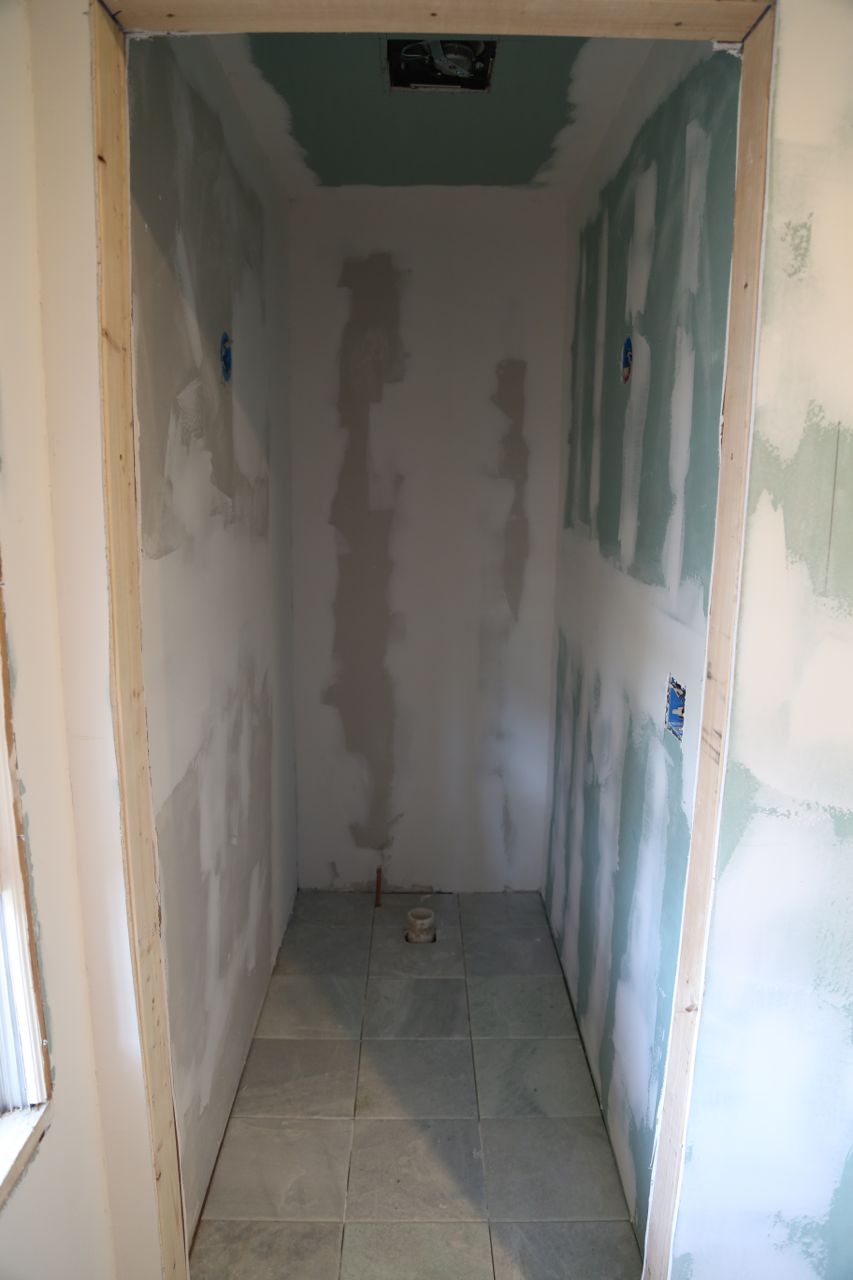
Toilet area tile