The master bathroom renovation is finally completely finished. The bathroom is small, but it has all the features I need and want. It is functional, and I love it. I previously wrote about the cabinets, but the final piece, an open shelving unit that sits on top of the countertop has been installed. All the cabinetry is from Tuscan Hills, and while most of it is standard cabinetry, some of it, especially the false bottom of the wall cabinet for access to the bath mechanics is custom. The tub is an MTI Andrea 14, and I must admit, after having taken a bath in it, it is even bigger than I realized, but it has whirlpool jets and air bubblers and is quite lovely in which to soak. I used frameless glass for the shower and simple, clear glass vessel sinks, so that visually they take up as little space as possible. I previously wrote and posted more detailed photos of the shower, so I am not posting too many here. The plumbing fixtures are all Grohe’s Atrio line. I used Moen’s Iso line for the towel bars and rings, robe hooks, and toilet paper holder, and I used Thomas Lighting’s Pittman fixtures for the vanity lights and wall sconces in the water closet.
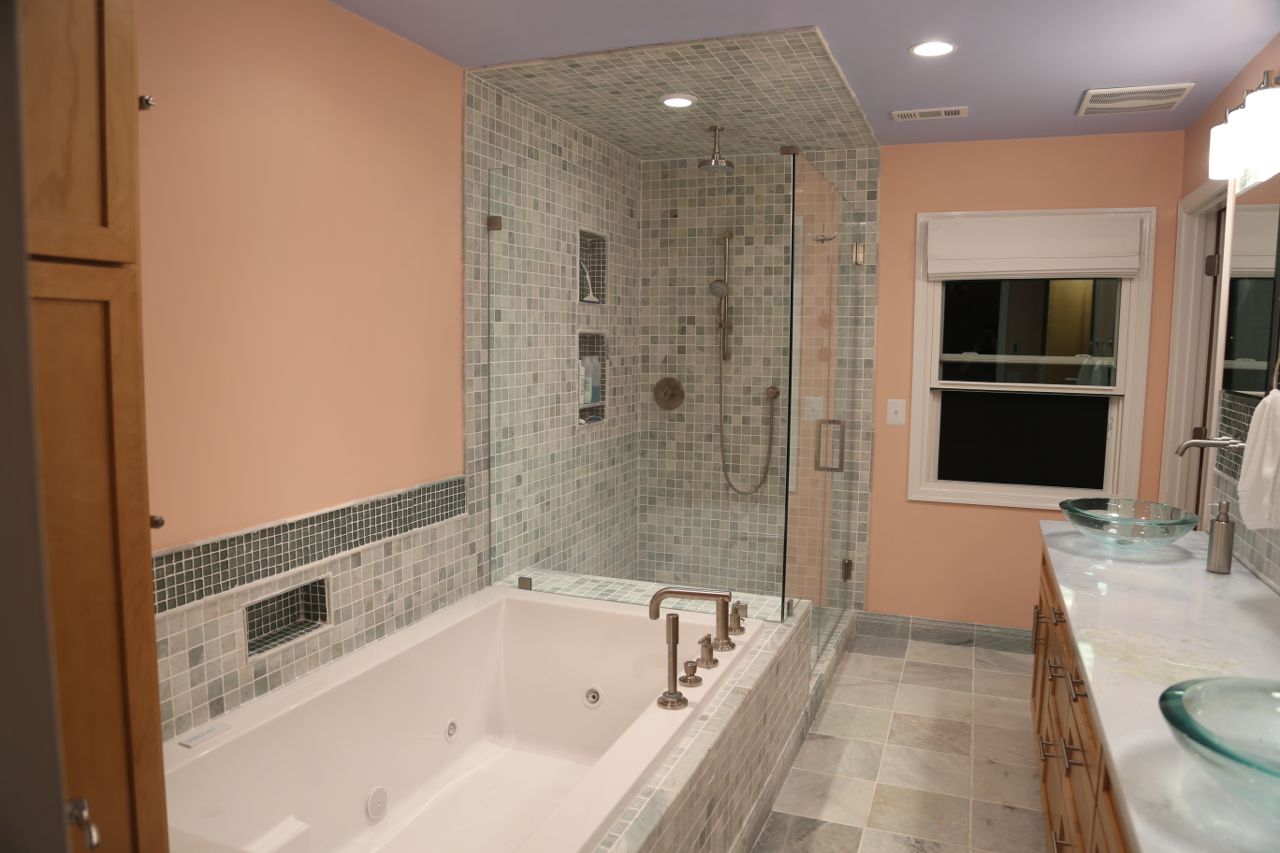
Newly renovated master bathroom

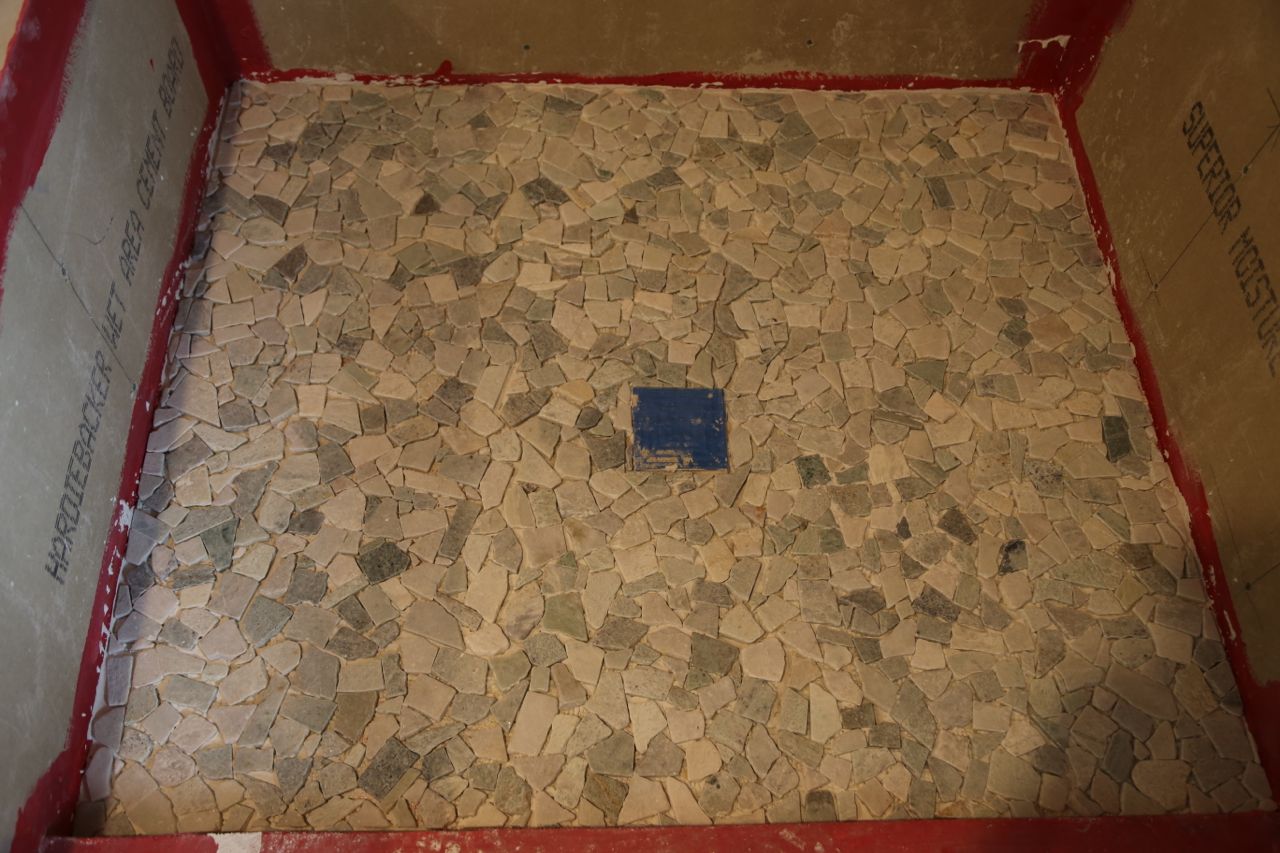
Shower
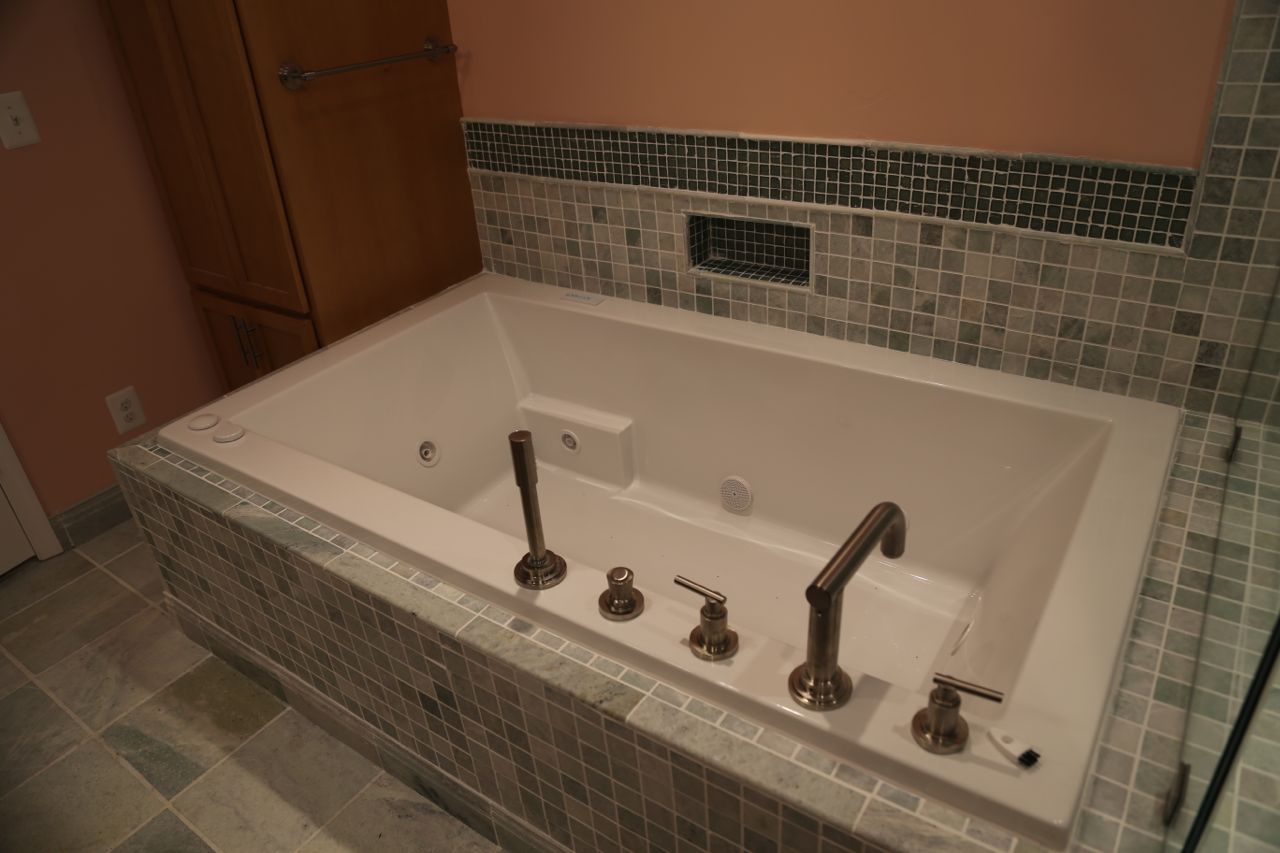
Tub
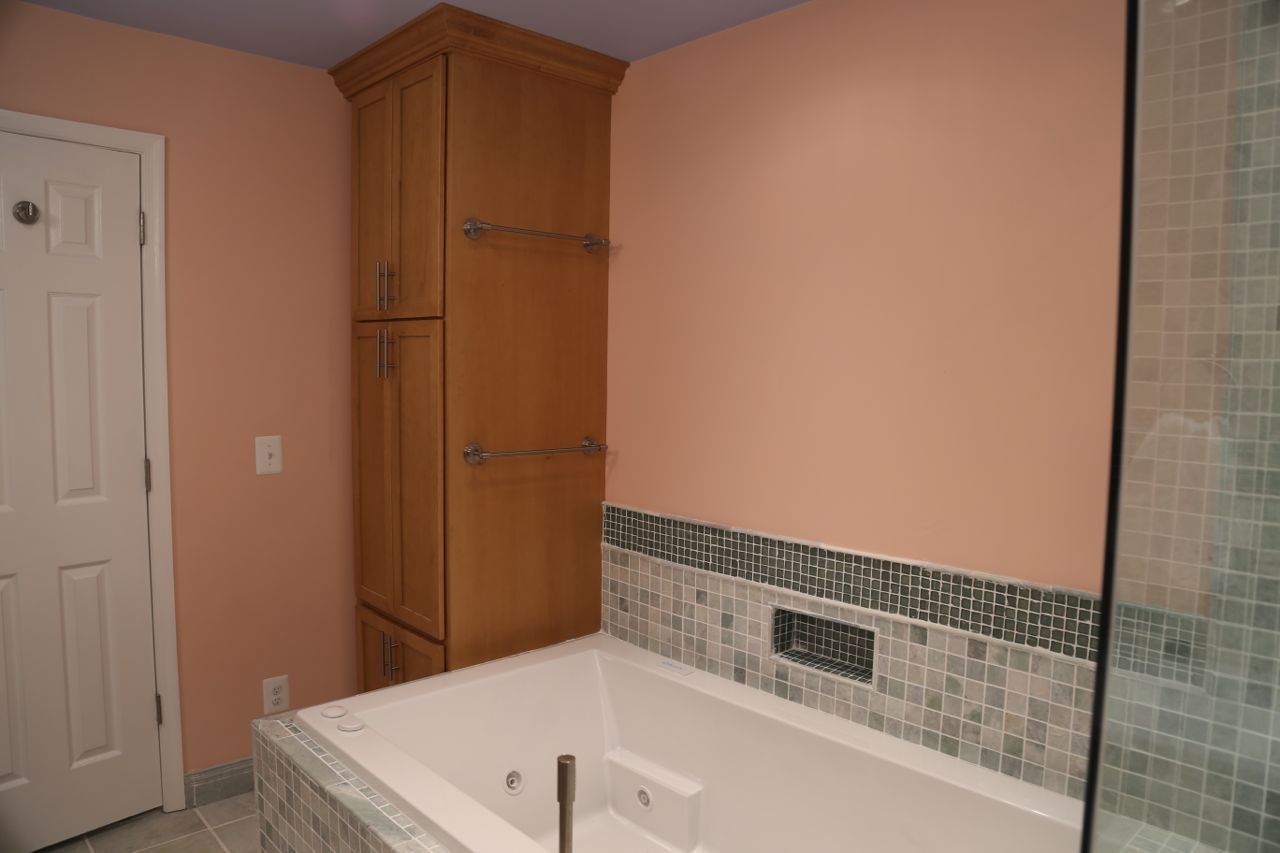
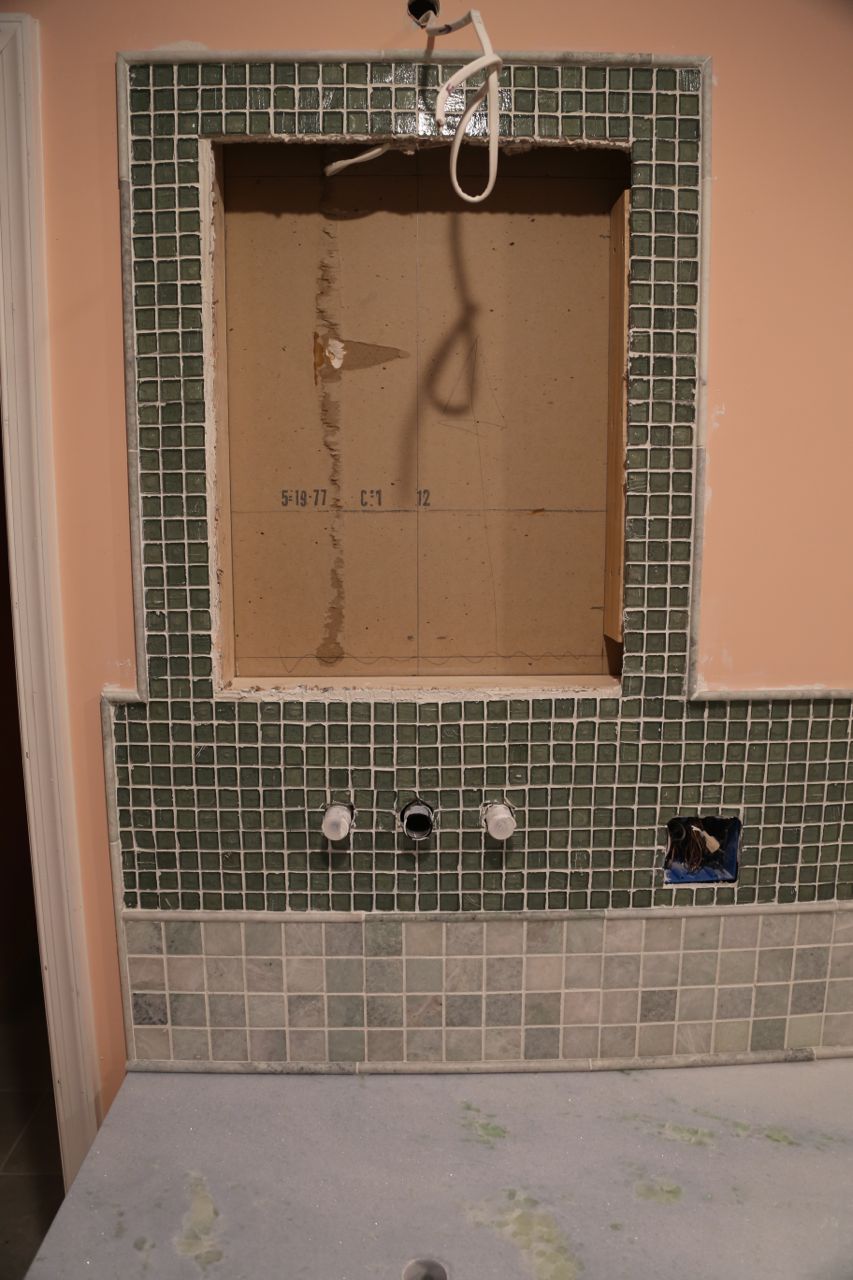
Wall cabinet next to the tub
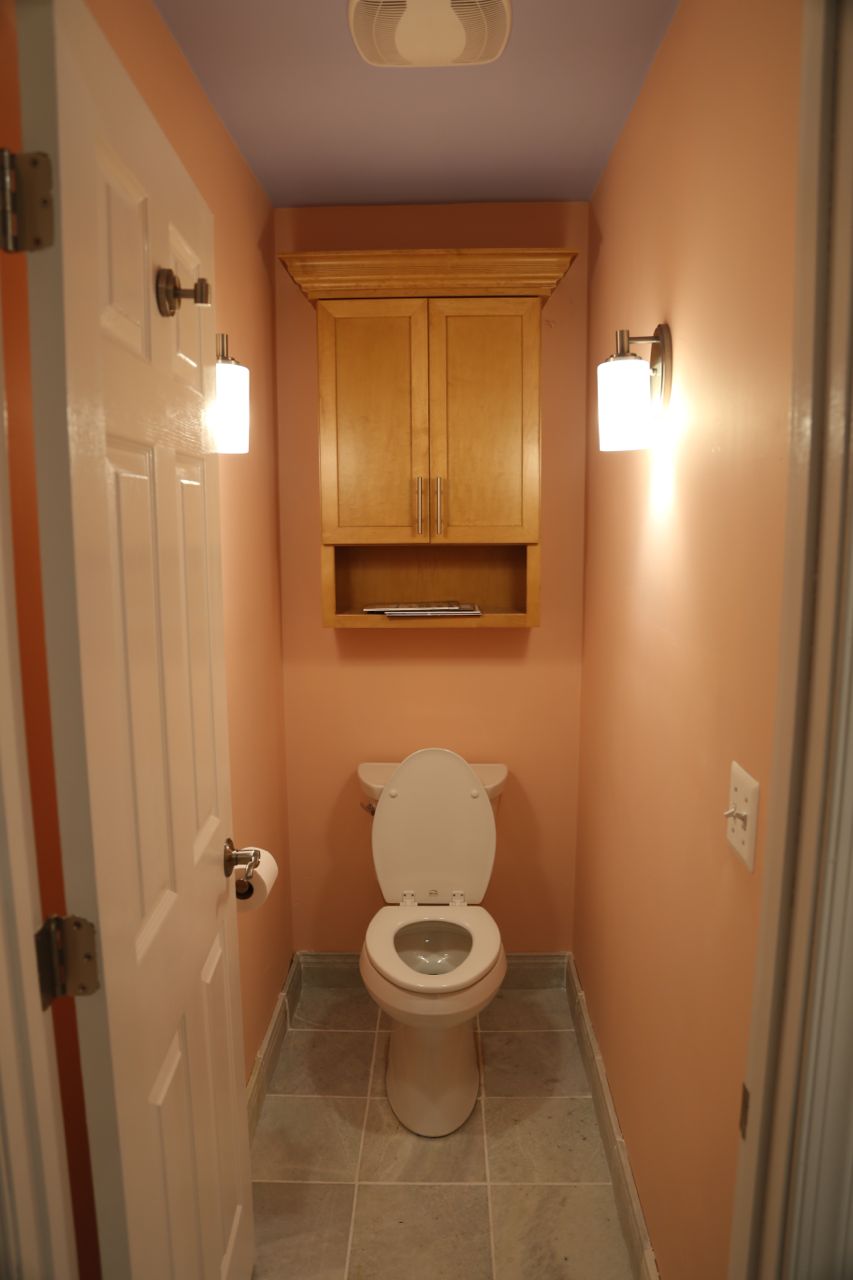
Water closet
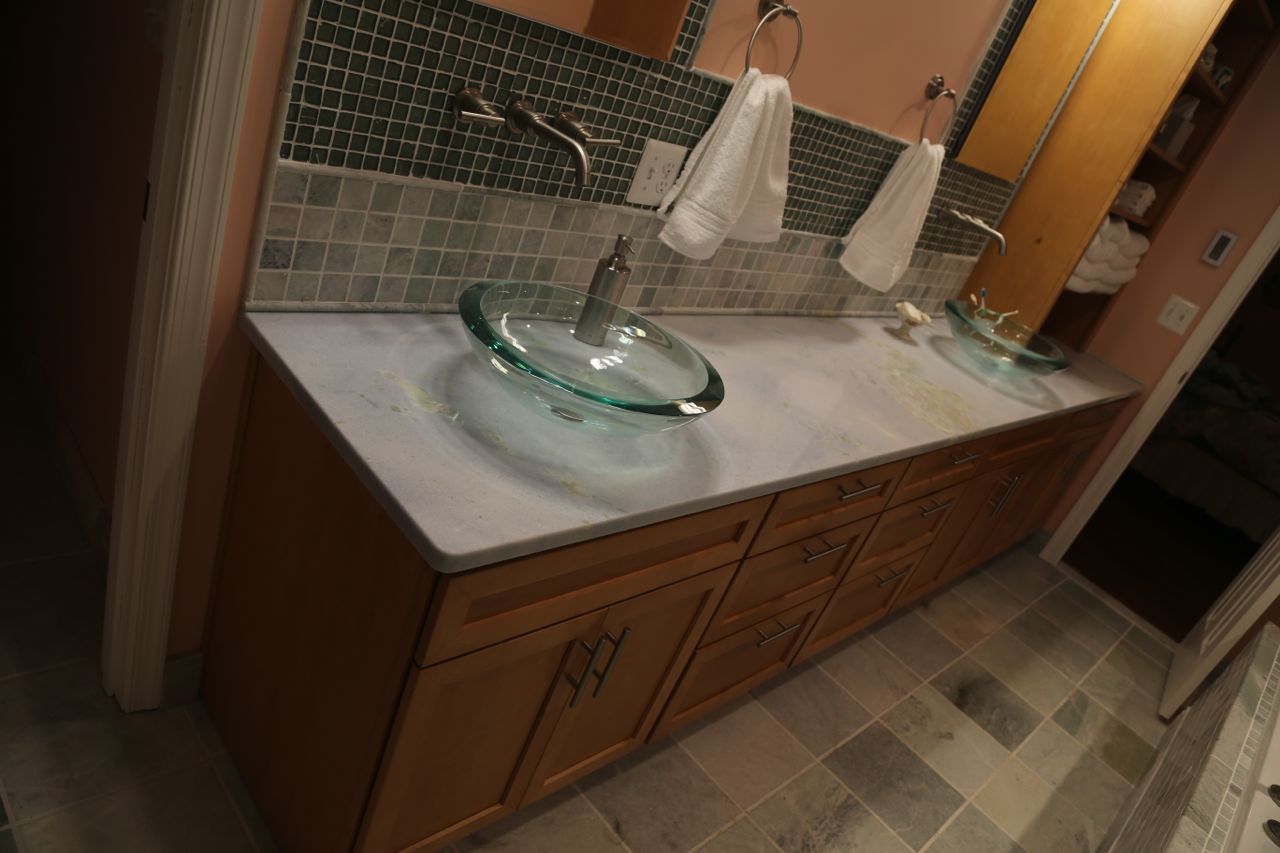
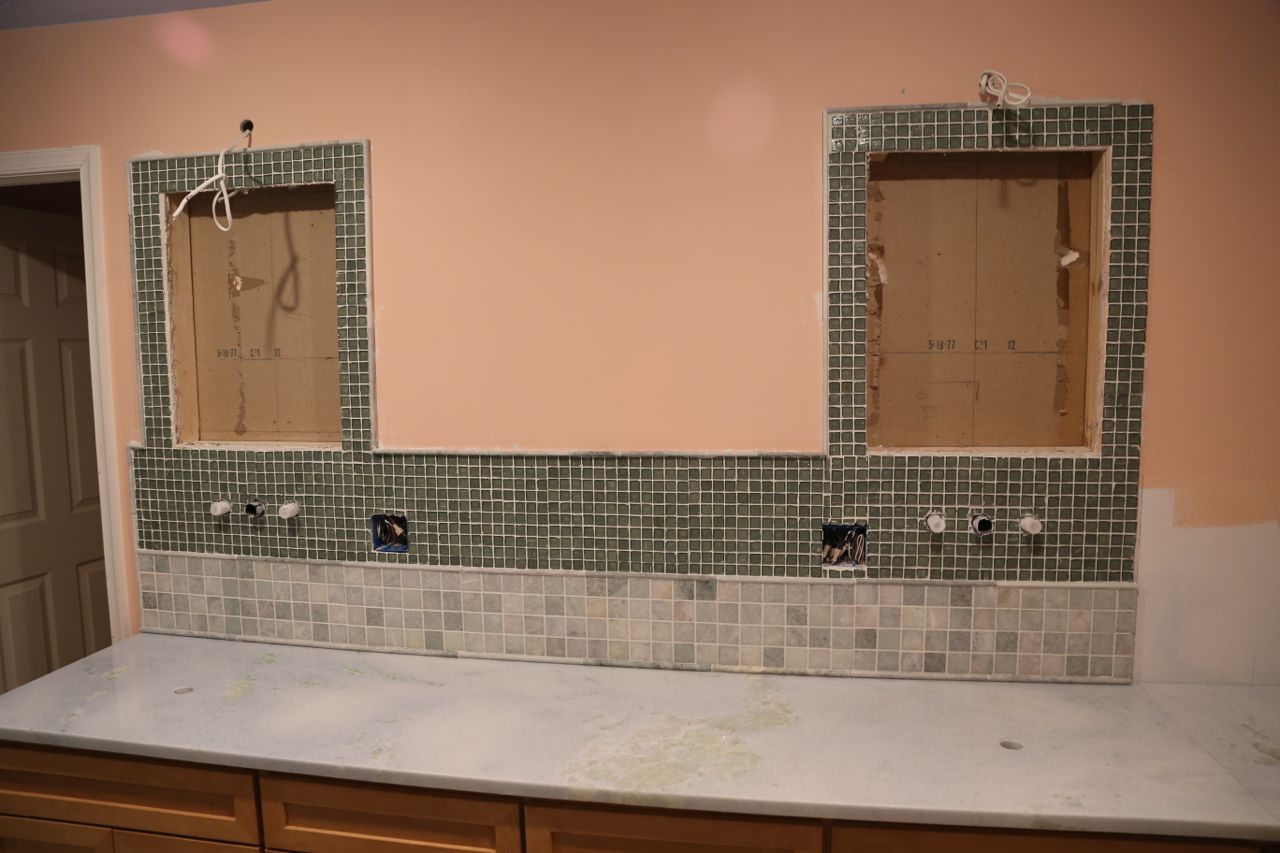
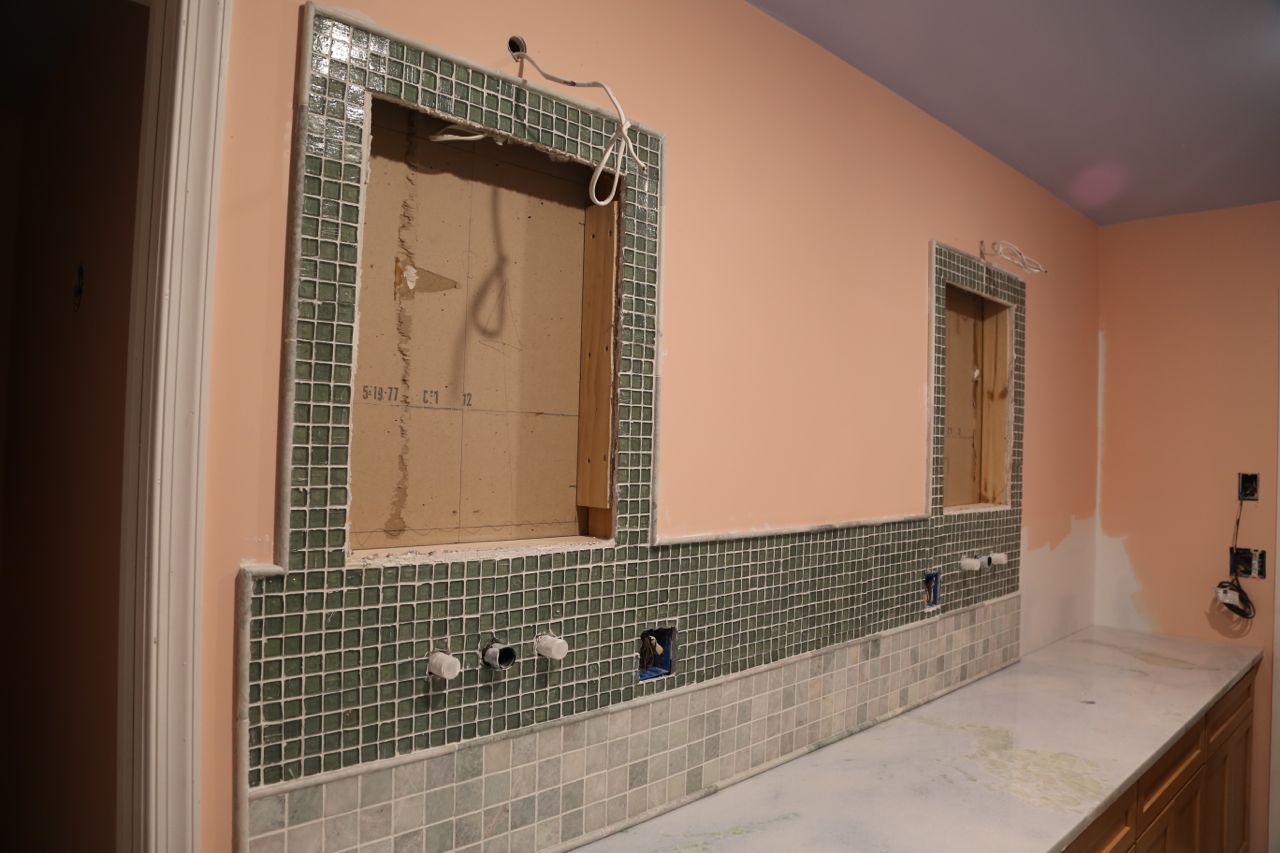
Vanity
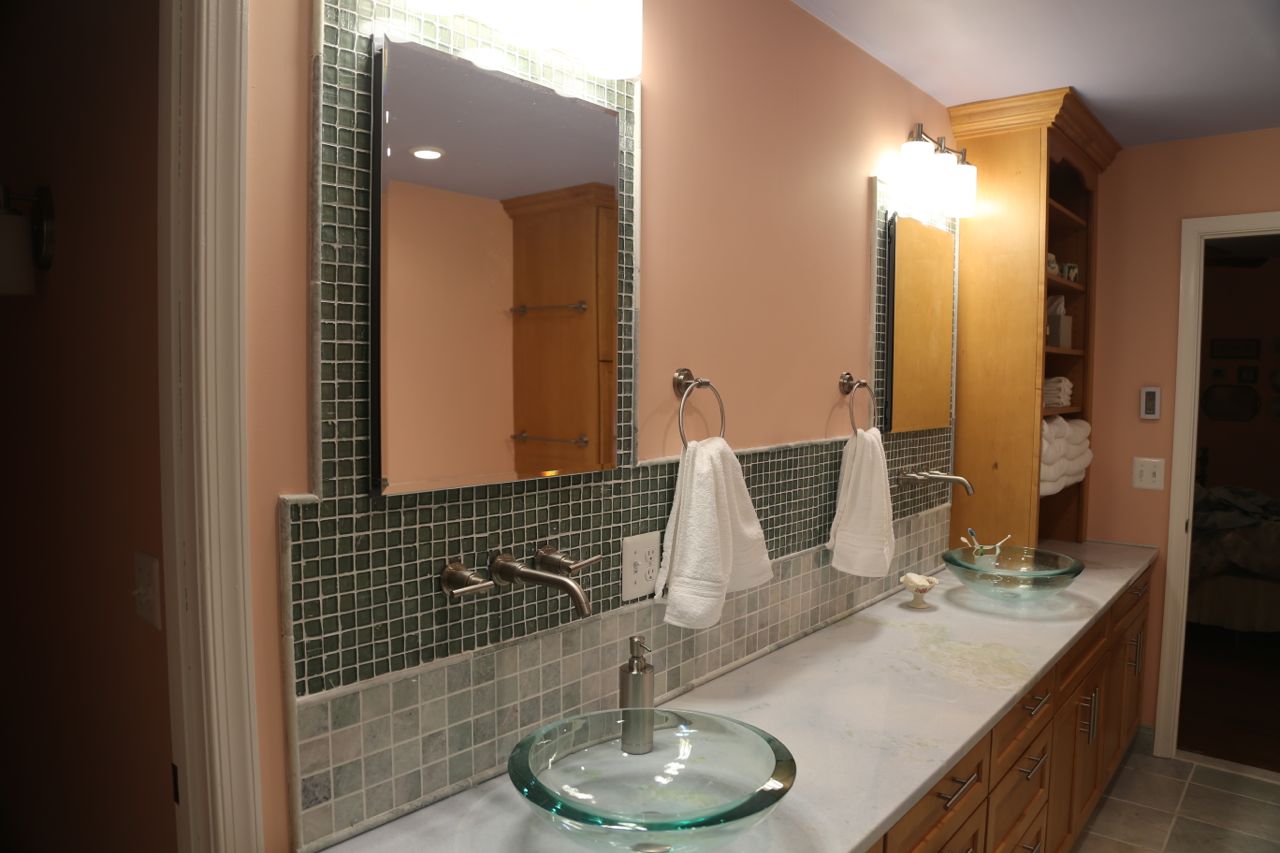
Vanity
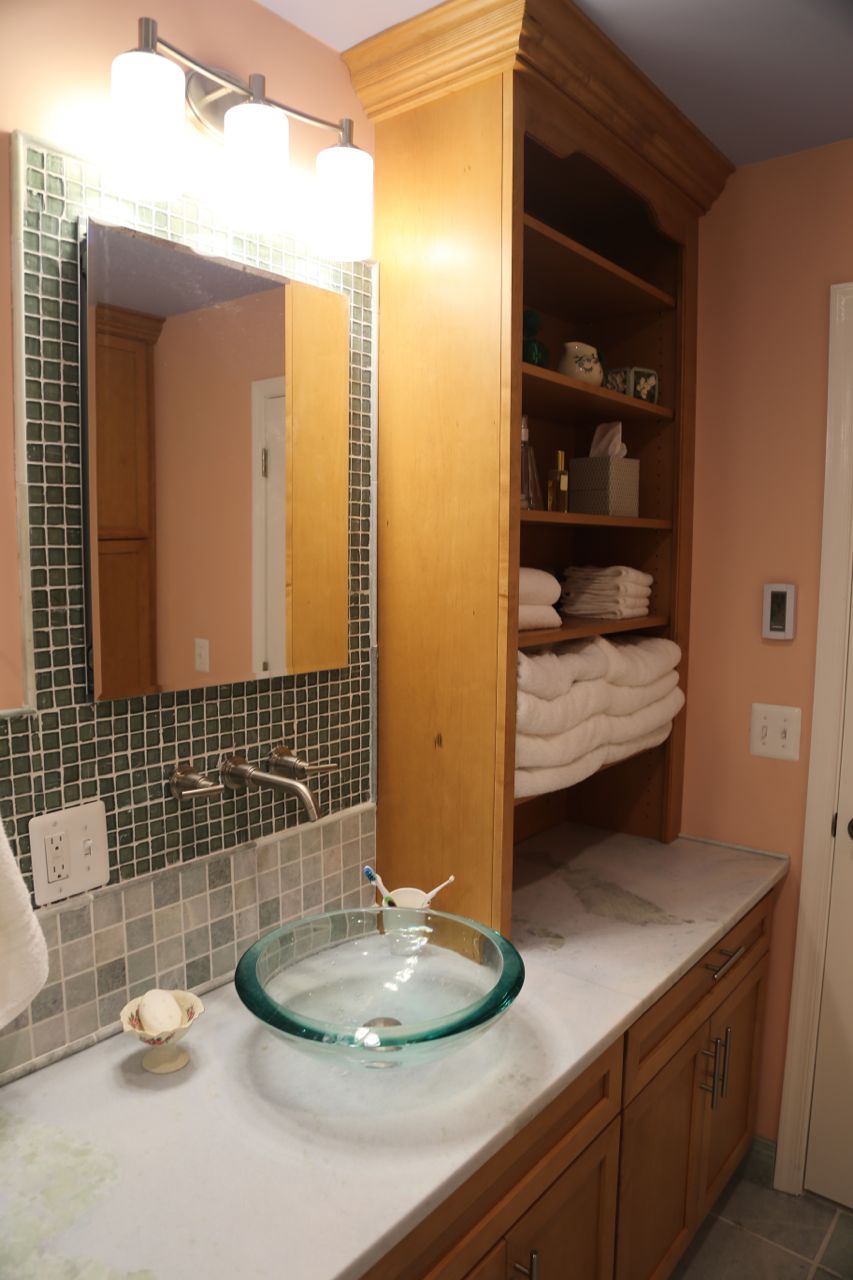
Open shelves on the vanity
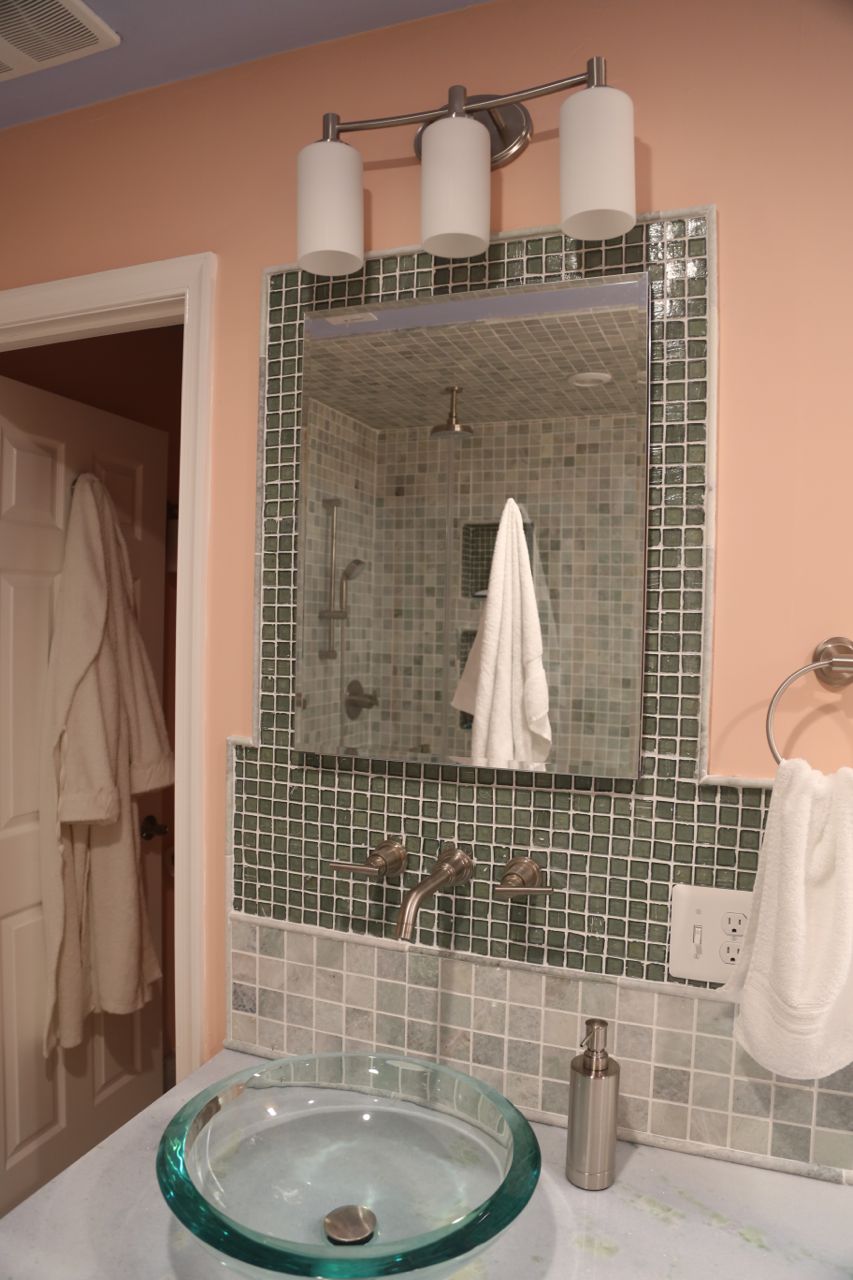
One of the sink areas

Vanity faucet
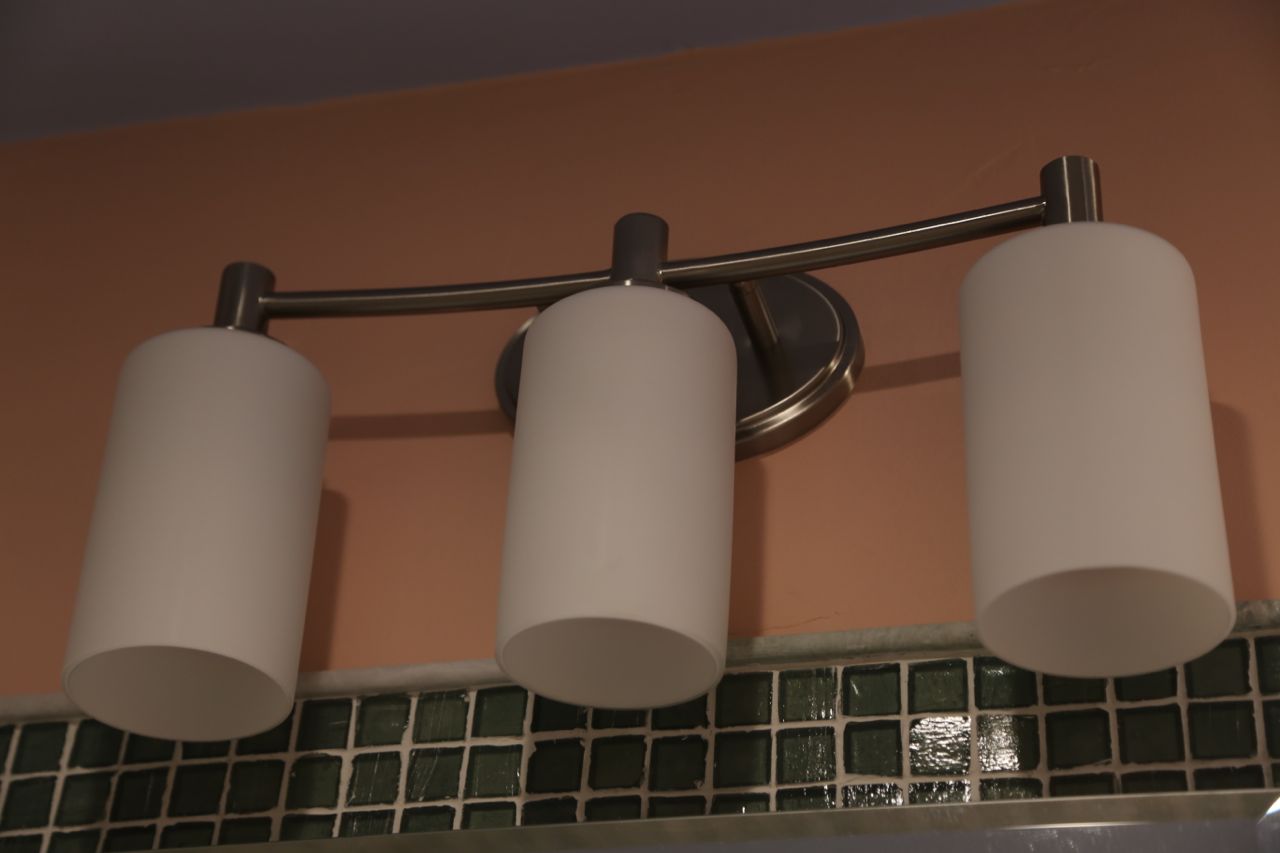
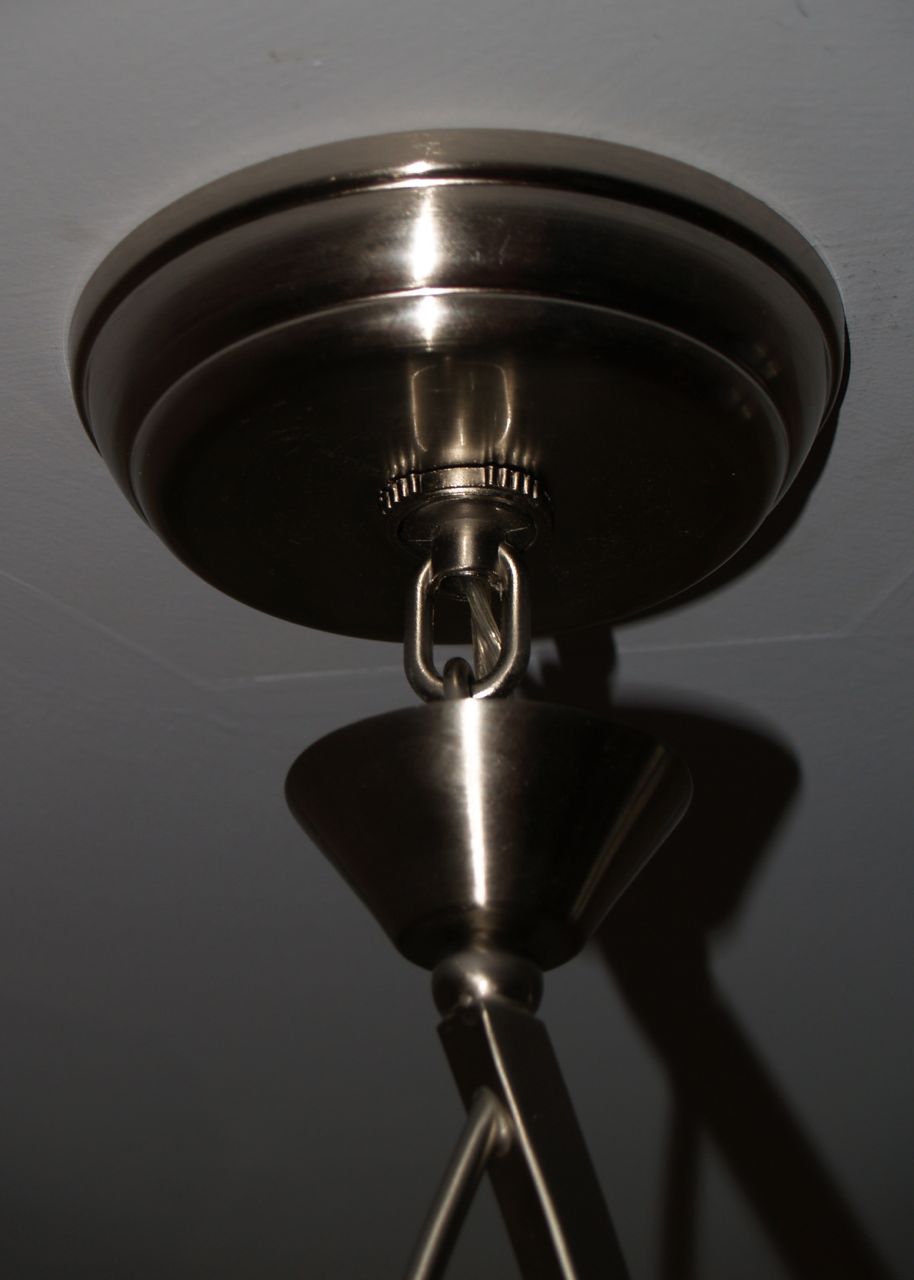
Vanity lights