


I came to Niagara Falls for the 2024 total solar eclipse with the idea of spectacular images of the eclipse above the falls. Unfortunately the weather did not cooperate. I was really lucky with clear skies for the 2017 eclipse, so the overcast skies was really disappointing. I got a couple of glimpses of the partial eclipse. Totality did not disappoint. It’s been seven years since I last experienced totality, but I feel like totality was more dramatic this time. It was so overcast that it was already cool and not bright, so when totality hit, it felt very much like night and was very dark.
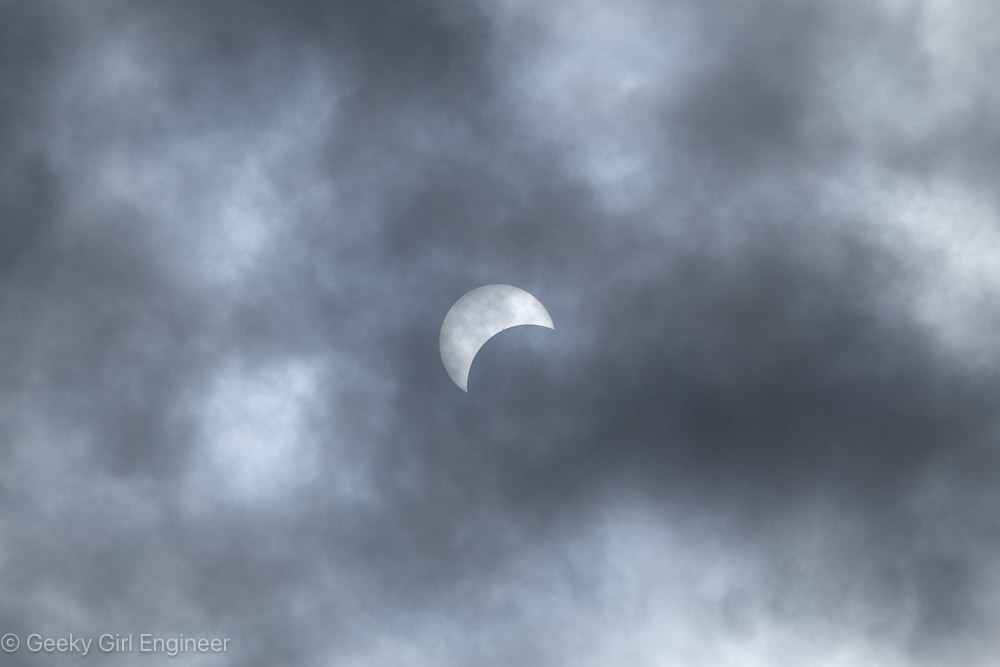
View of partial solar eclipse through clouds
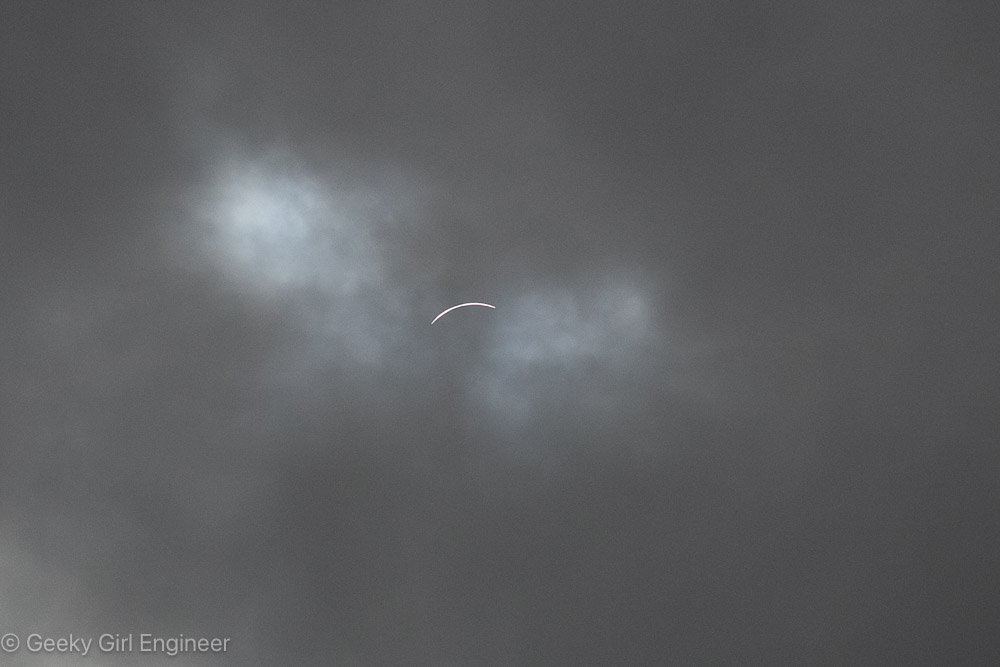
View of partial solar eclipse through clouds
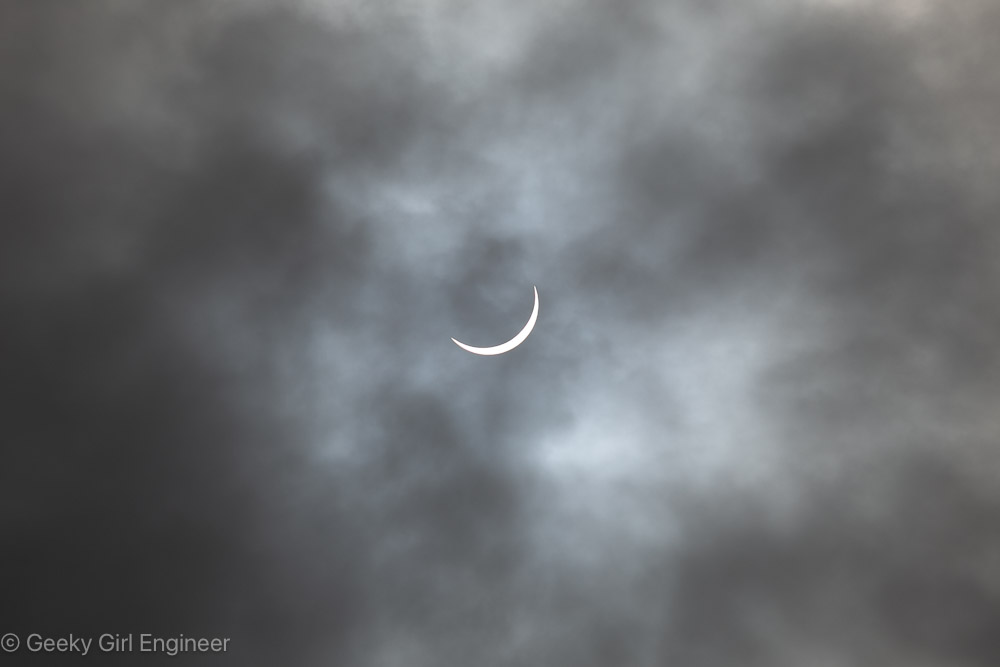
View of partial solar eclipse through clouds
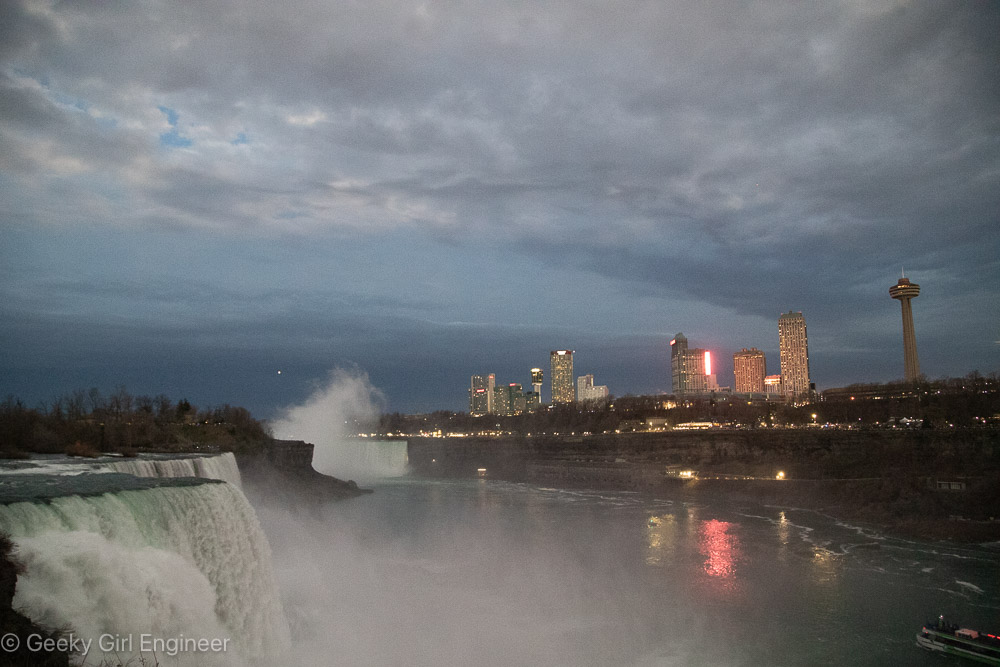
Niagara Falls during totality

Niagara Falls during totality (note water over falls from long exposure on this photo)
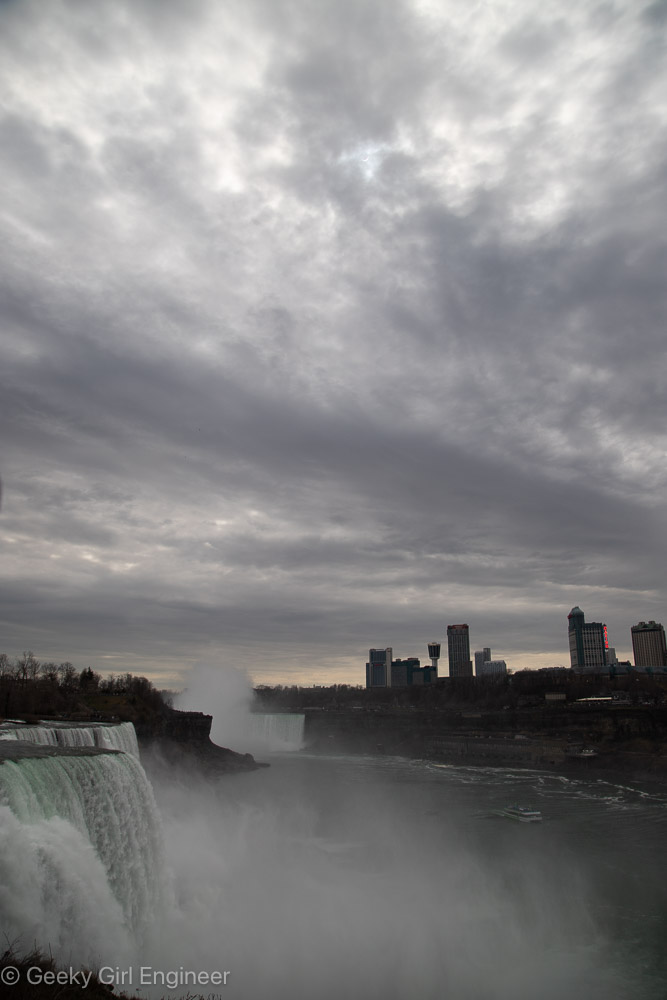
Niagara Falls with partial solar eclipse barely visible in center near top