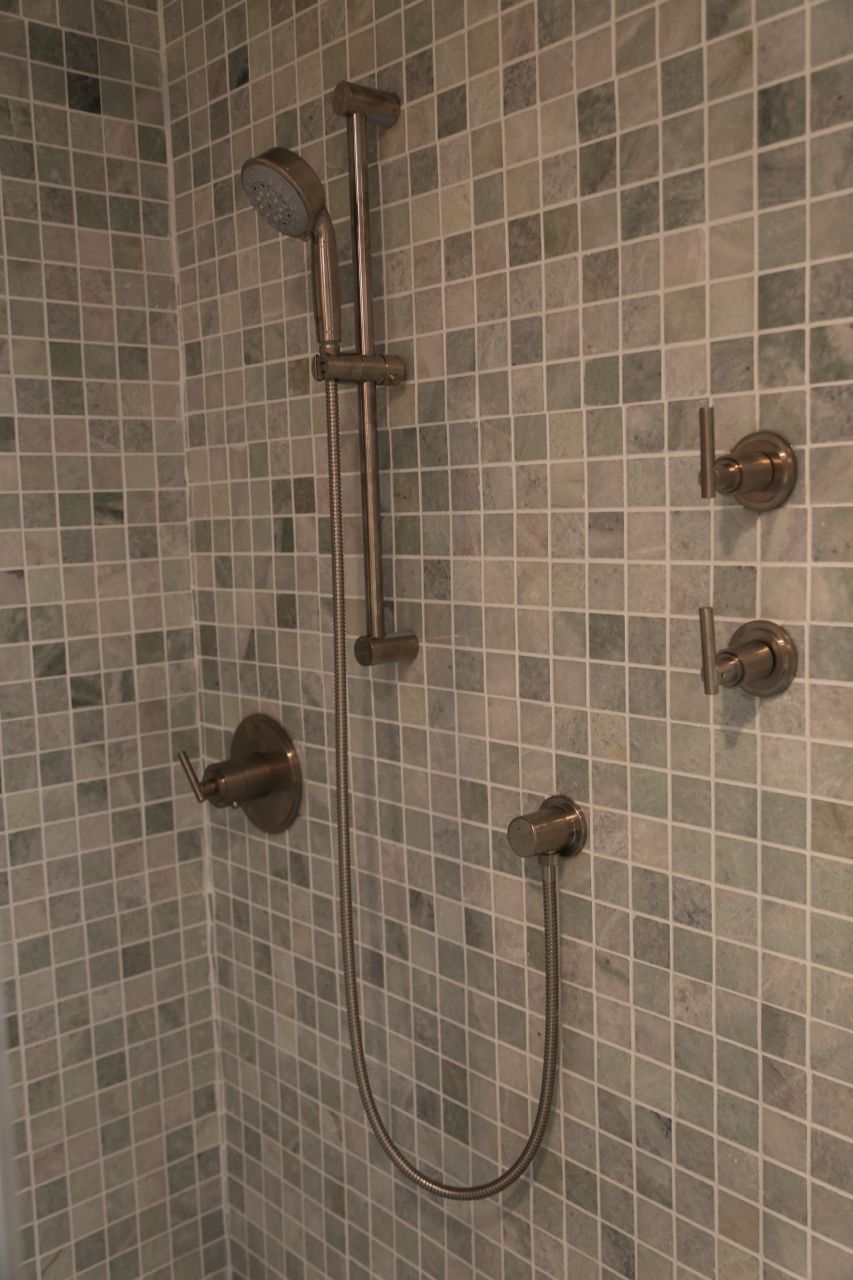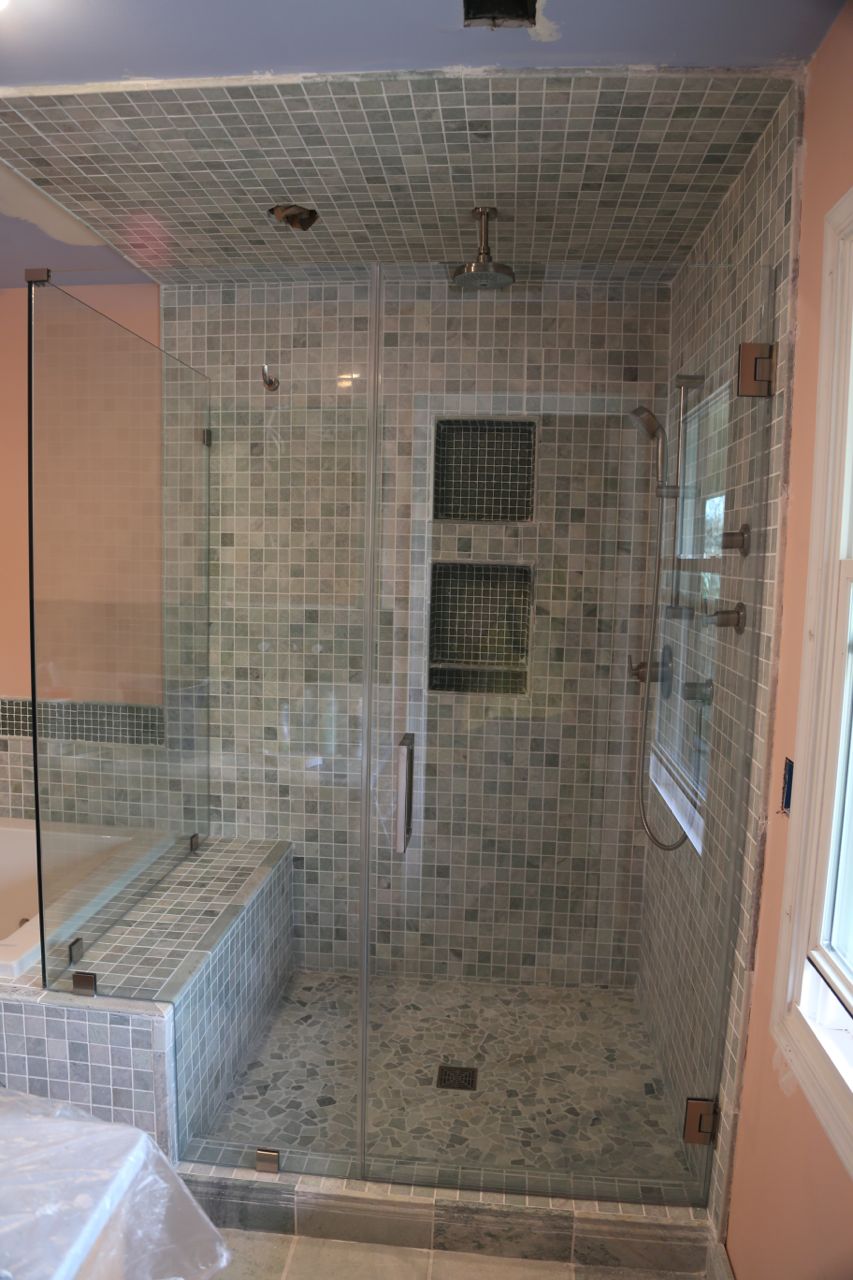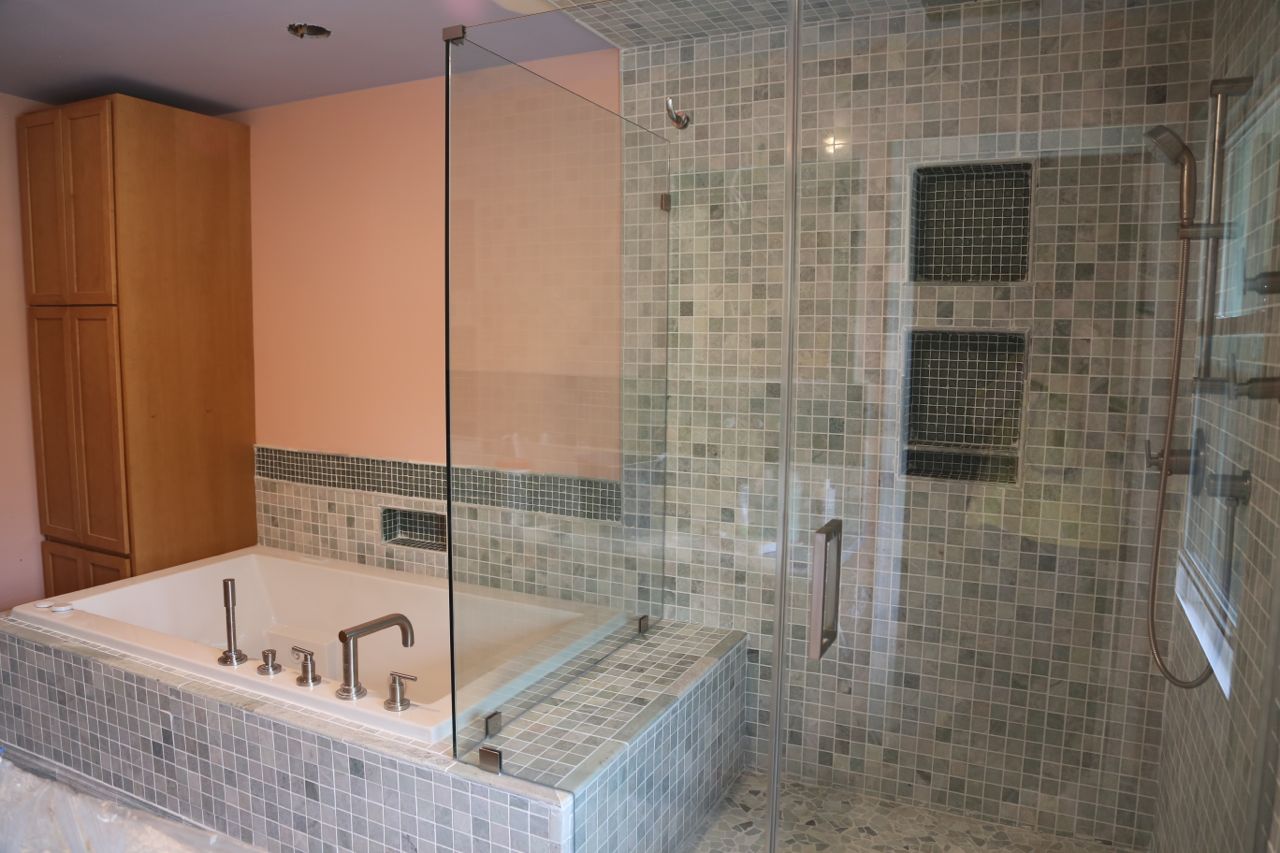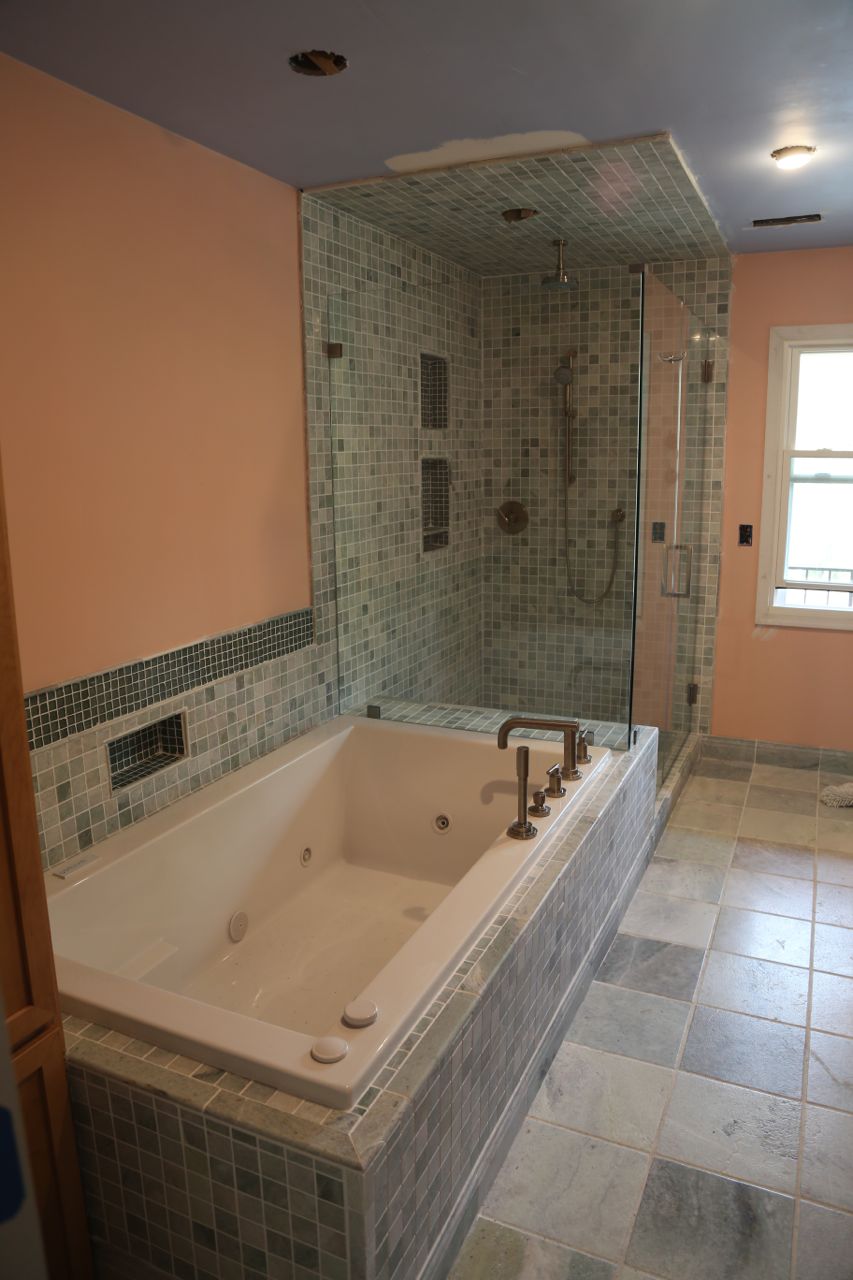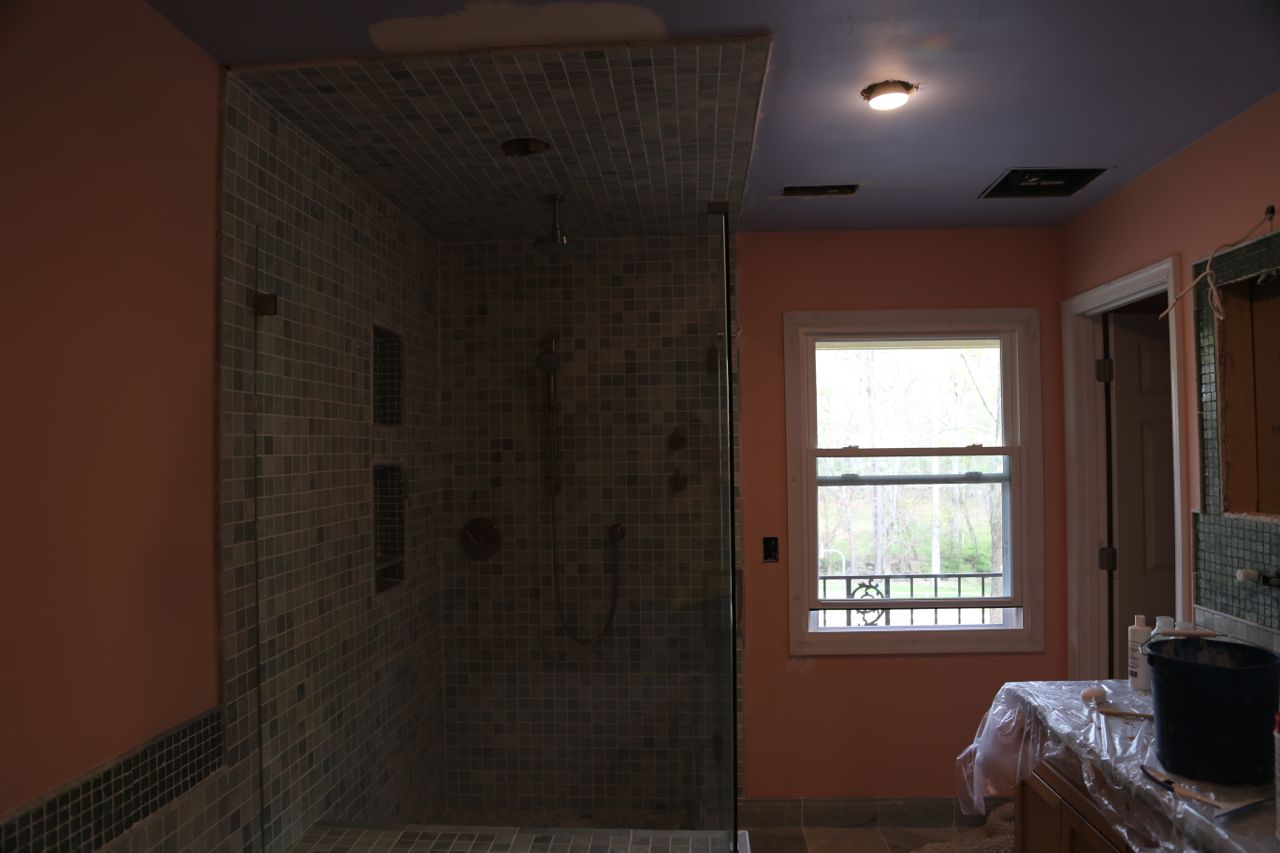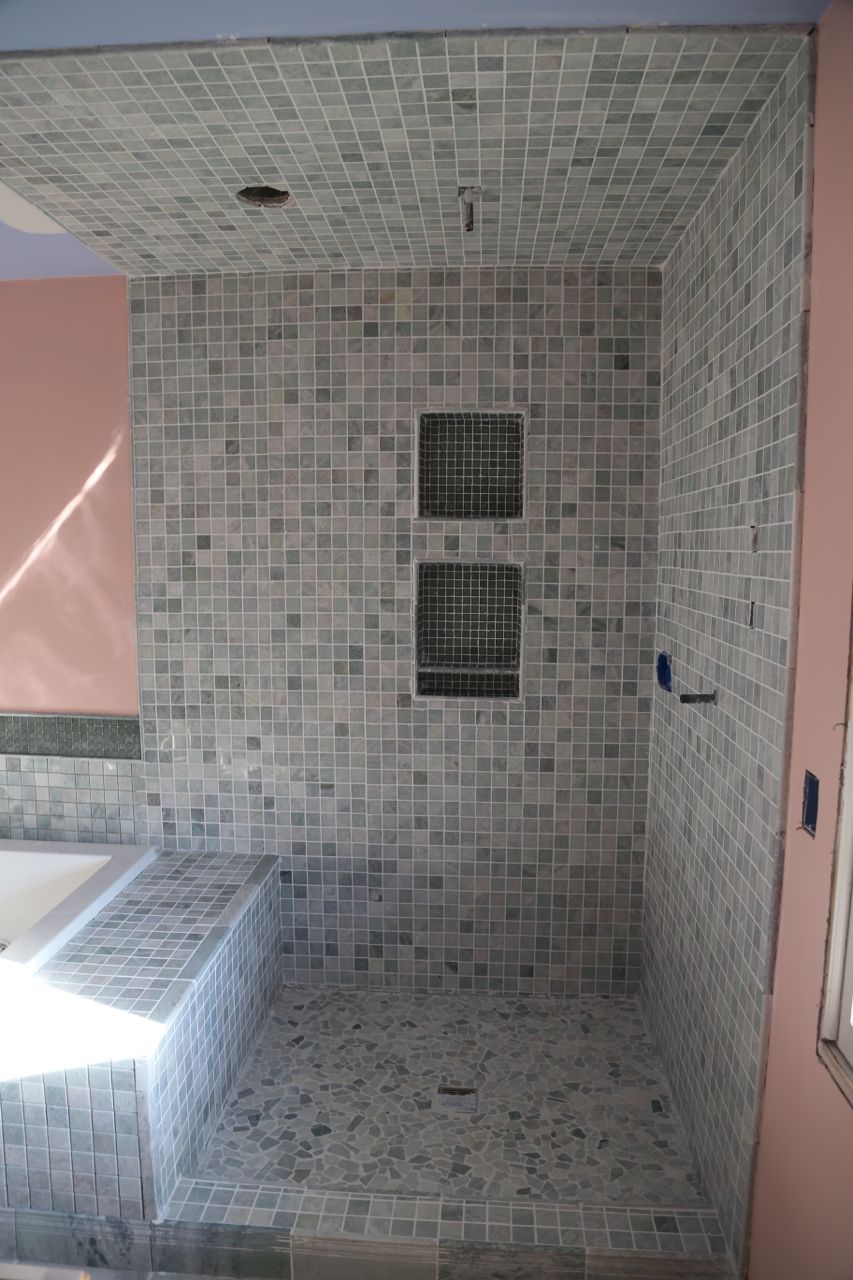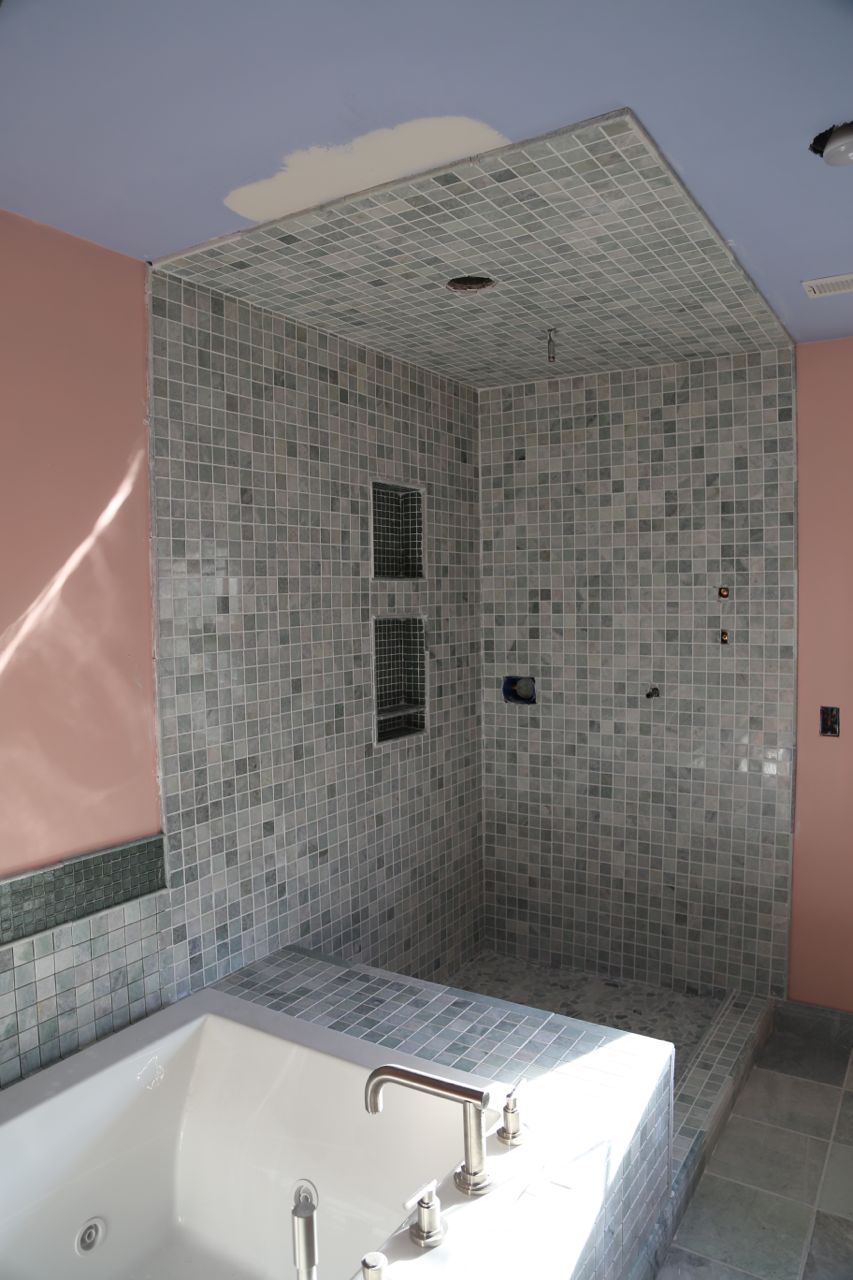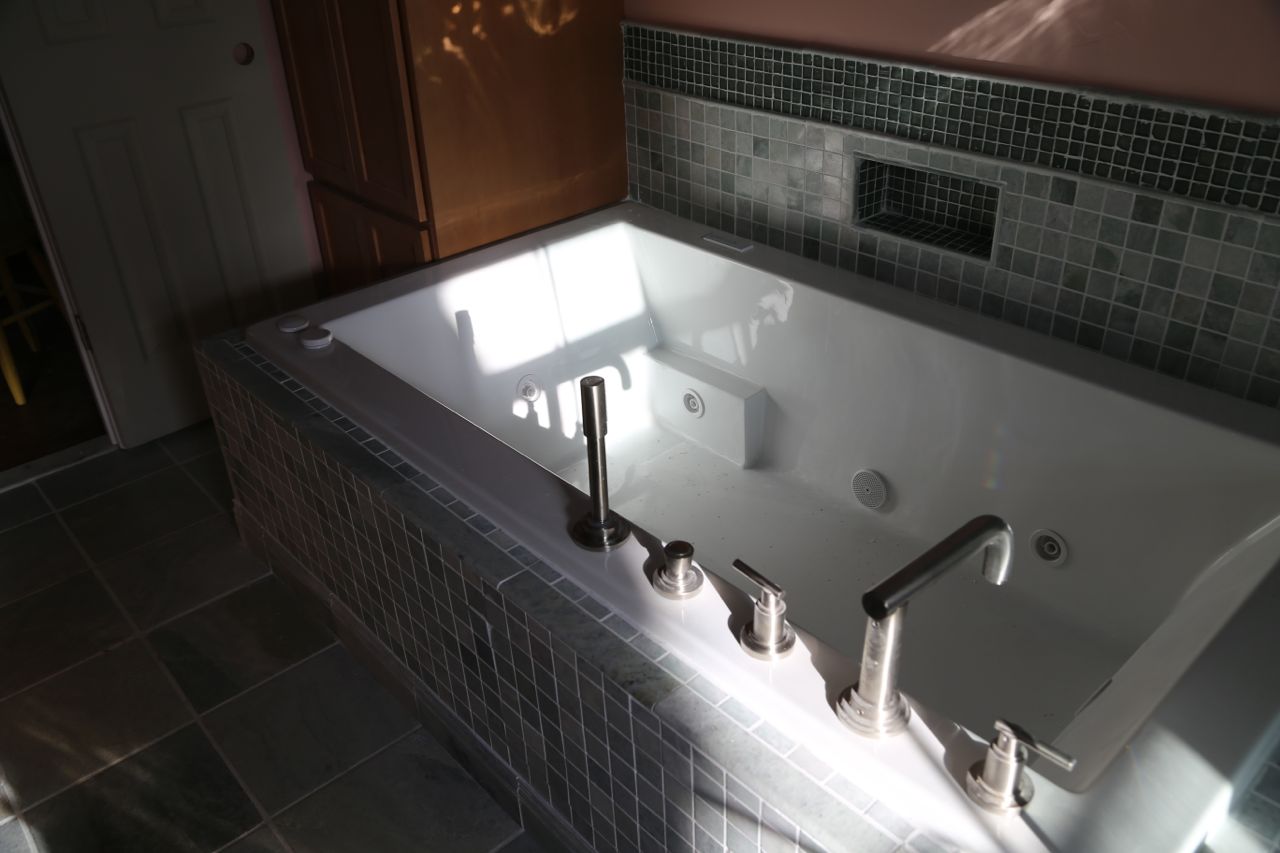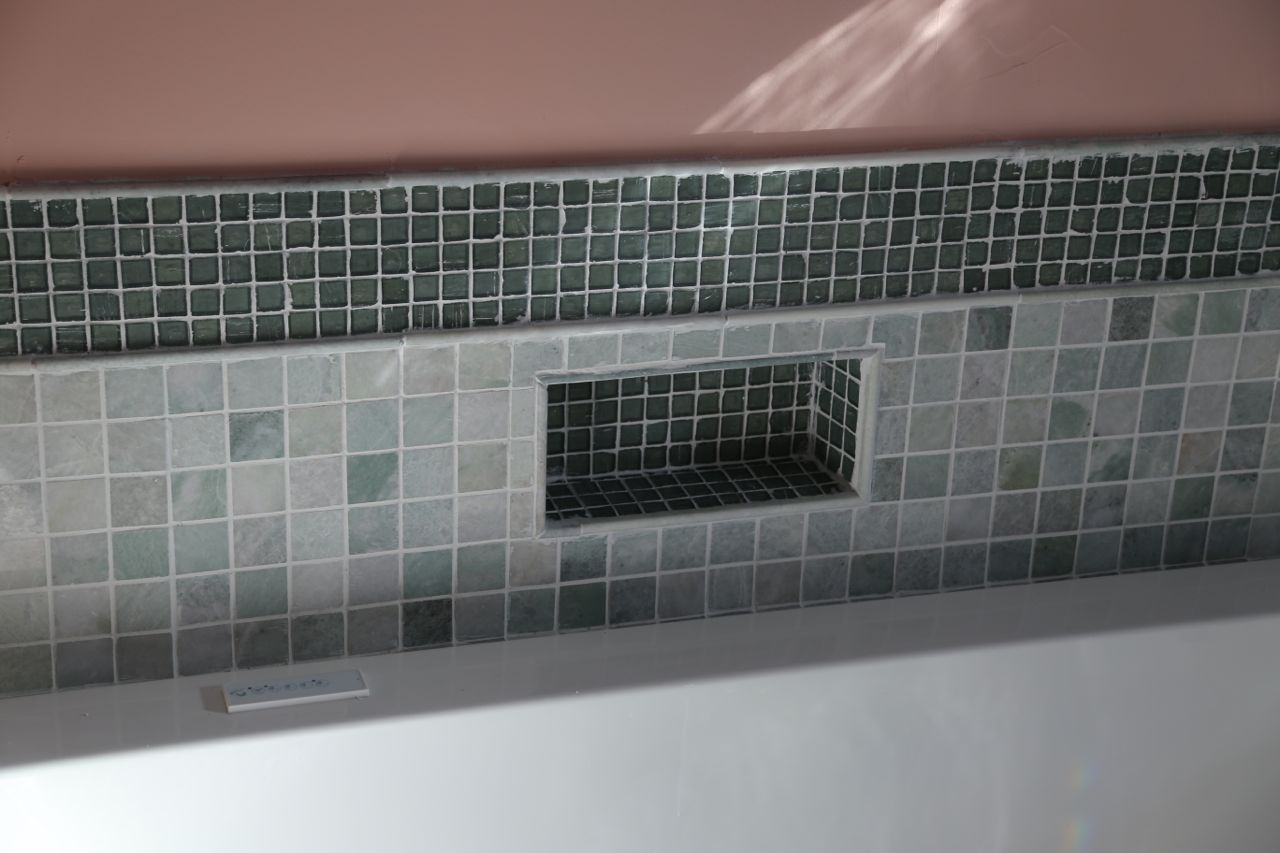
This weekend I tiled the vanity backsplash. It is a rather high backsplash as I wanted the tile to go at least as high as the wall faucets. I wanted to tile a border around the recessed medicine cabinets, so I decided just to bring the backsplash up to the base of the medicine cabinets. Also, I changed the original design for tiling in the shower, and I have a bunch of left over glass tile, so I might as well use it. The height of the marble tile was determined by the height of the electrical box because I wanted the same tile type surrounding the electrical box, so the cover would lay flat.
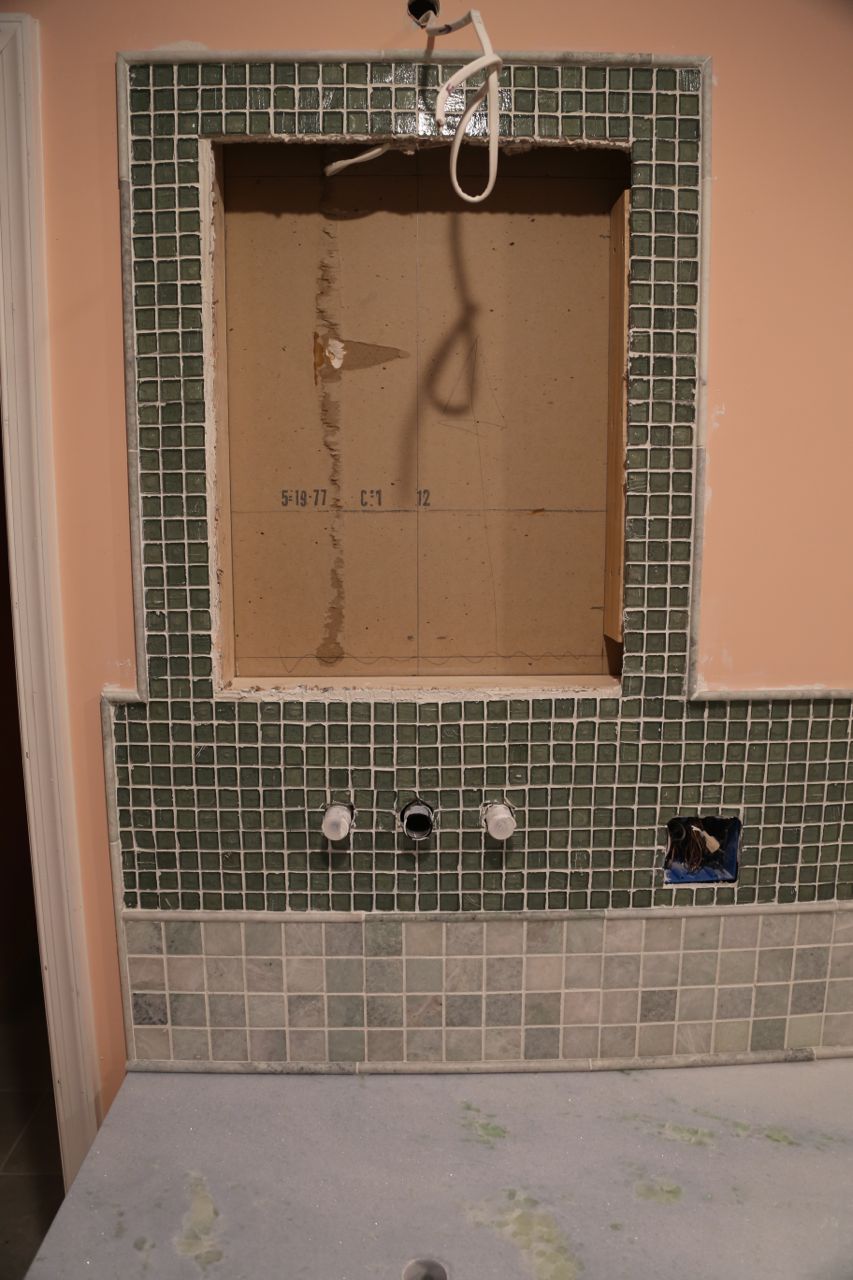
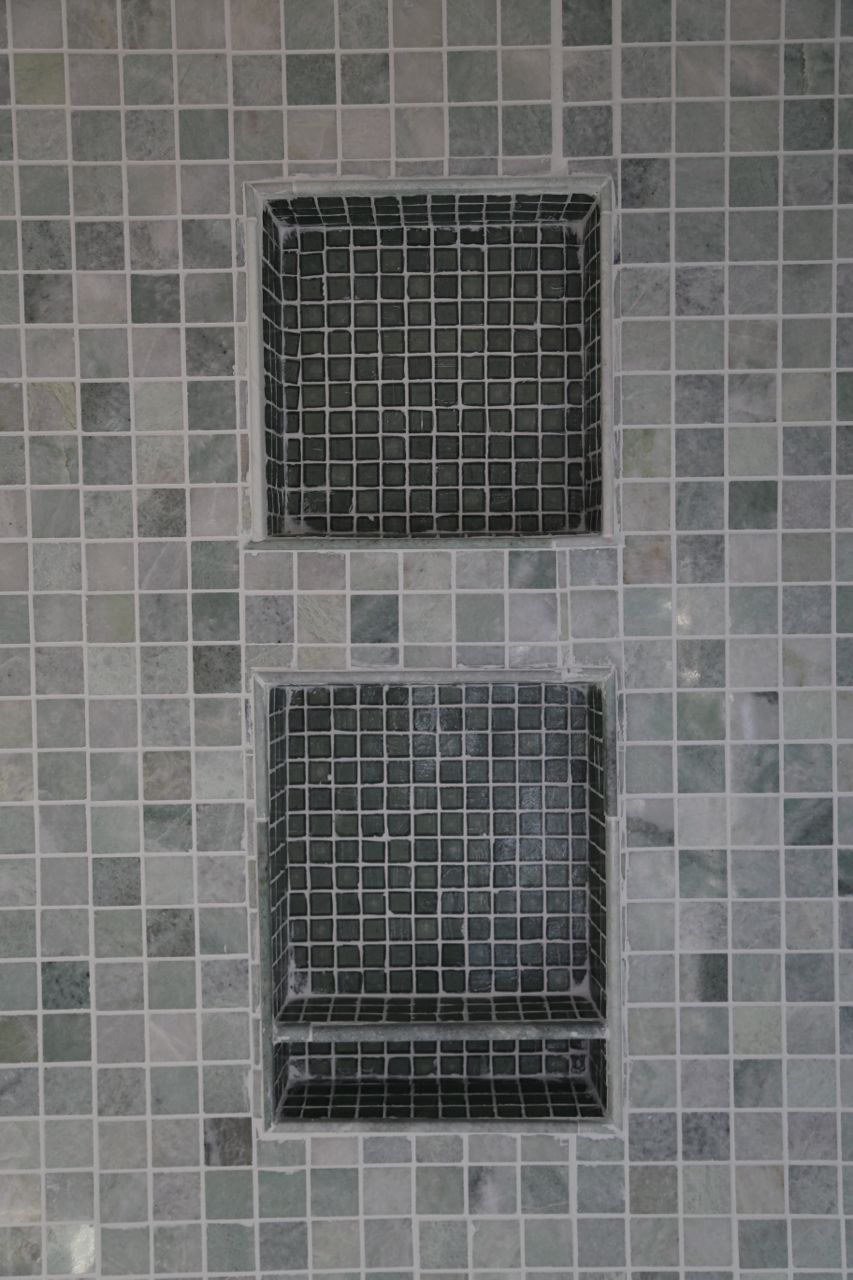
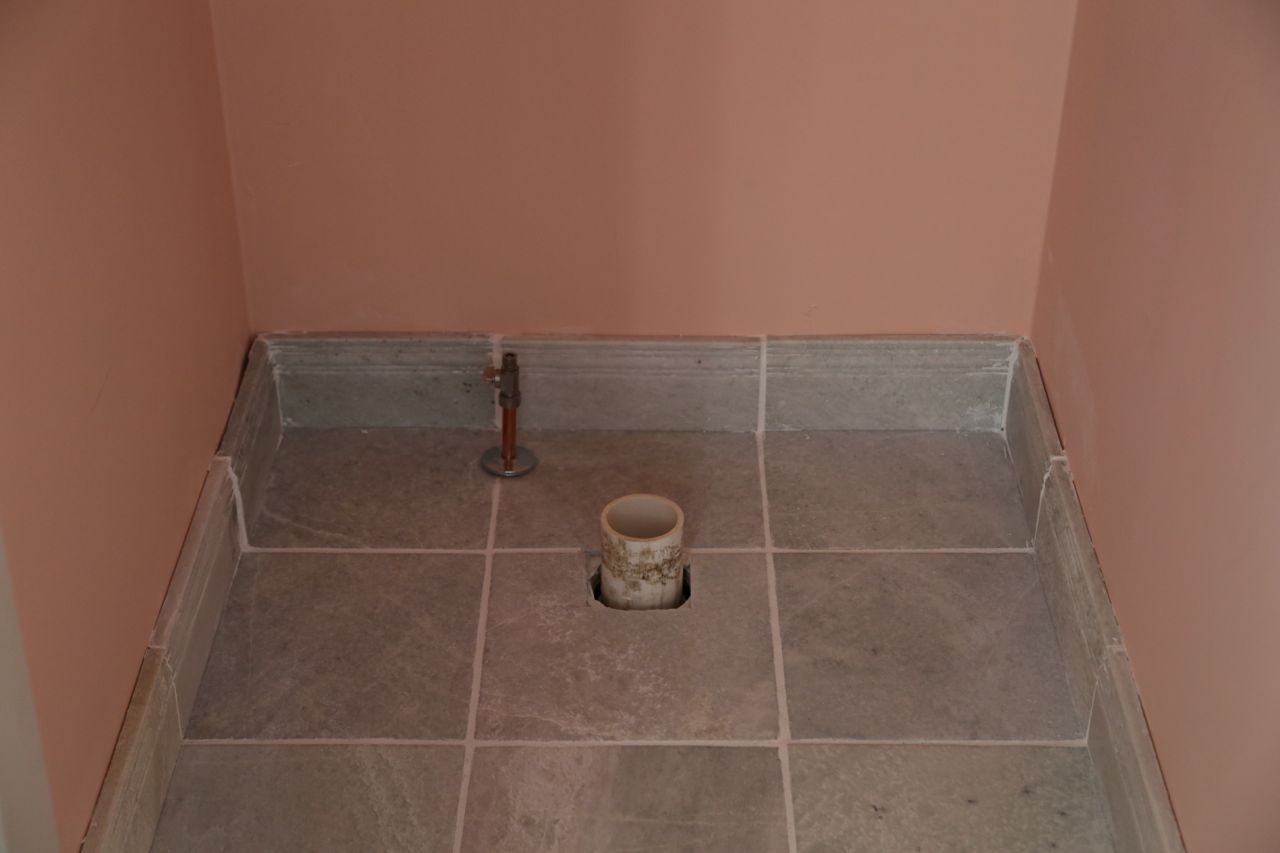
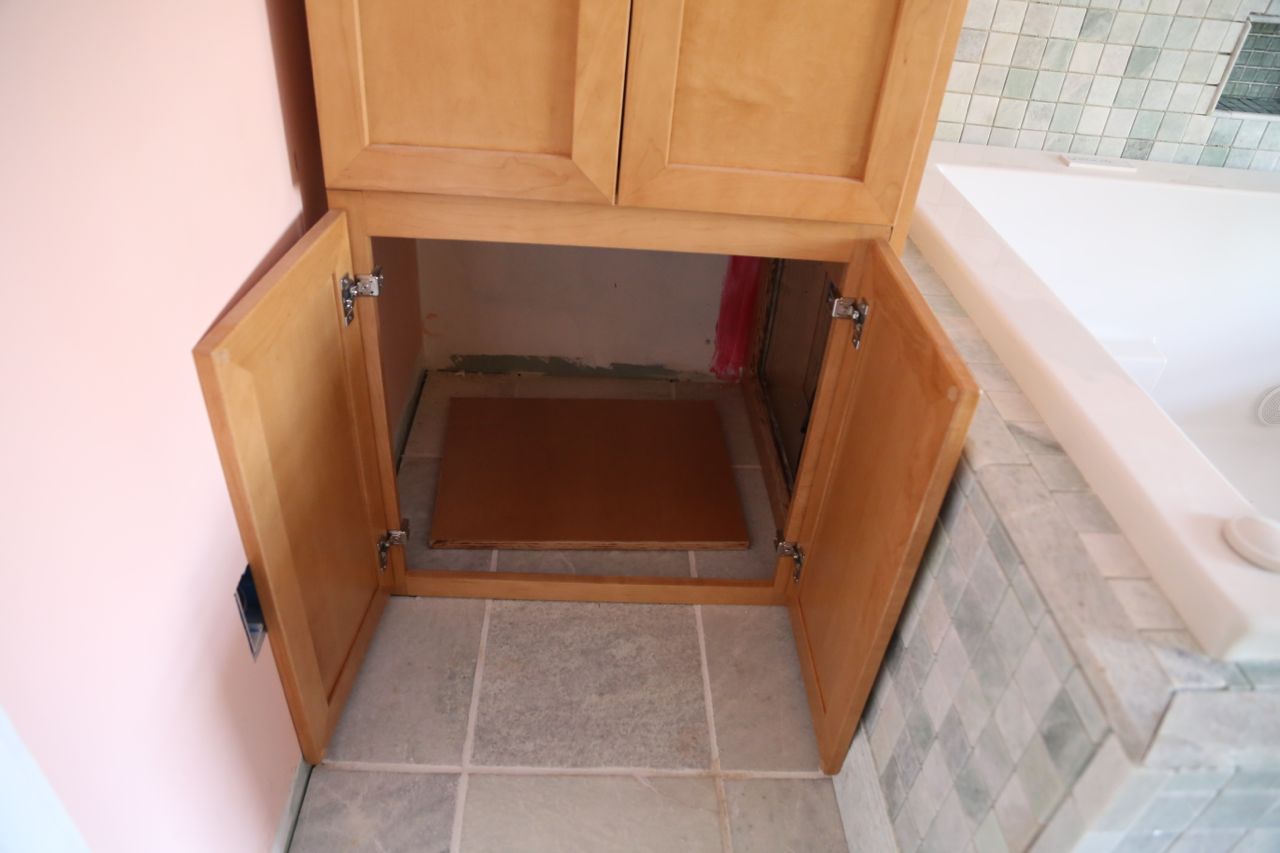
Tile frame for medicine cabinets
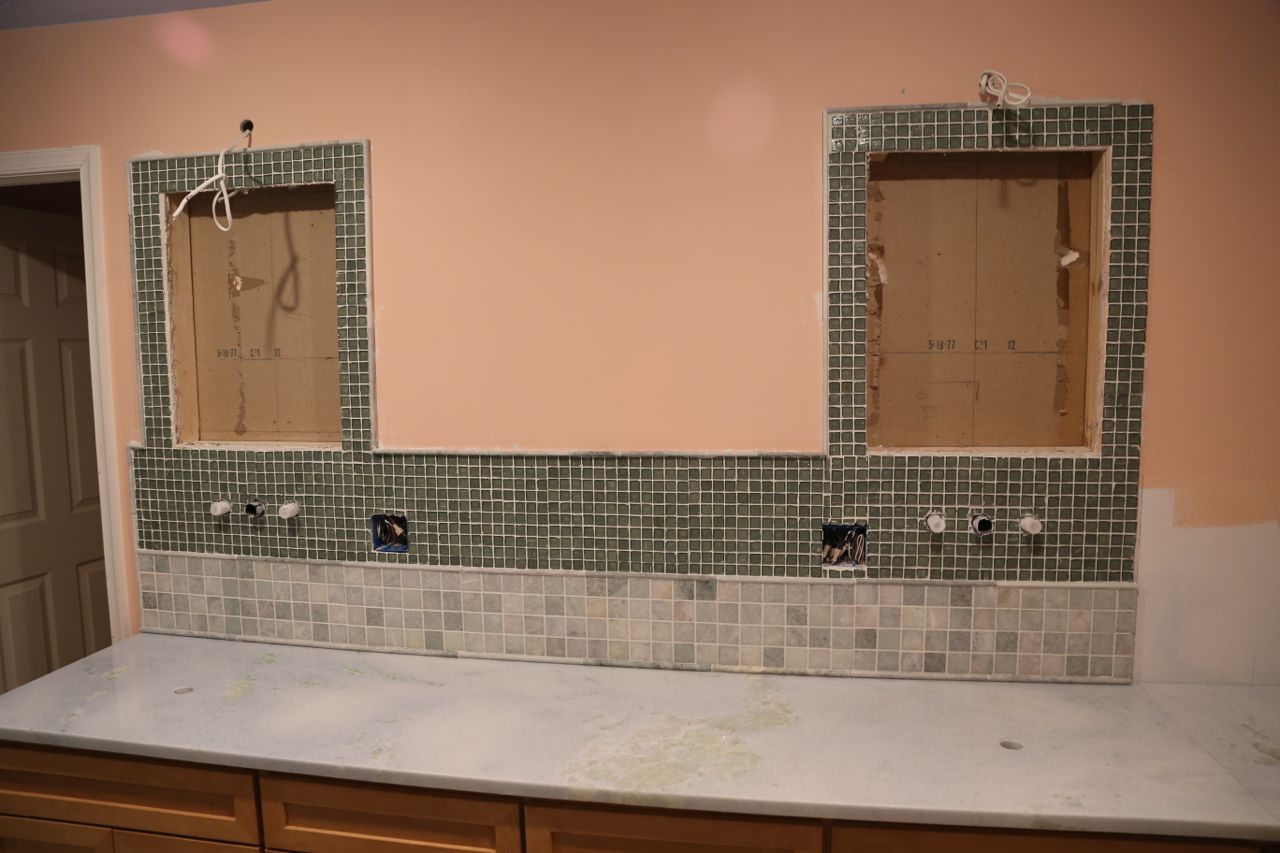
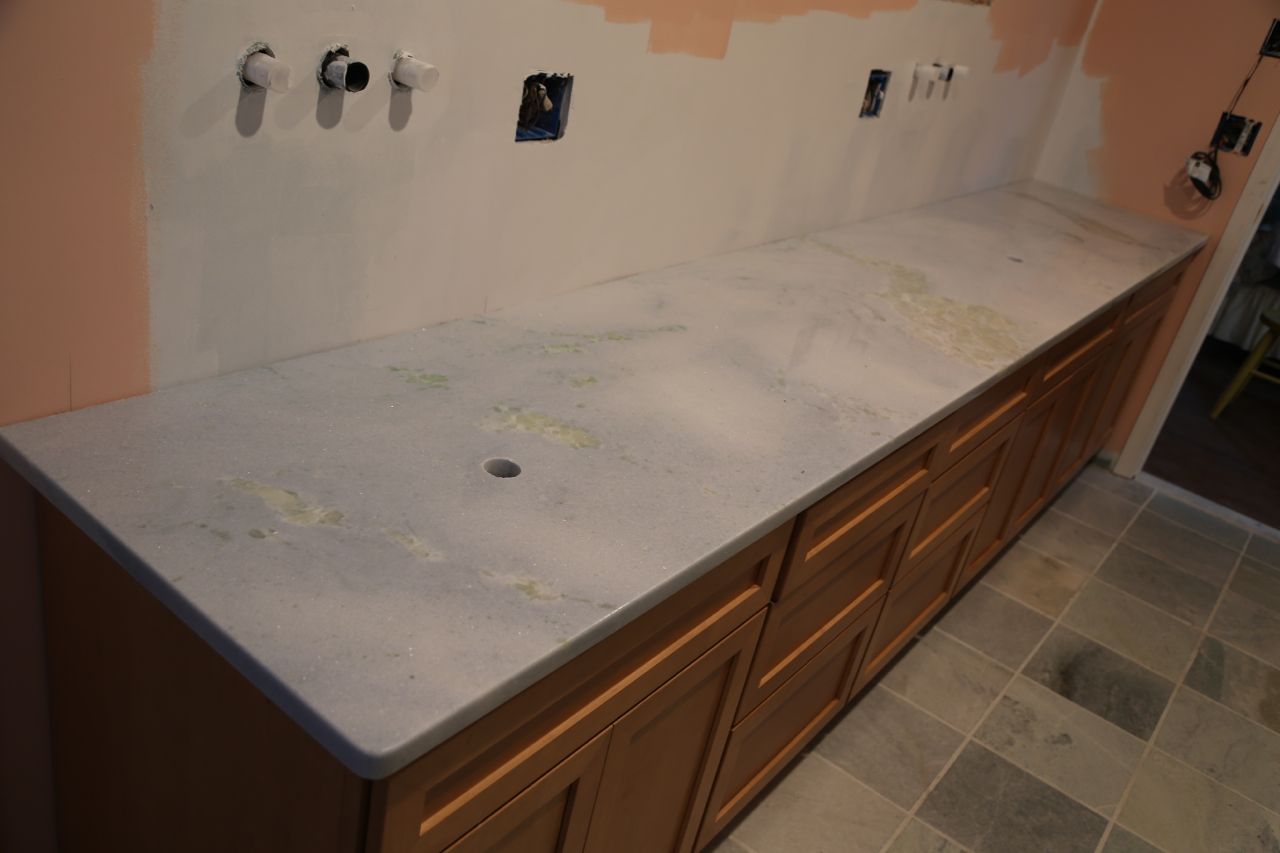
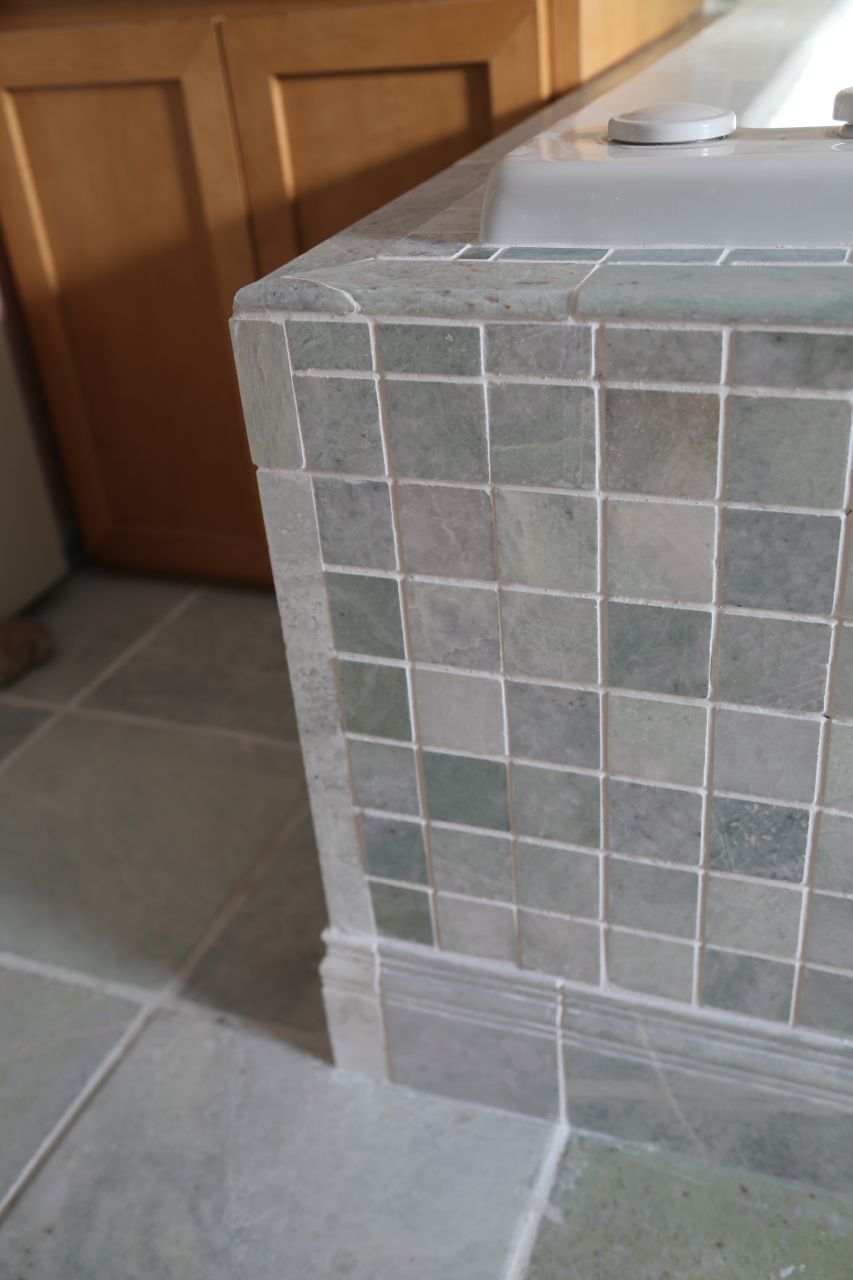
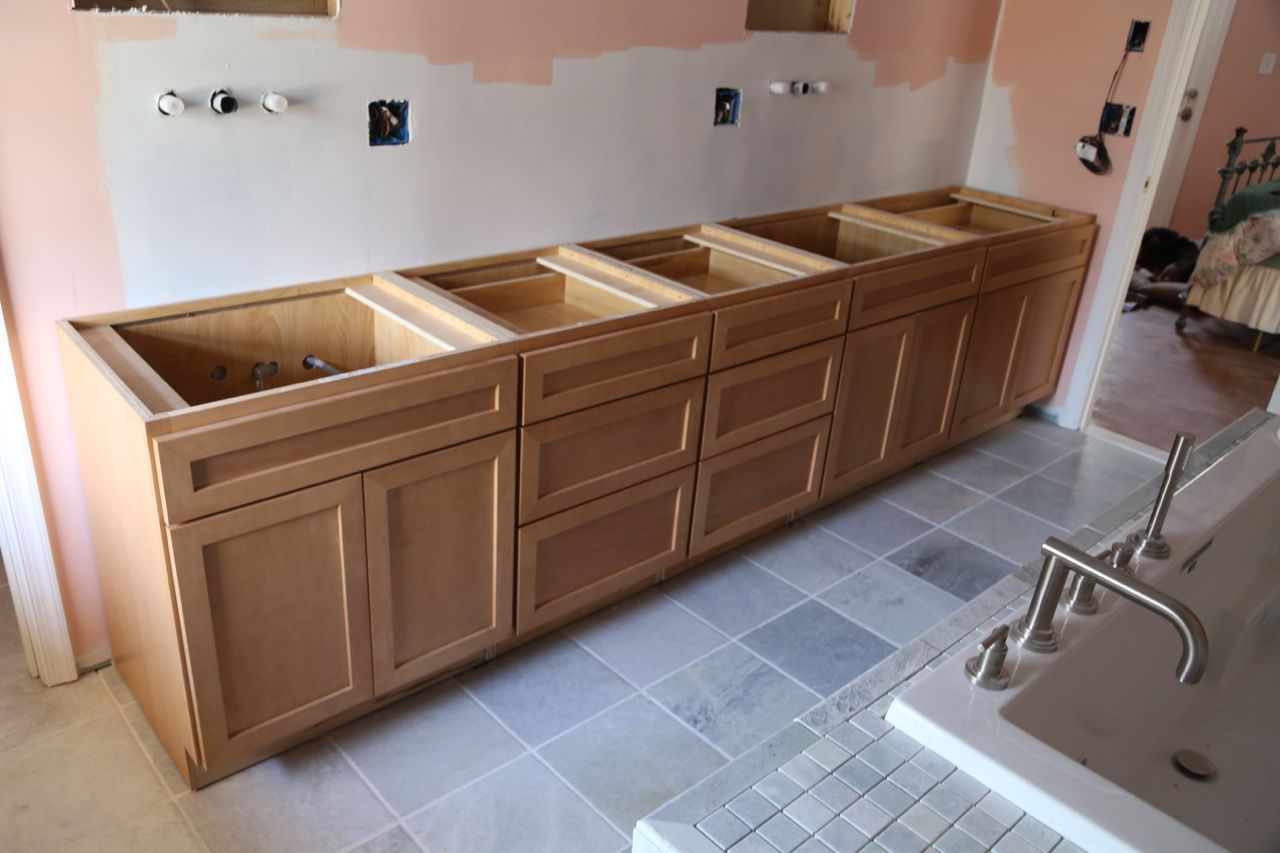
Tiled vanity
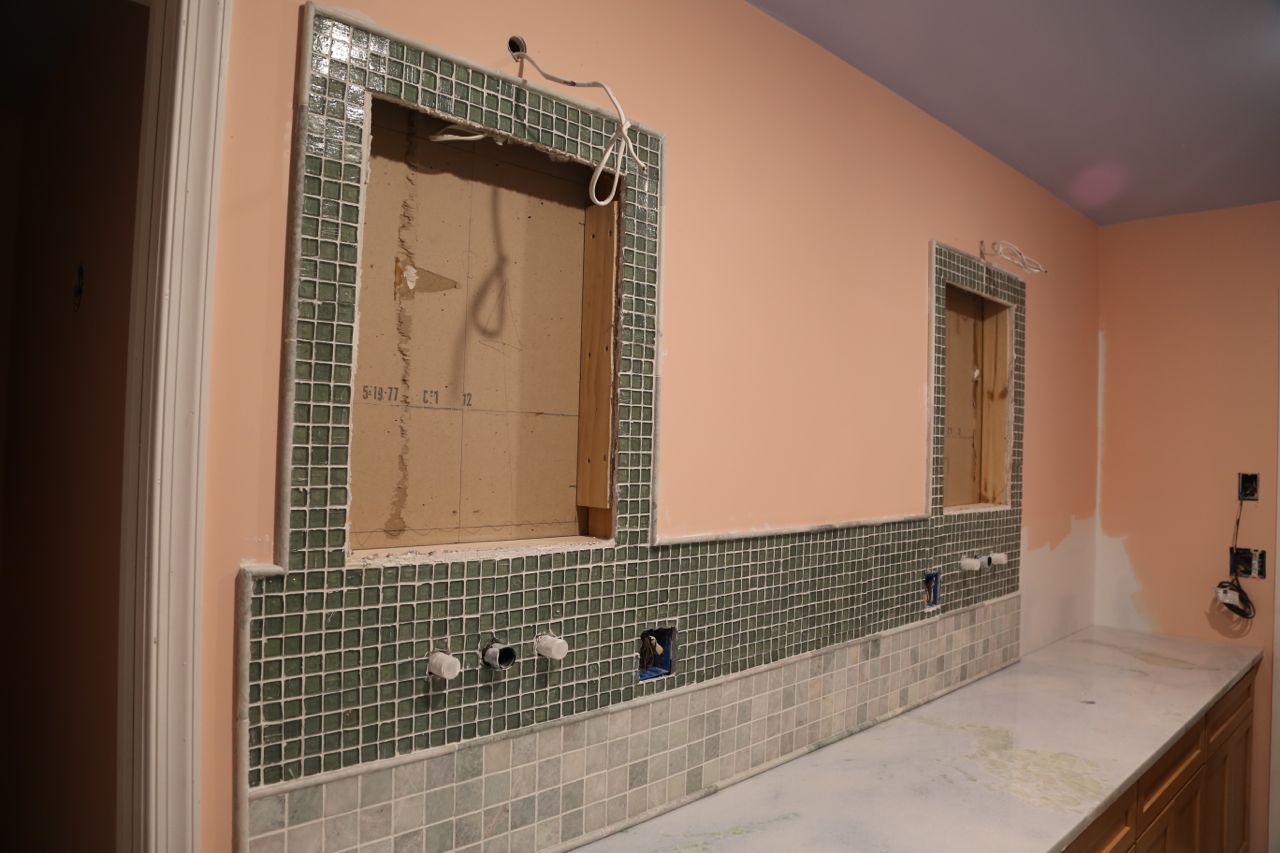
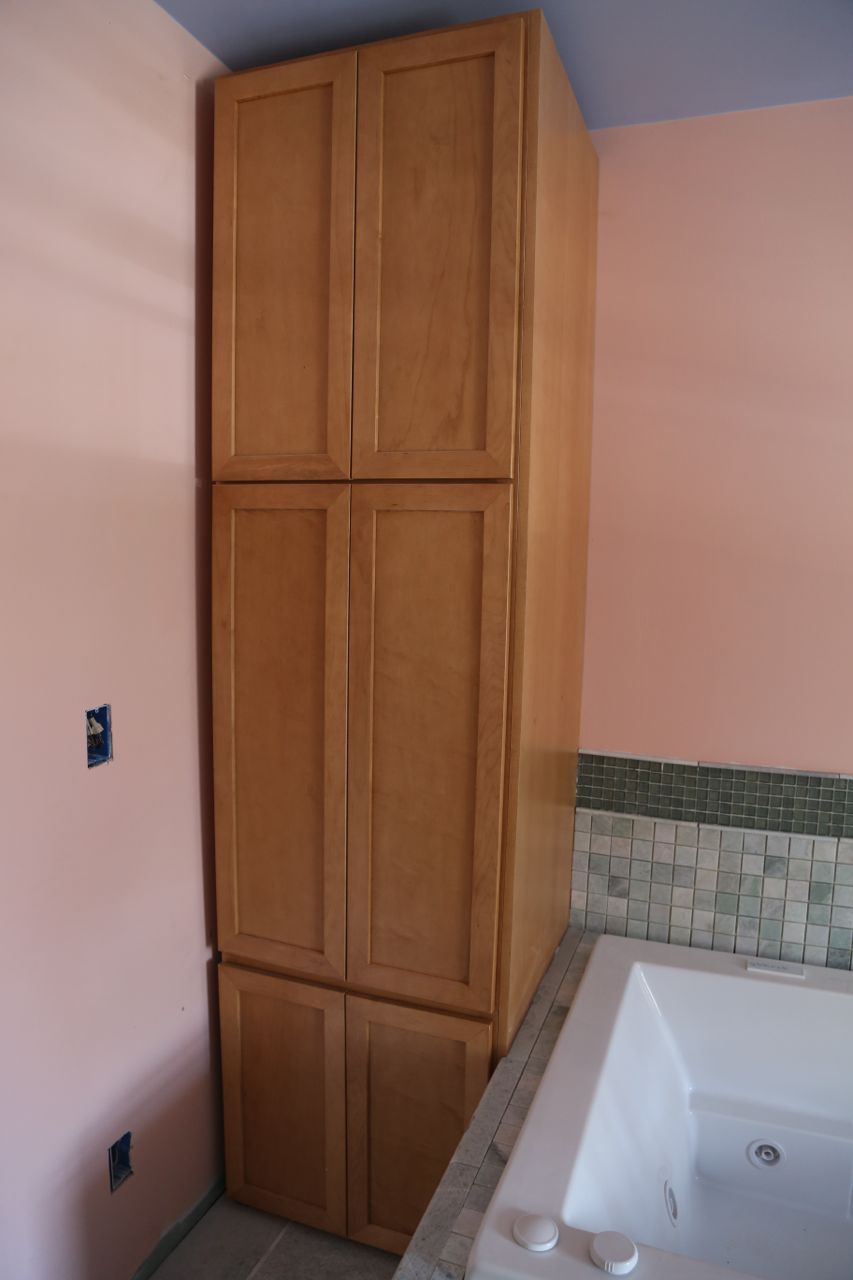
Tiled vanity. Tiling stops before corner where shelving unit will be.