I visited JQ Dickinson Salt-Works, a small, salt-harvesting facility today, and it was fascinating. I love factory tours, but I don’t think the term factory applies to this place, and it would almost be derogatory to call the salt works a factory. In any event, the process was fascinating, and I am somewhat in awe of how low-tech it is, yet I am amazed how they can produce so much salt. My guide said they will produce about 16,000 pounds of salt this year. There used to be springs in the area that Native Americans knew about as they knew that animals liked to lick the salt from the springs. Salt was produced commercially from the springs when white settlers moved in to the area, but then production ended in the twentieth century. The operation was resumed more recently, and the current well was installed in 2013.
The start of the process is somewhat anticlimactic. The process starts with groundwater that is pumped from an aquifer that is 350 feet deep and contains water from an ancient ocean. The anticlimactic part is that the well is below ground (obviously), and so all you see from the surface is a tripod of sorts marking off the location.
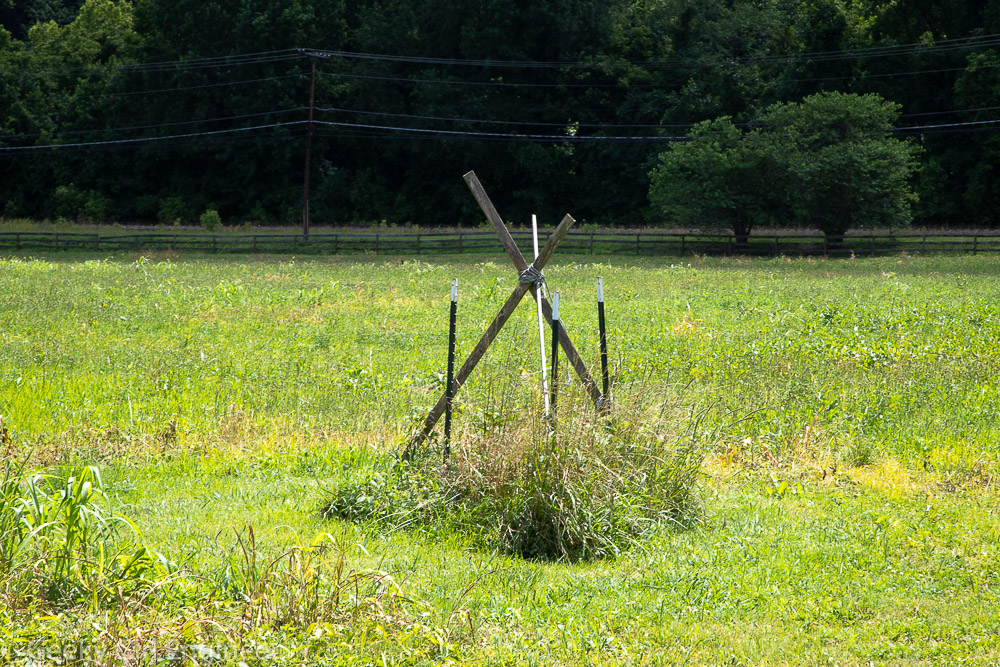
Groundwater well that eventually produces salt
The groundwater is first pumped into storage tanks to allow the iron to settle out from the water.
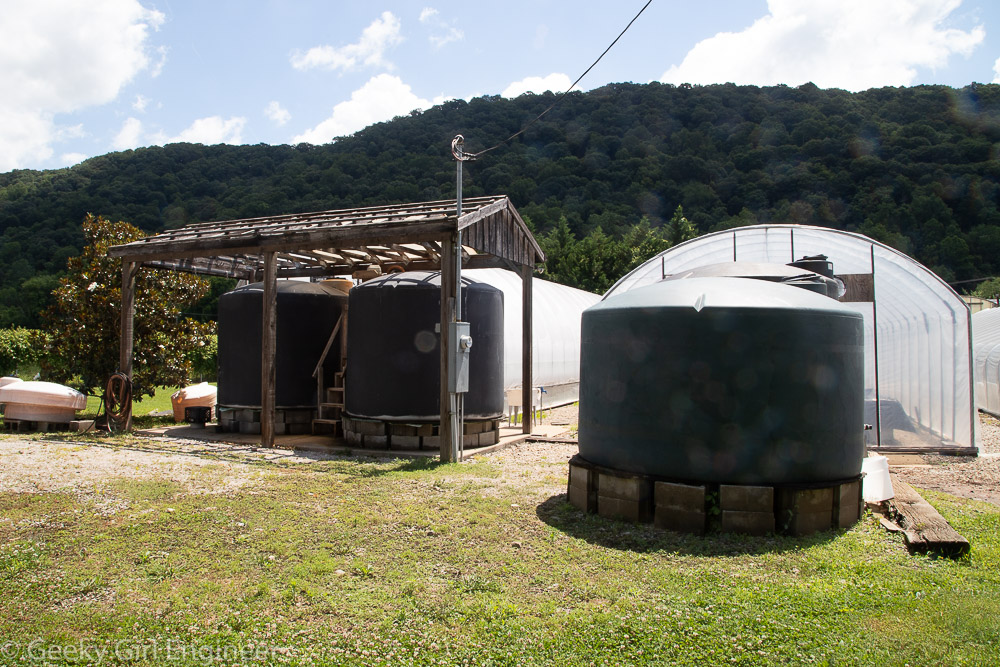
Groundwater storage to separate iron from water
They have sample jars that show what the water looks like when mixed (right) and then once the iron has settled and comes out of solution (left). My guide said they try to keep the process as environmentally friendly as possible and allow little to nothing go to waste. The iron that settles out is eventually sold for wood staining or for pottery glazes.
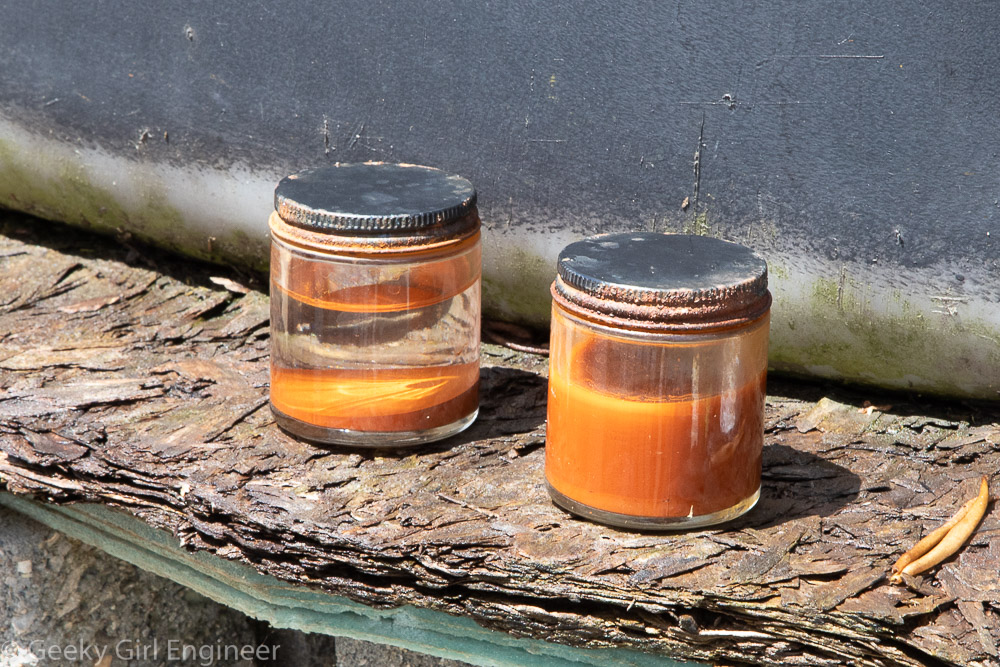
Sample jars showing iron separating from groundwater
After the iron settles out, the water is pumped to one of three greenhouses to concentrate in shallow pools in black-lined tables.
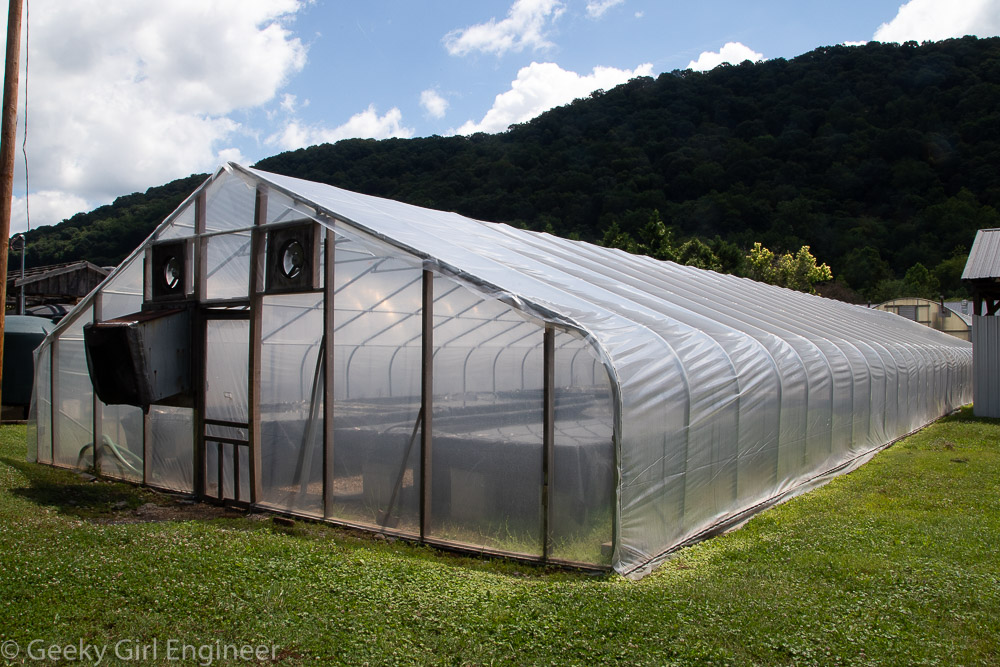
Greenhouse for concentrating groundwater to brine
I forgot to ask my guide what the starting salinity of the groundwater is, but in these first greenhouses, it sits for about 24 hours until it reaches a salinity of 15%. In the shallow pools, I could see a few fine salt crystals settling out.
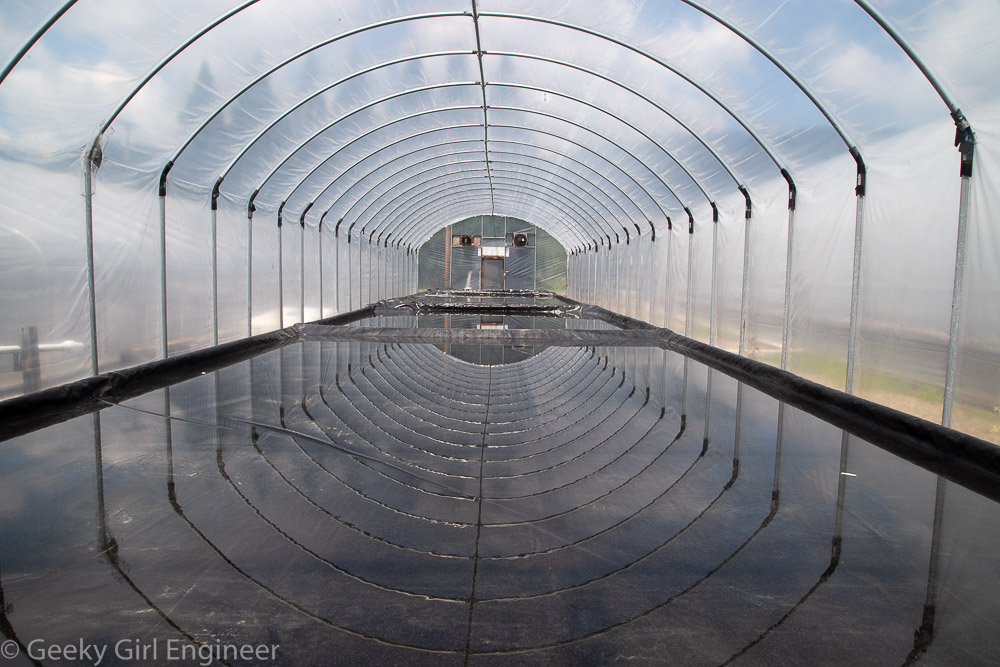
Greenhouse for concentrating groundwater to brine
The concentrated water or brine is then pumped to another storage tank and then into another greenhouse. In this greenhouse, the salinity is raised to 25%. This is where large salt crystals are formed. One thing I got confused about is that my guide said the salt was now 25% salinity, but they were clearly salt crystals. Visually it didn’t look like 75% water and 25% salt. I am not sure if I understood correctly what is meant by salinity or if I misunderstood her, or if I am just missing a detail. In any event, the salt was quite pretty.
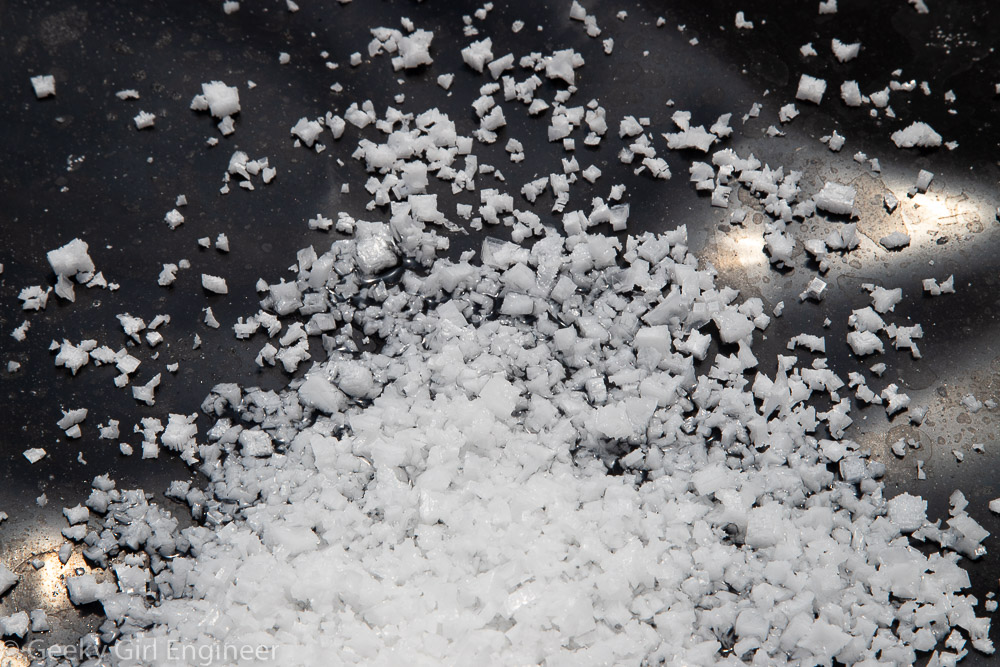
Salt crystalizing
One of the tables had been cleared of the concentrating salt, and there were buckets of salt crystals ready for final processing.
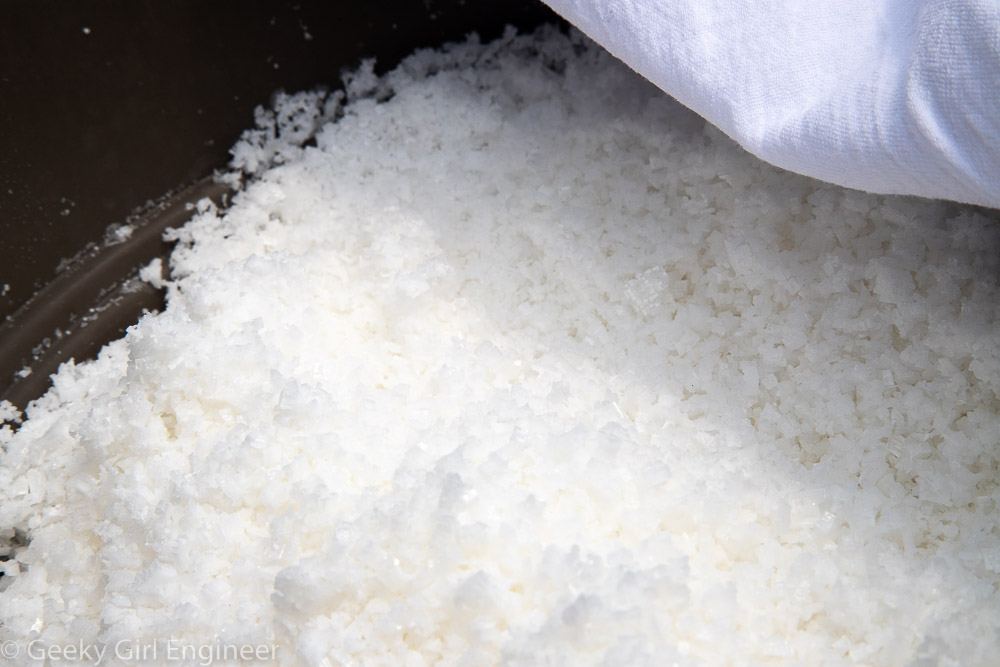
Bucket of salt crystals ready to be dried
The salt is then moved to another room where it is dried. After that, a person inspects the salt and removes any impurities with tweezers. The women who were working admitted that it is a really tedious job. I would need a headlamp and magnifying glasses to do the task.
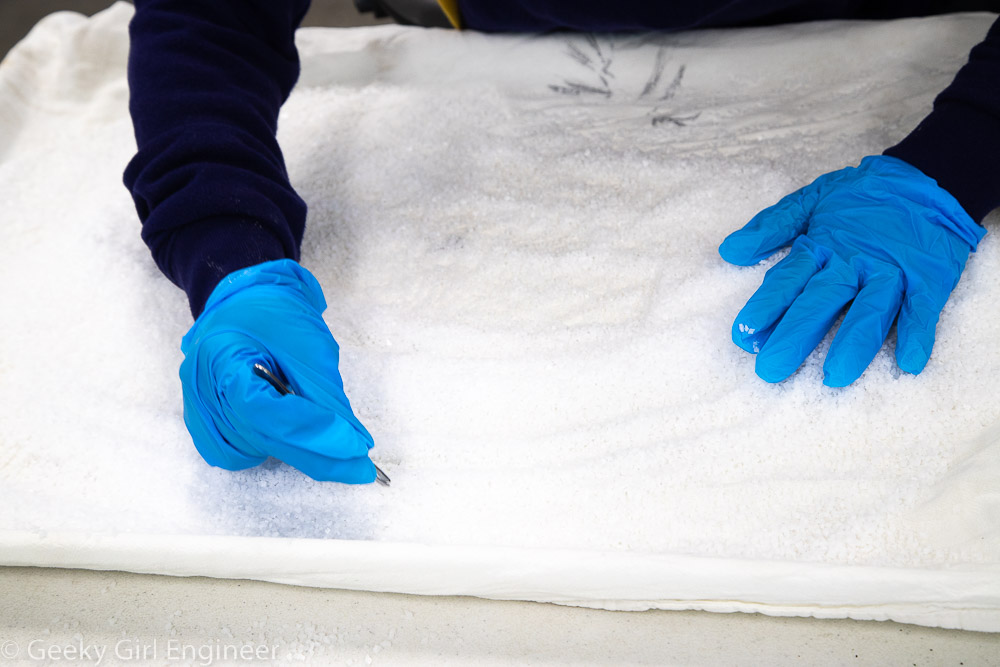
Cleaning salt by hand
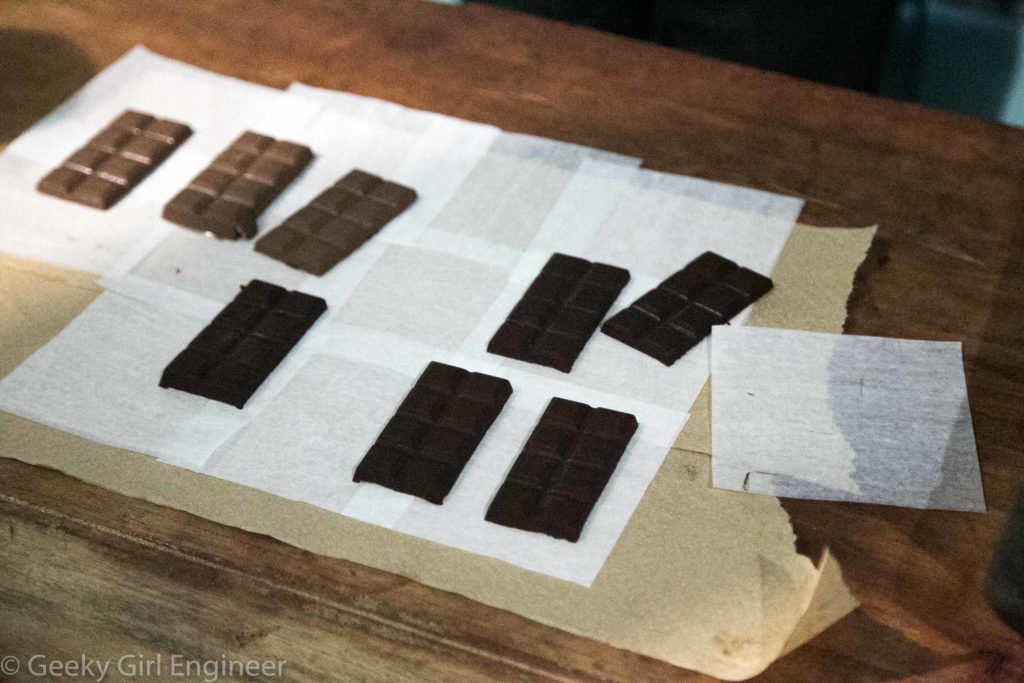
The salt is then ready to be sold. They sell it in three crystal sizes (from finest to coarsest): popcorn, finishing, and grinding. They also mix it with spices, most or all of which are grown locally, to sell as spice salt mixes. The liquid that is left over once the salt settles out is also sold as nigari. Nigari is used to make tofu and cheese, and some people take it as supplement as it is full of minerals. This is part of what my guide said is their goal to not let anything go to waste. Until today, I had never even heard the word nigari, so yet another thing I learned today.
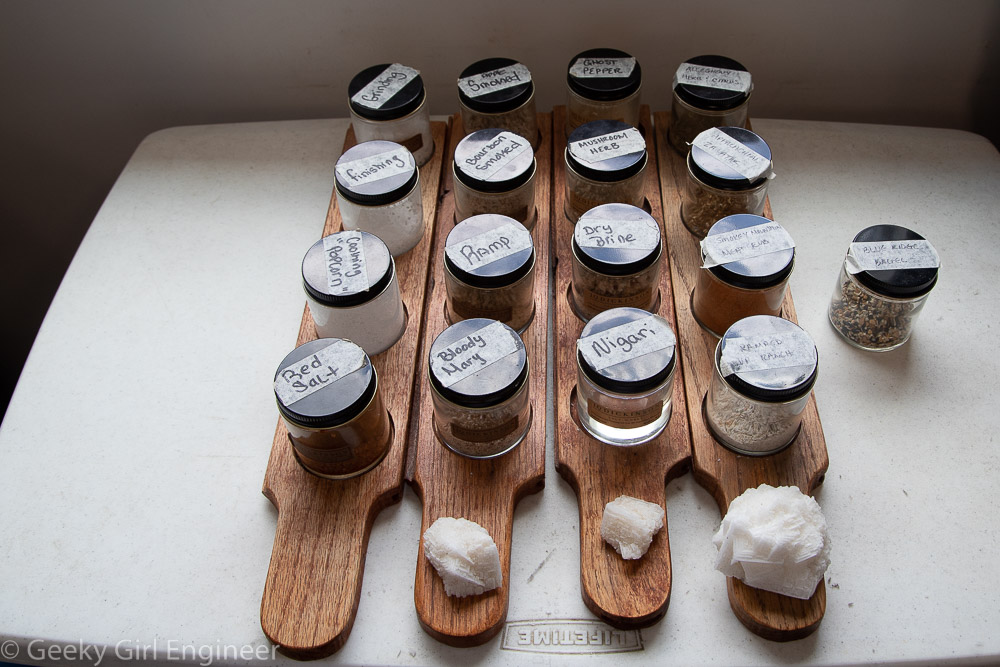
Samples of salt products sold. The red salt is not sold, but it is a very red in color salt that they have to show people what the salt would look like if they did not allow the iron to settle out first. At the bottom of the photo are three giant halite crystals to show how large the salt can grow.