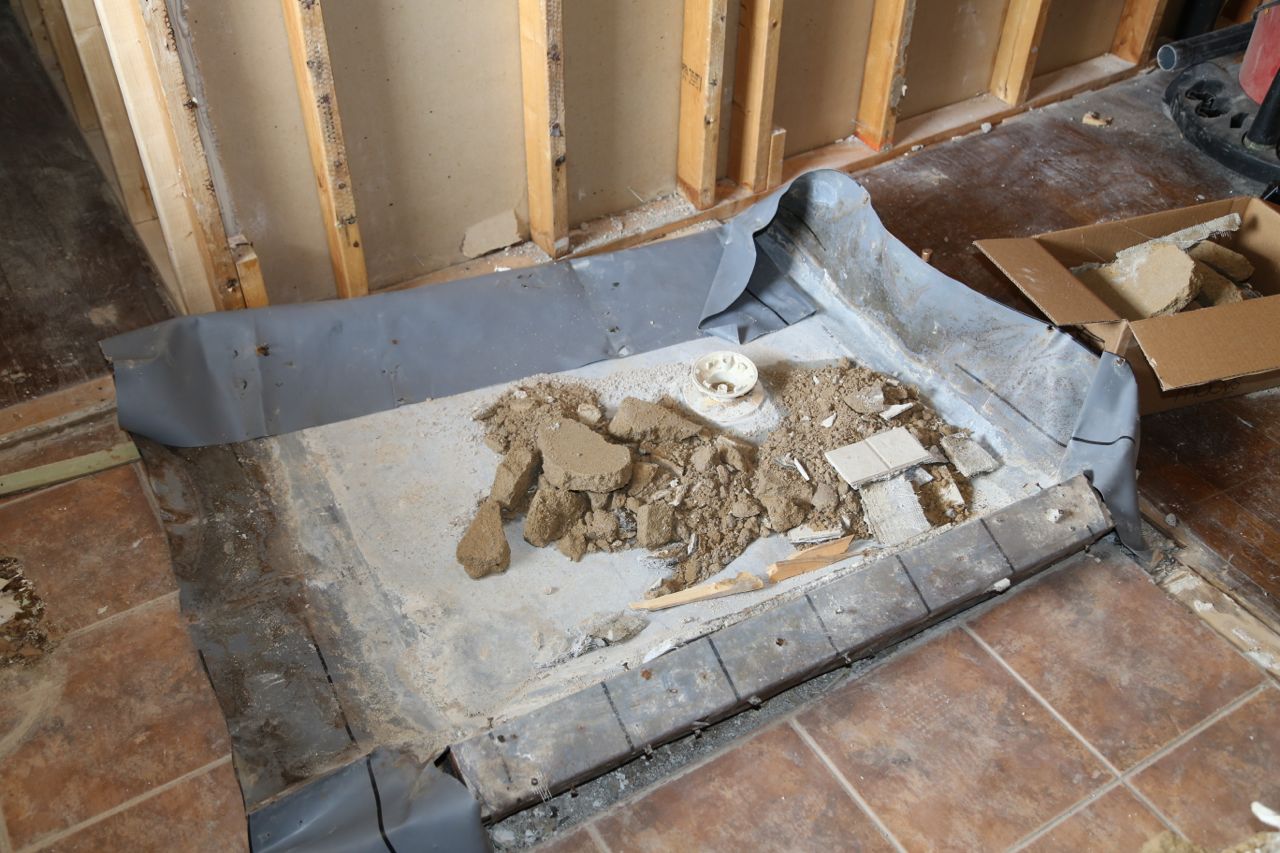
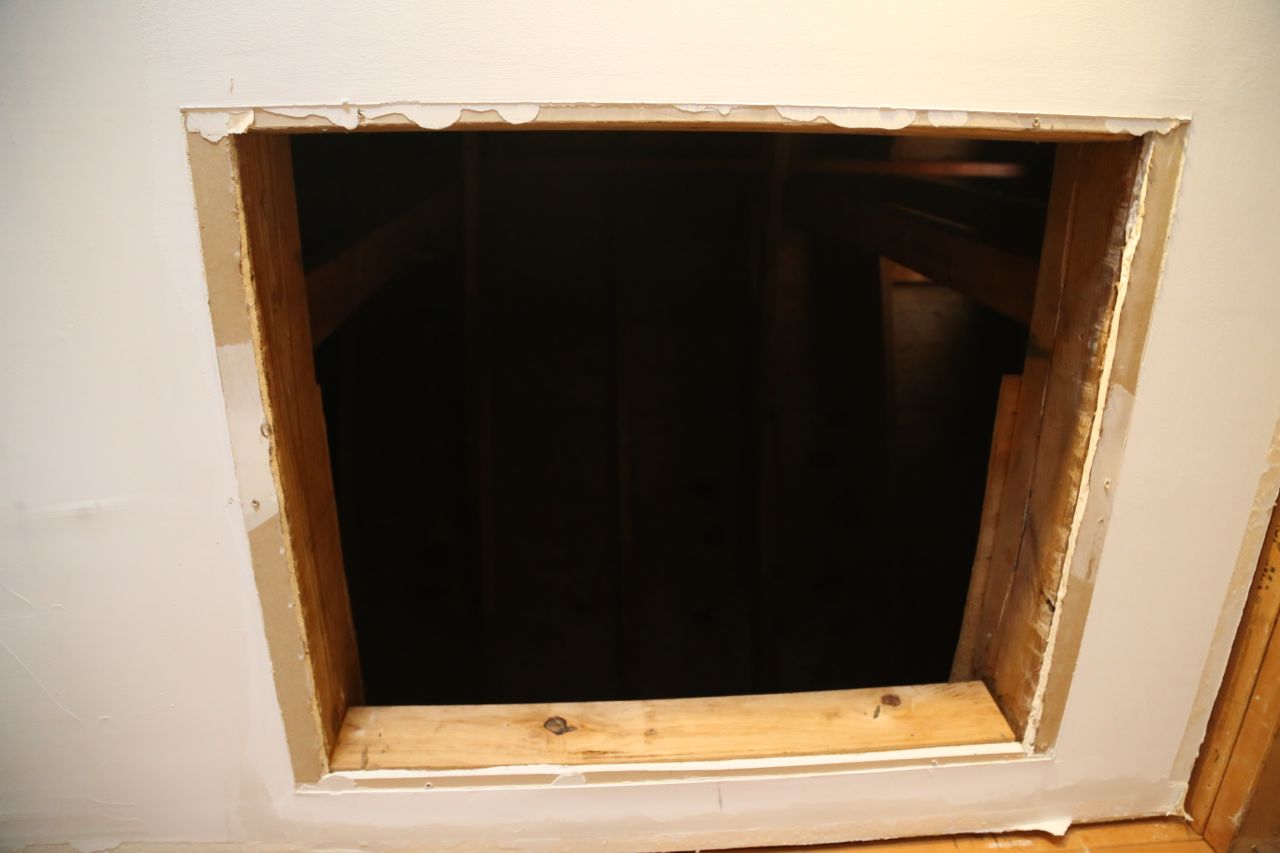
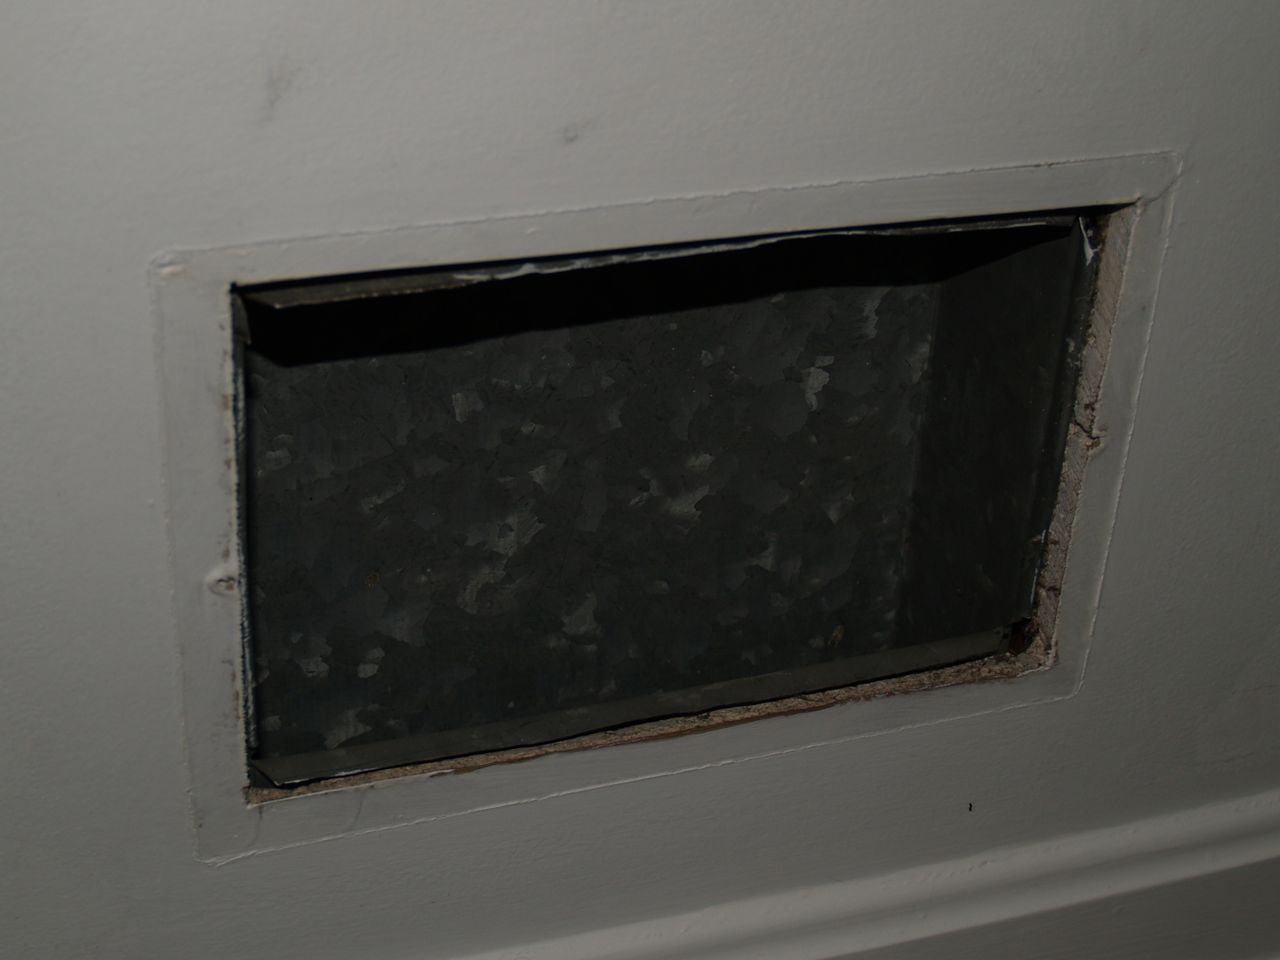
I did more deconstruction this weekend, and all that is left to demolish is the flooring, a few interior studs, the stud headers, and the shower pan. I am turning it over now to the carpenter to remove all of that. I realize now that this phase of renovation should not have been done during the coldest time of the year. Because of the condition of the drywall that made up the ceiling and all the reconfiguration that was needed, I removed all ceiling drywall. I also removed the attic insulation above it as nothing would be there to support it, and I need to put in better attic insulation anyway. This means though that this area is at the same temperature as my attic, which is freezing, and I am going to have an awful electric bill next month. I have a plastic sheet securely hung in the doorway to the bedroom, but still it not a really good air barrier.
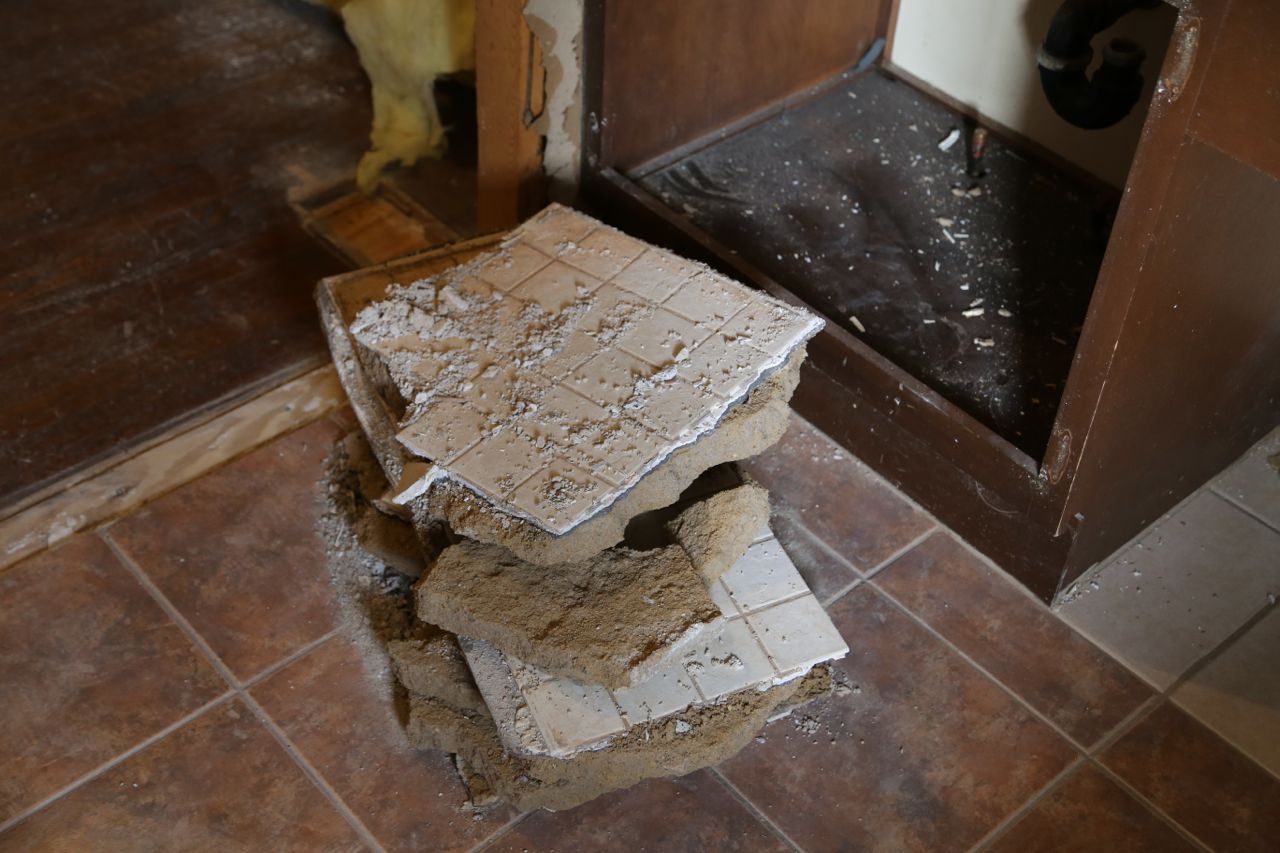
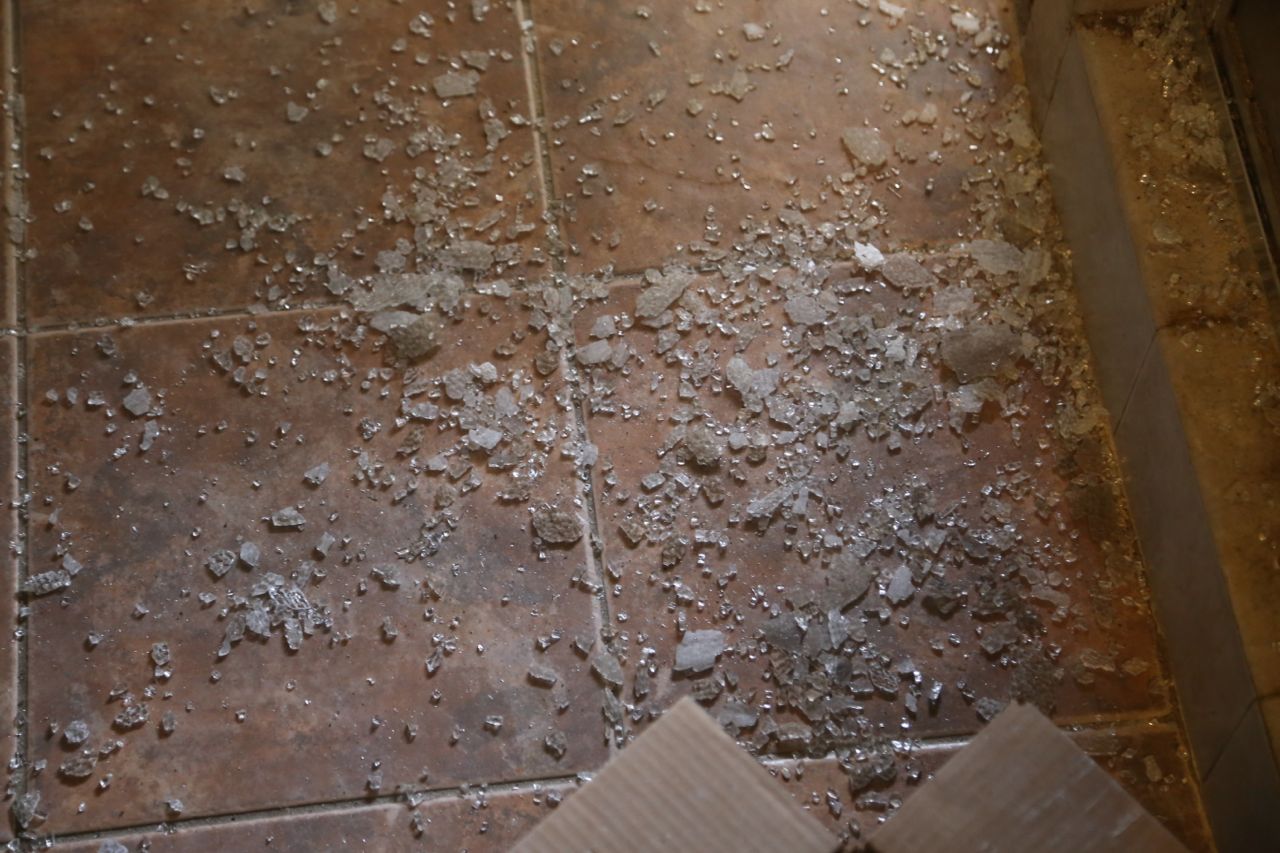
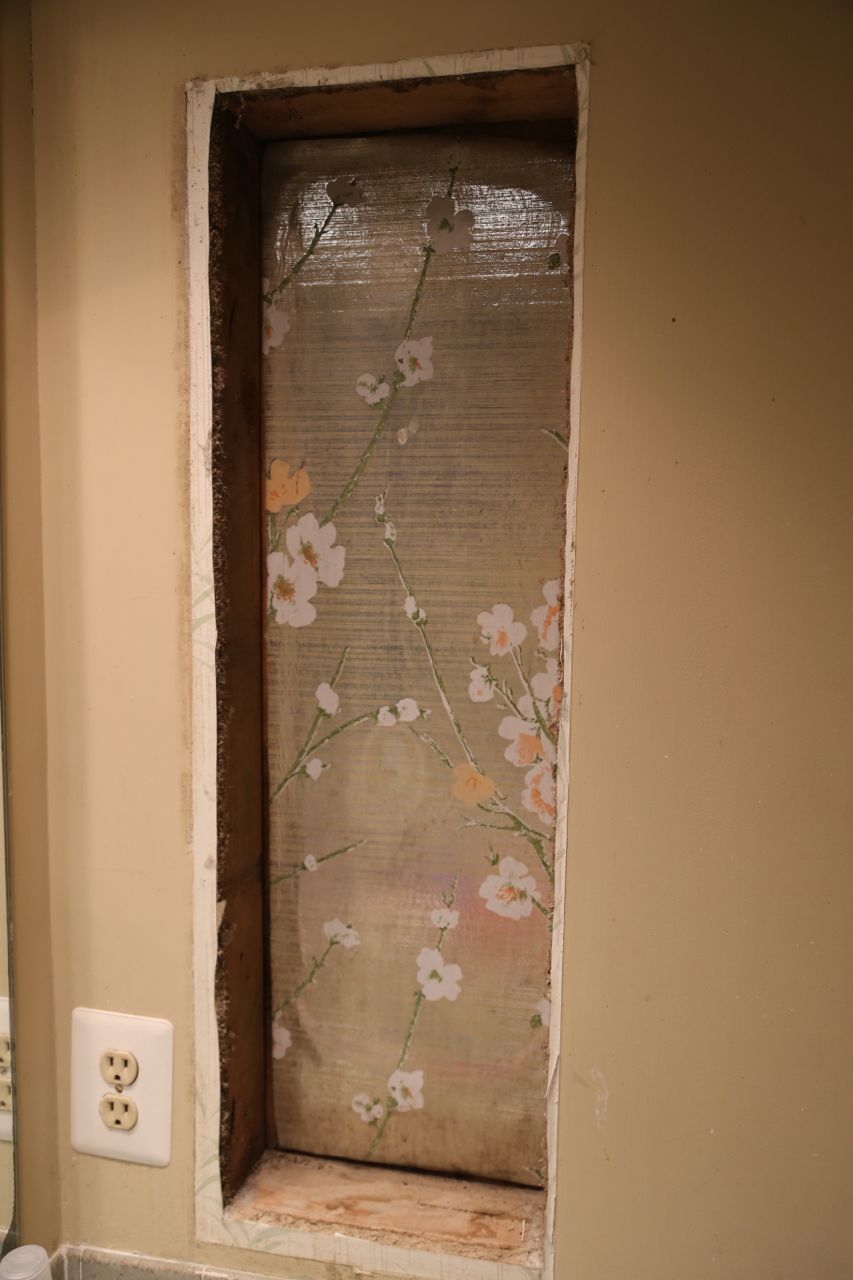
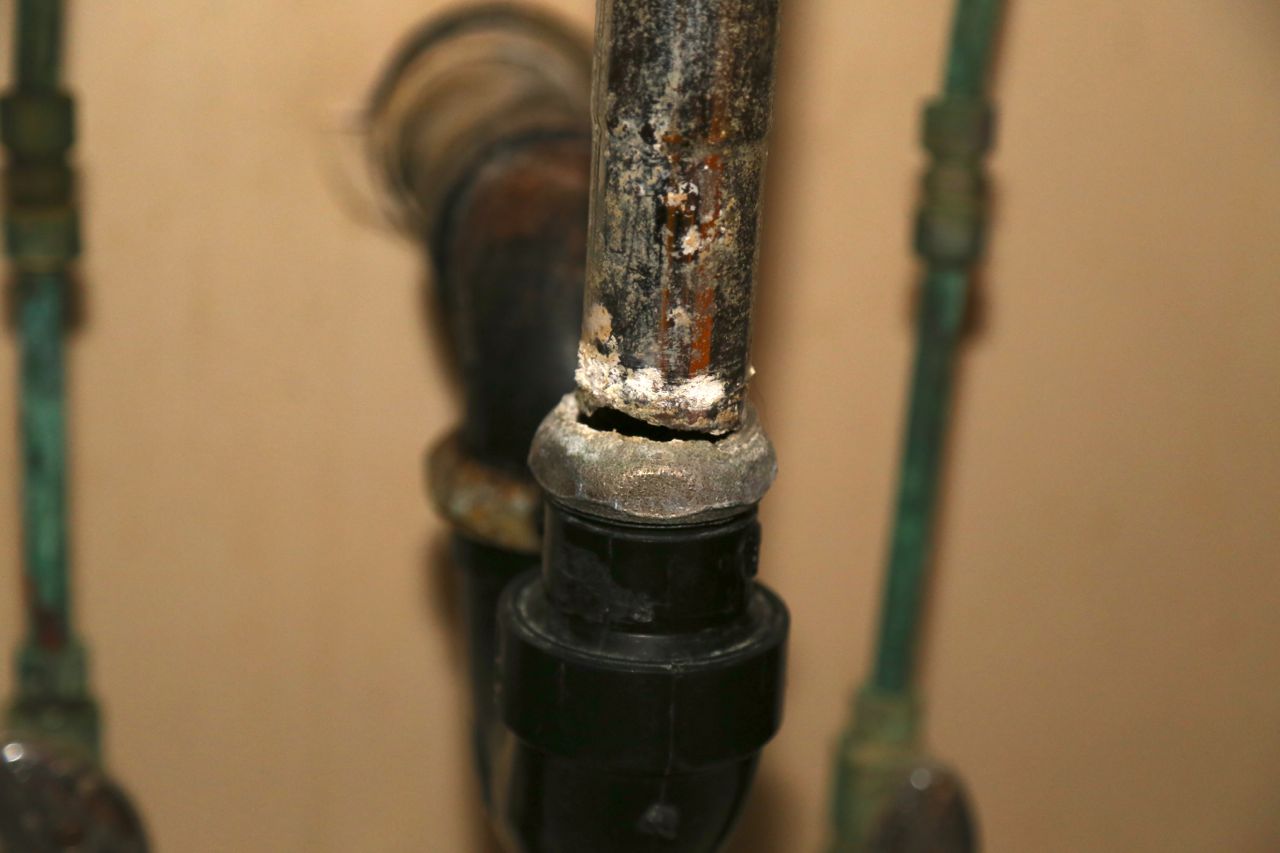
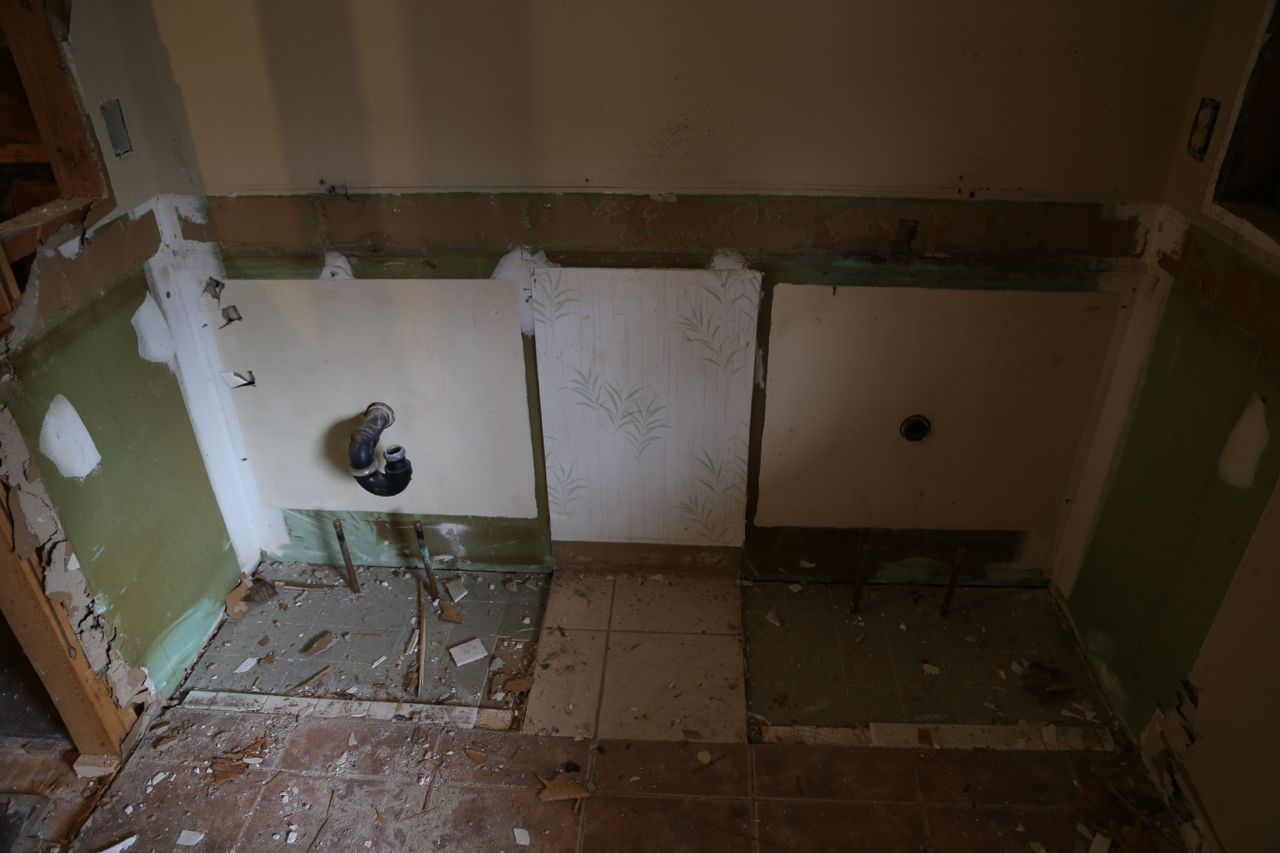
I removed the vanity by hammering the crowbar in-between the plywood sheet that made the counter base and the layer of plywood it sat on. The glue that held it cracked fairly easily, and I could the lift the whole thing out. After doing that, the rest of the vanity was fairly easy to disassemble with a bit of hammering and pulling. It was not all that well constructed. Once I removed the vanity, I discovered that the original floor in the bathroom was tile that matched the vanity countertop tile. That was interesting and a nice touch on the original design. I don’t have a clue why they removed that tile, added another layer of subfloor, then put new tile on top.Then again, I have no clue why the later home “renovators” put insulation in the three walls that made up the side of the shower because the shower was completely interior to the house. Oh well, it is almost all removed now, and soon all of it will be replaced.
More photos can be found on Home Renovation Phase 3.
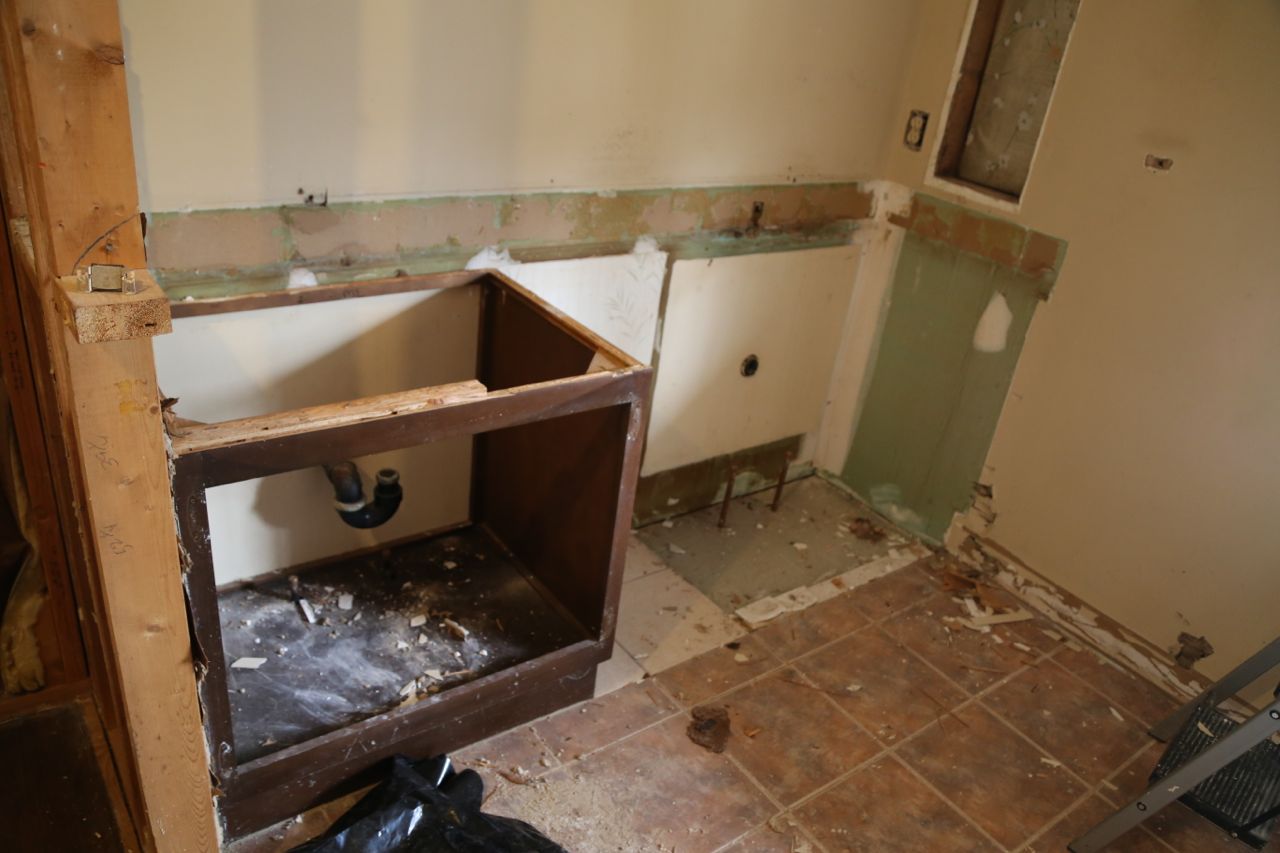
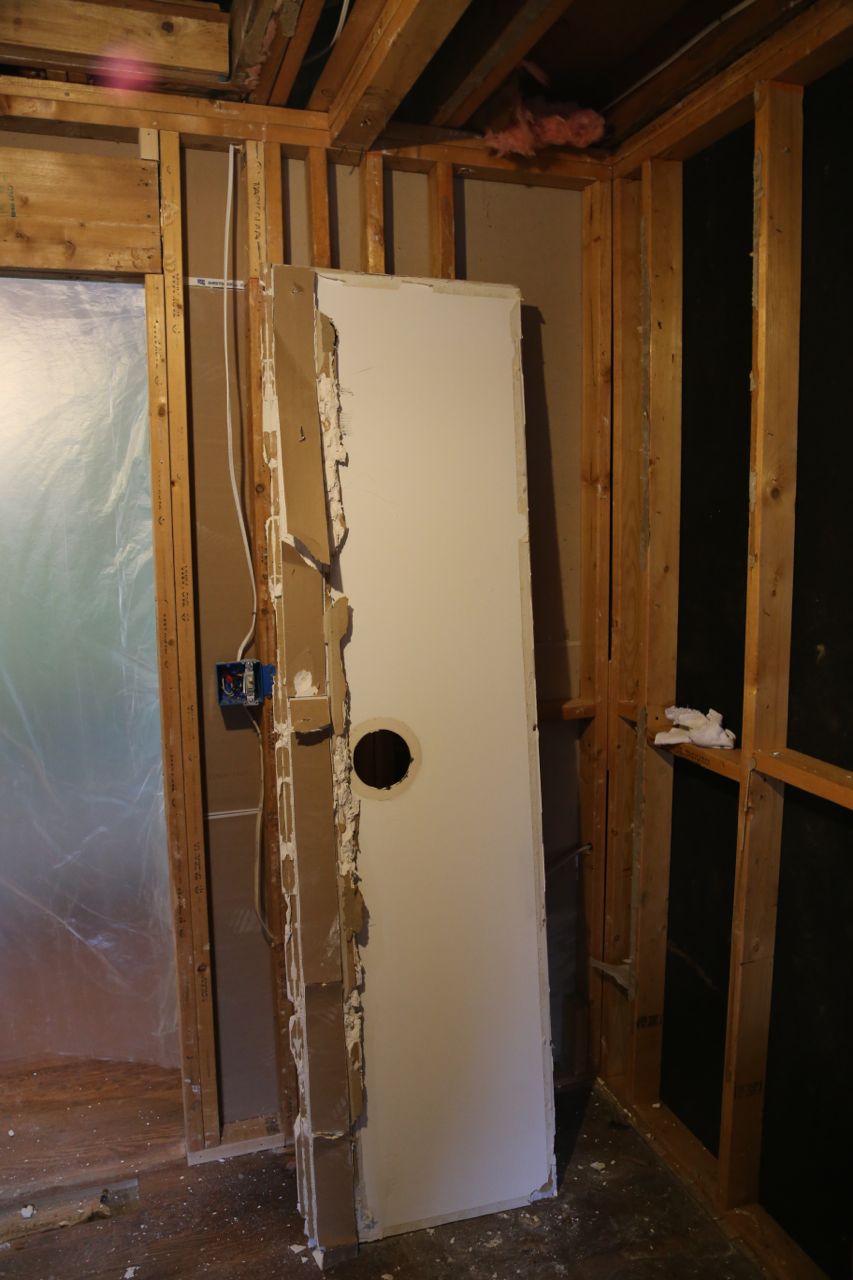
Vanity partially removed
Vanity removed
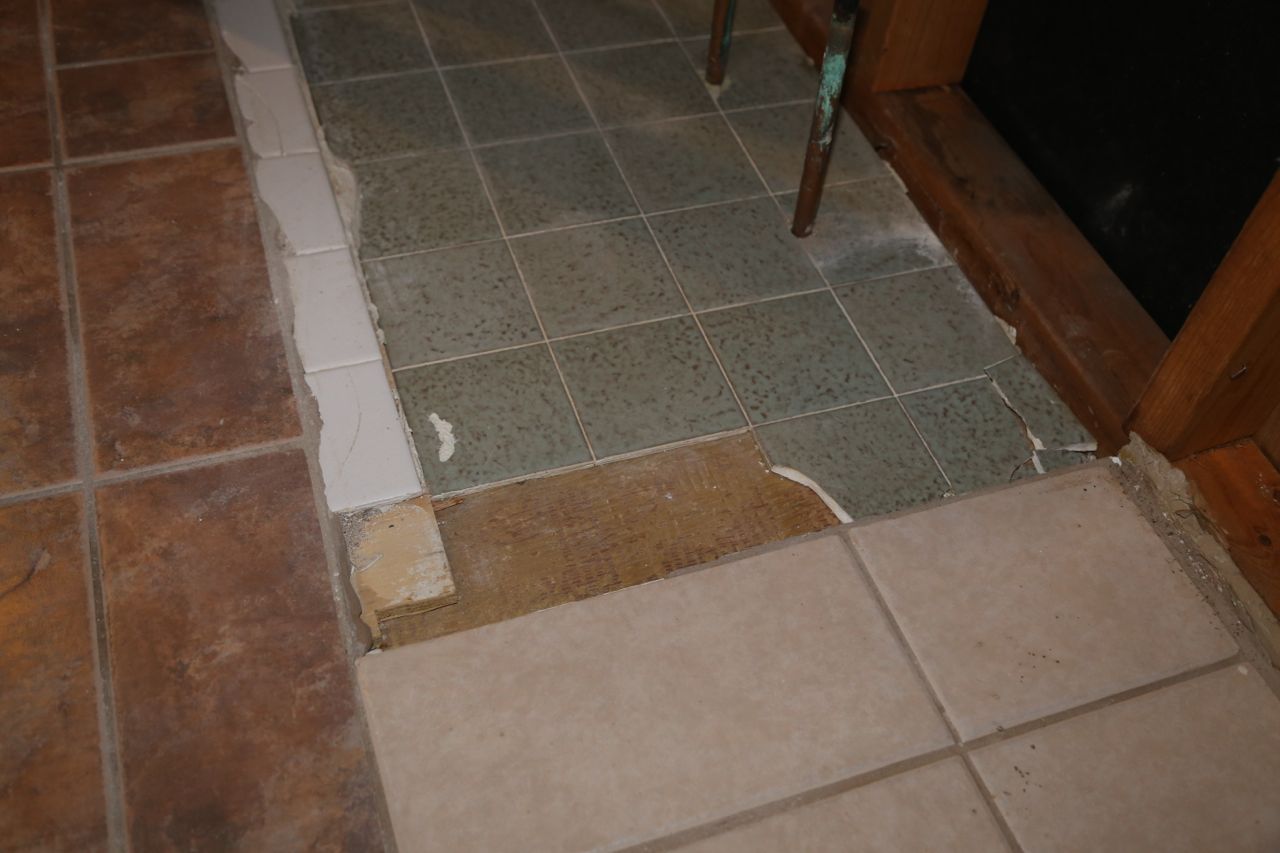
All the various tile flooring in the bathroom. The aqua square tiles were underneath the vanity and match the countertop. The large off-white ones were in the space between the two vanities.
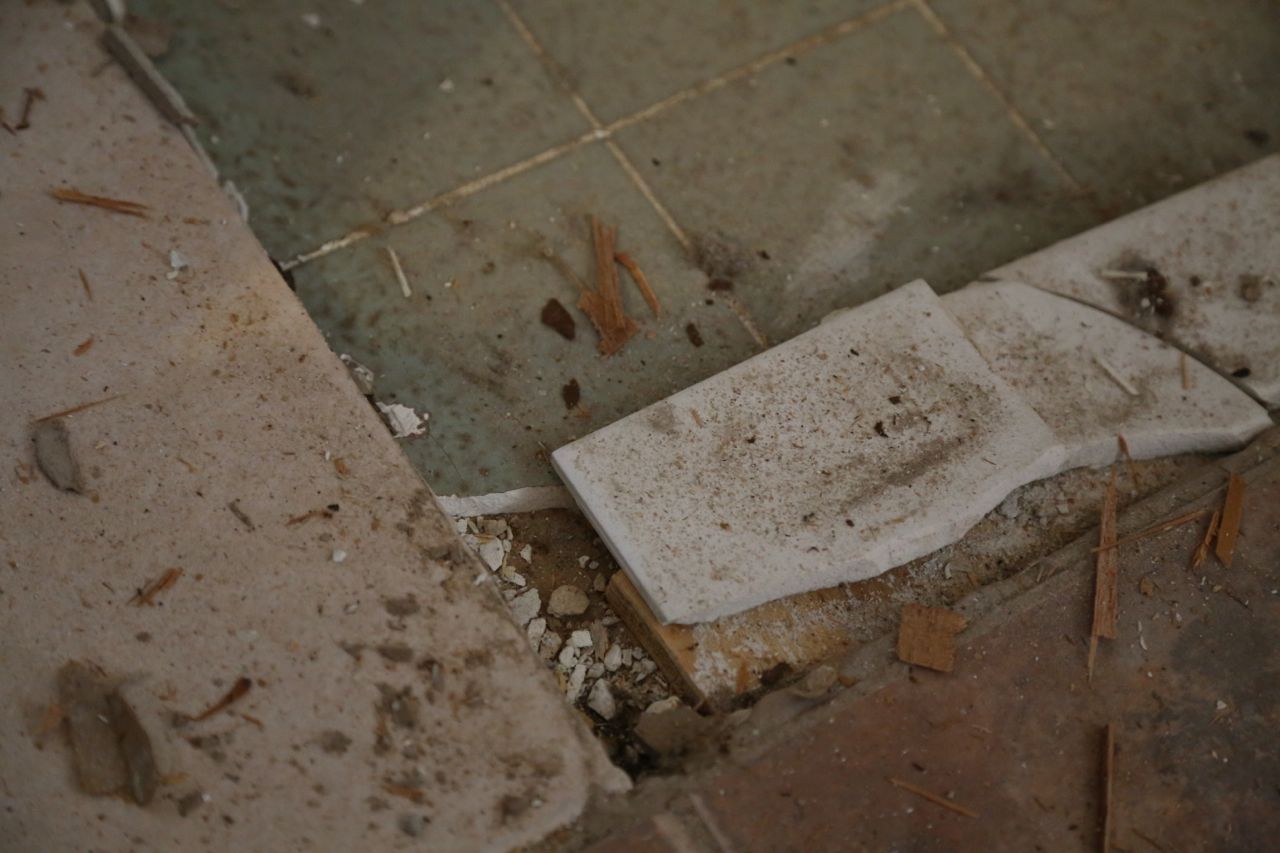
Closeup of original tile which was found underneath vanity
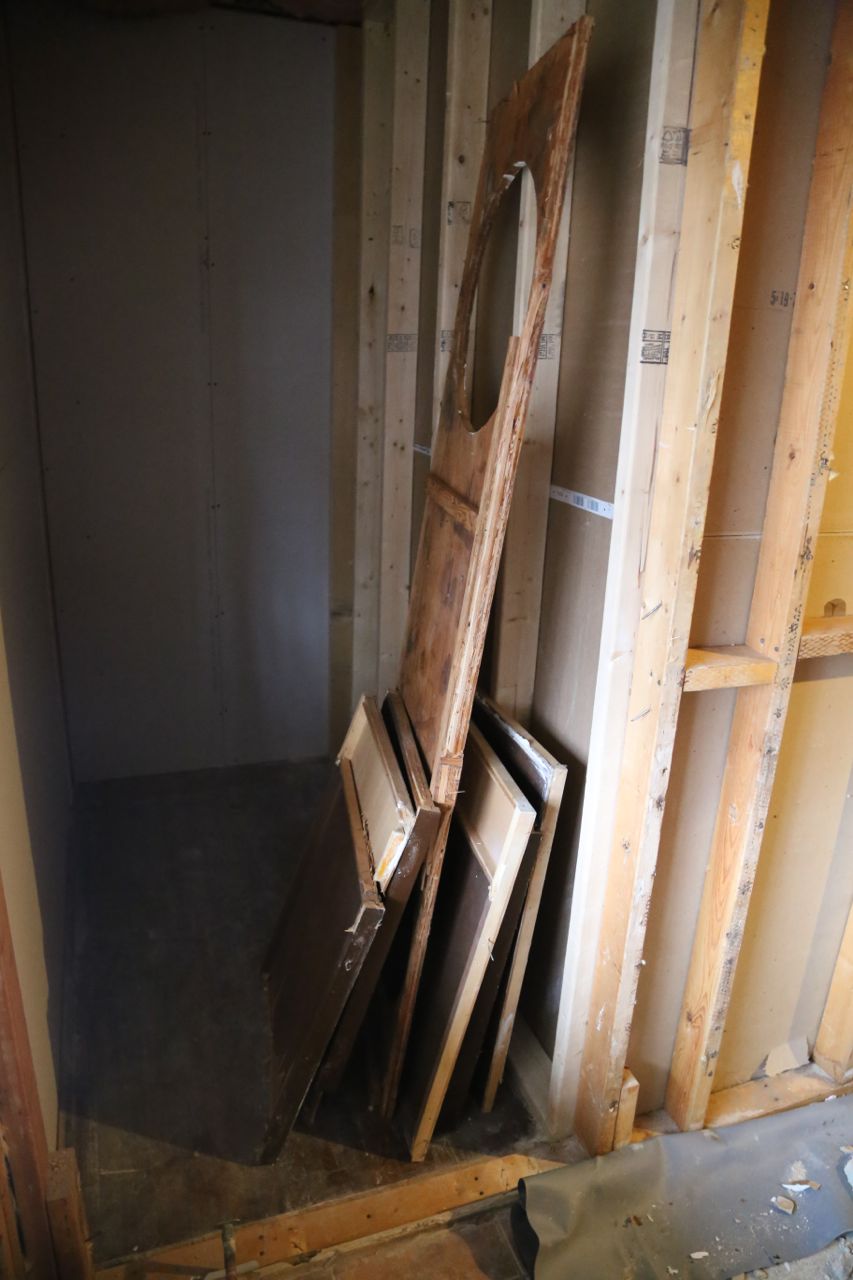
All that is left of the vanity
A piece of the ceiling I removed in one piece. I didn’t mean to remove it in one piece because it was a bit much for me to handle.