


I had a lovely stay in Ketchikan, but it was time for the next leg of my trip, which was taking the Alaska state ferry to Juneau. This trip stopped at several cities before we arrived in Juneau. There was barely time to step off the ship if desired in the cities, except for Sitka, which allowed us about an hour and half in downtown Sitka. [More on that in next blog post.] The ferry route to Juneau was gorgeous, and it went through the amazingly gorgeous and awesome Wrangell Narrows. The ferry is about the biggest ship that can go through the narrows, so that is a bit of a bonus compared to the huge cruise ships.
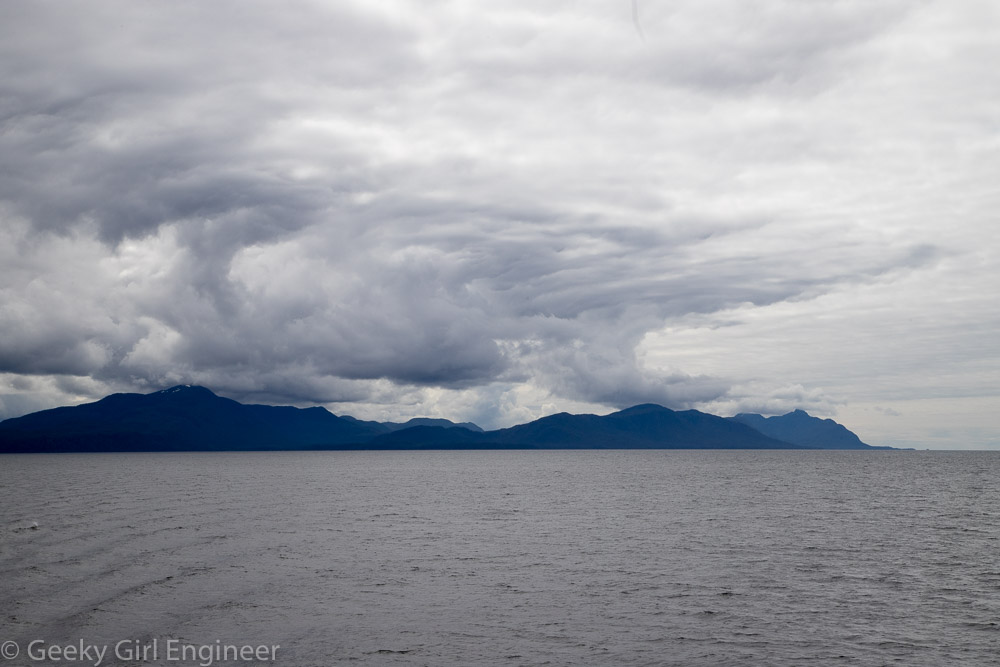
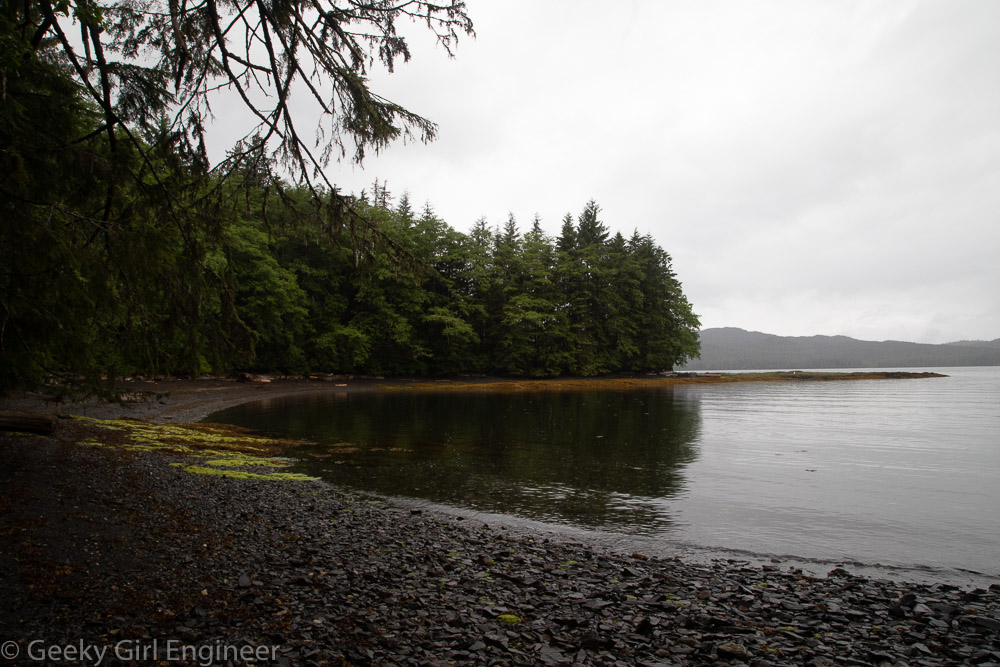
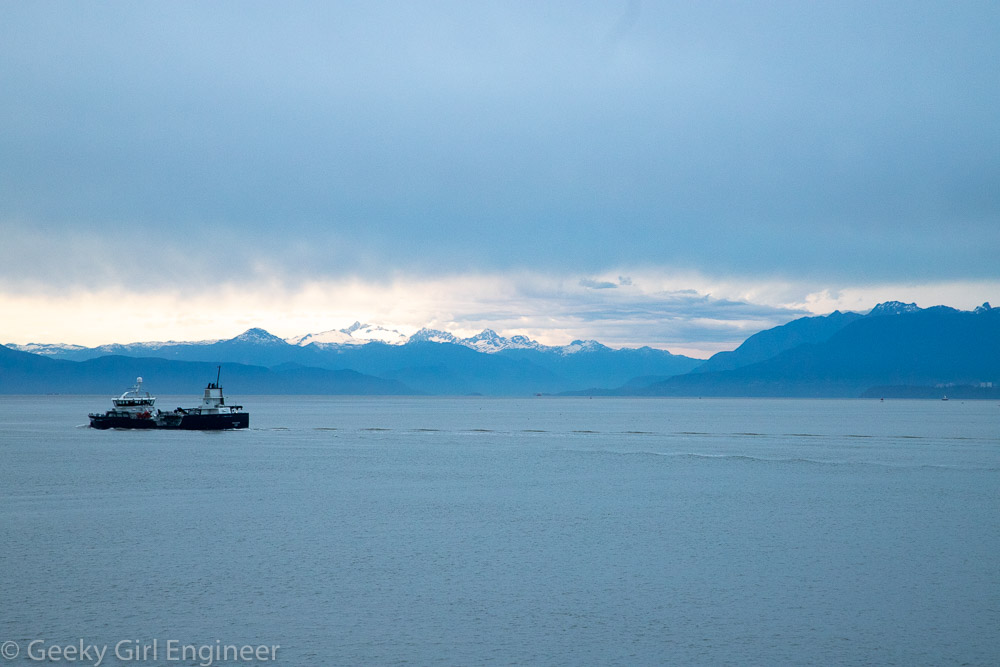
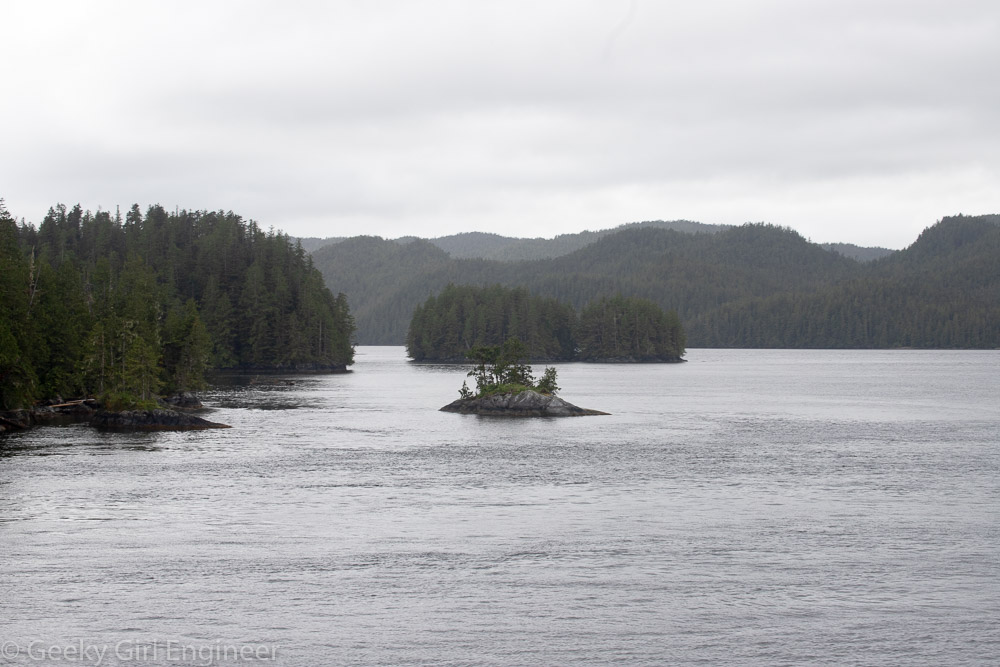
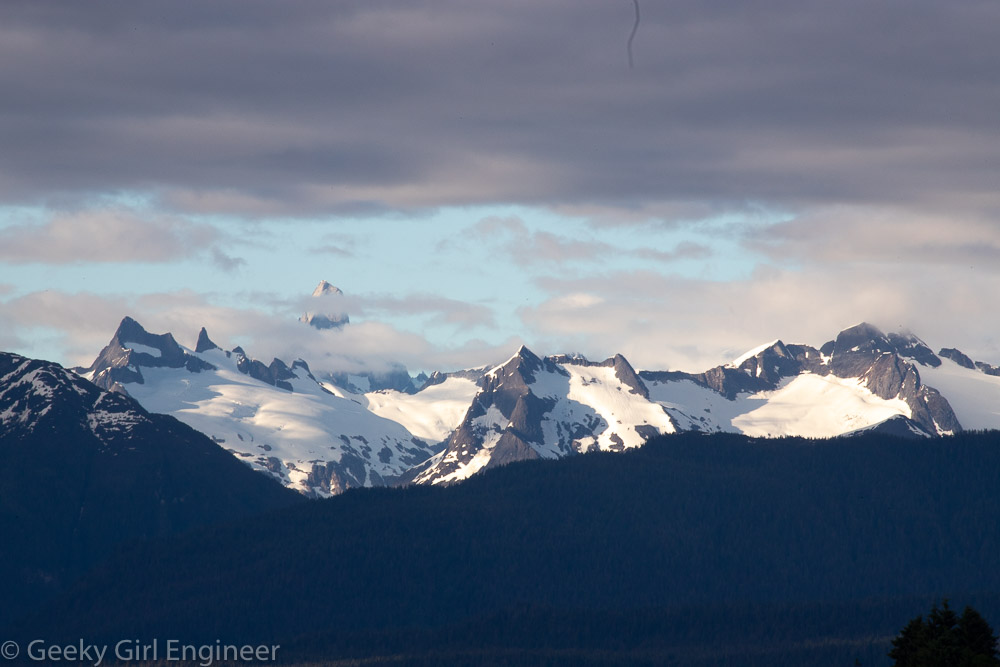
Inside passage near Ketchikan
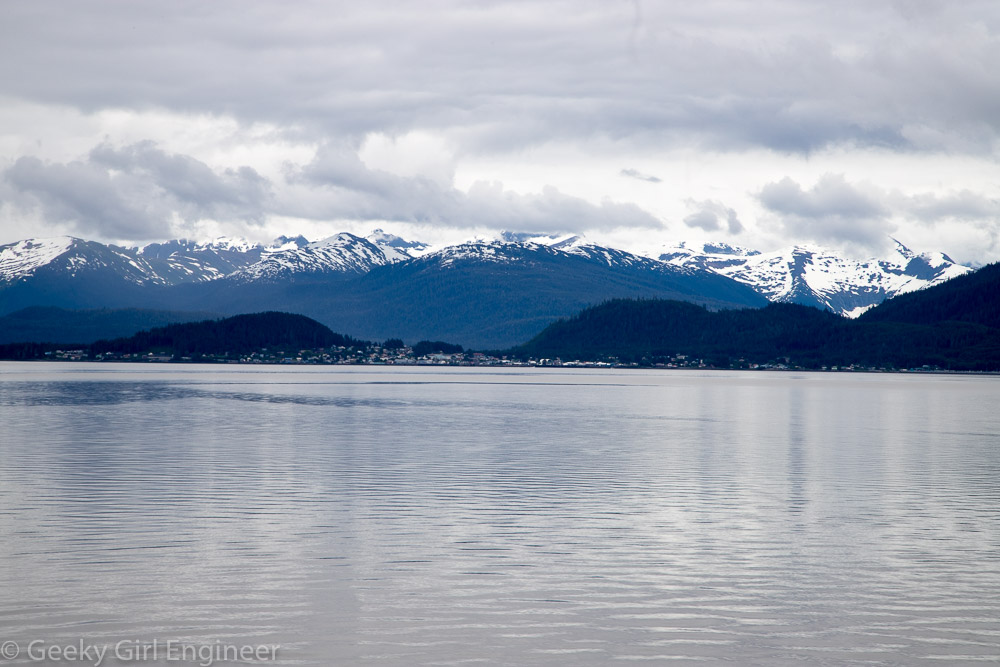
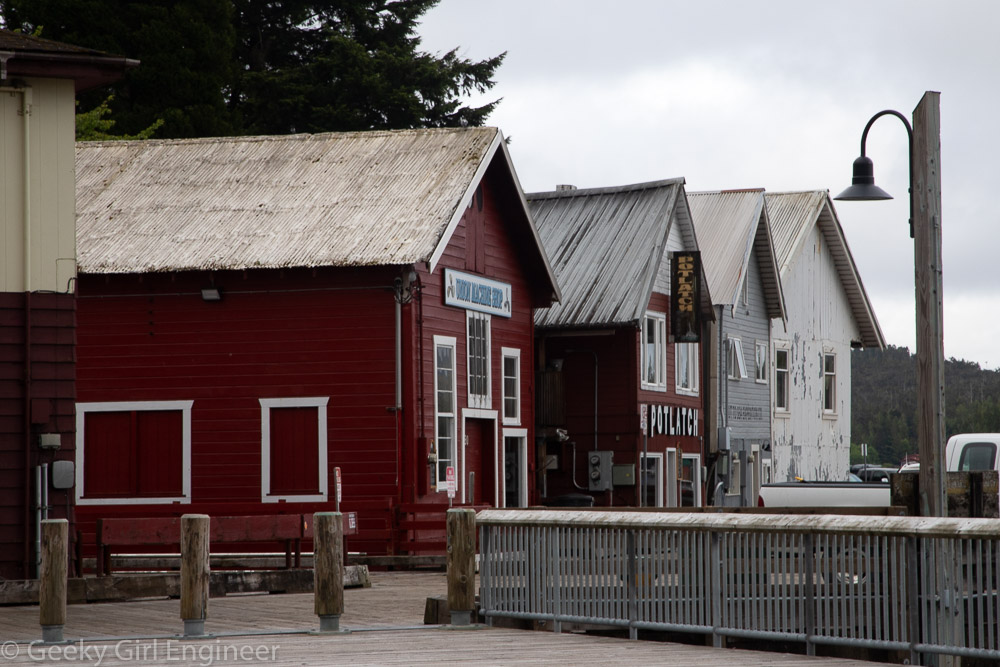
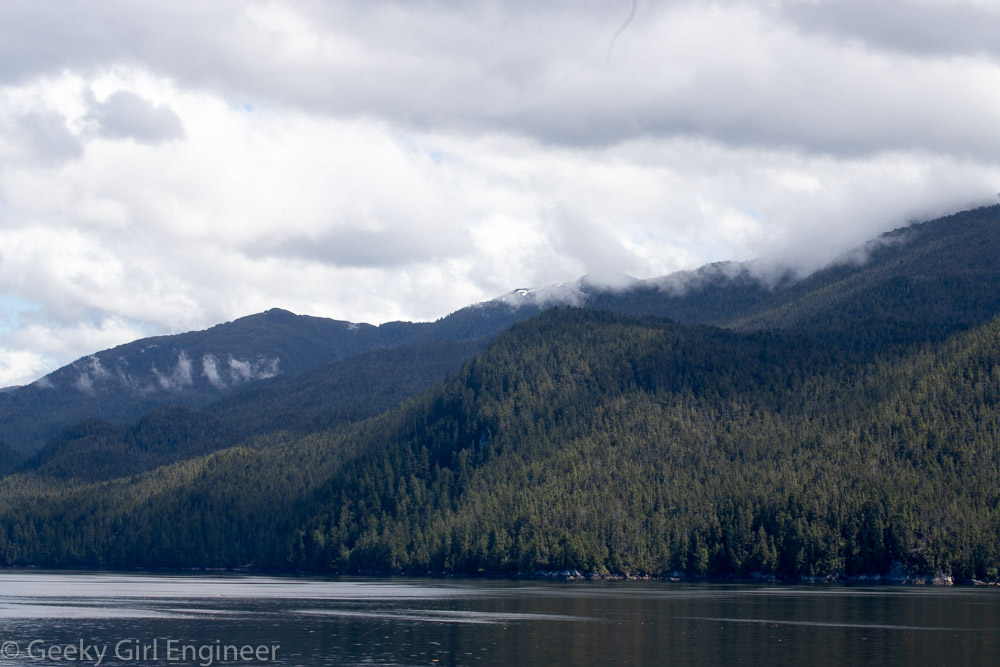
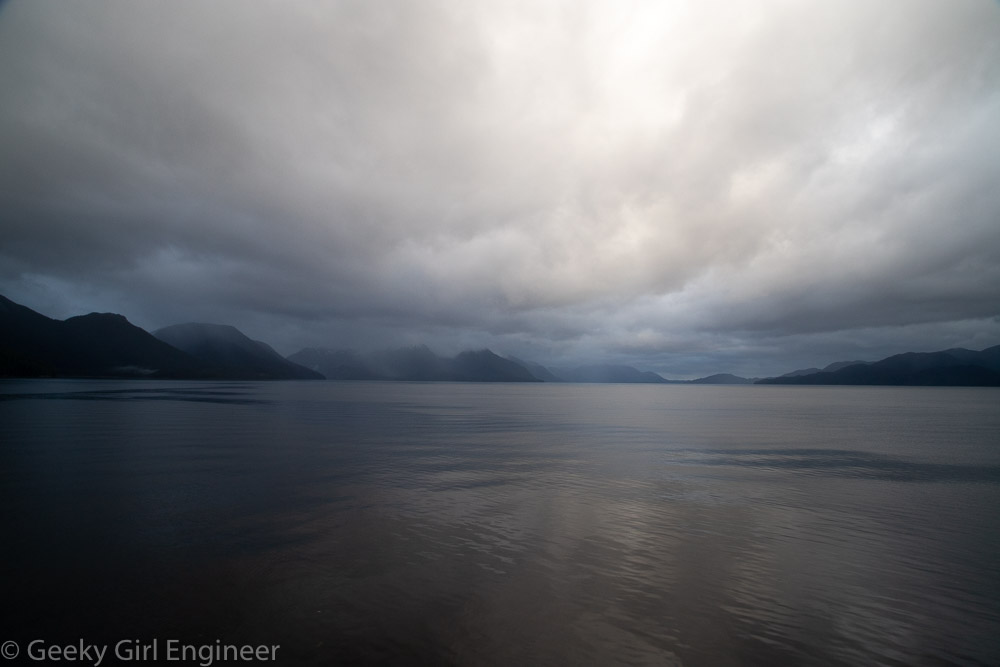
Wrangell
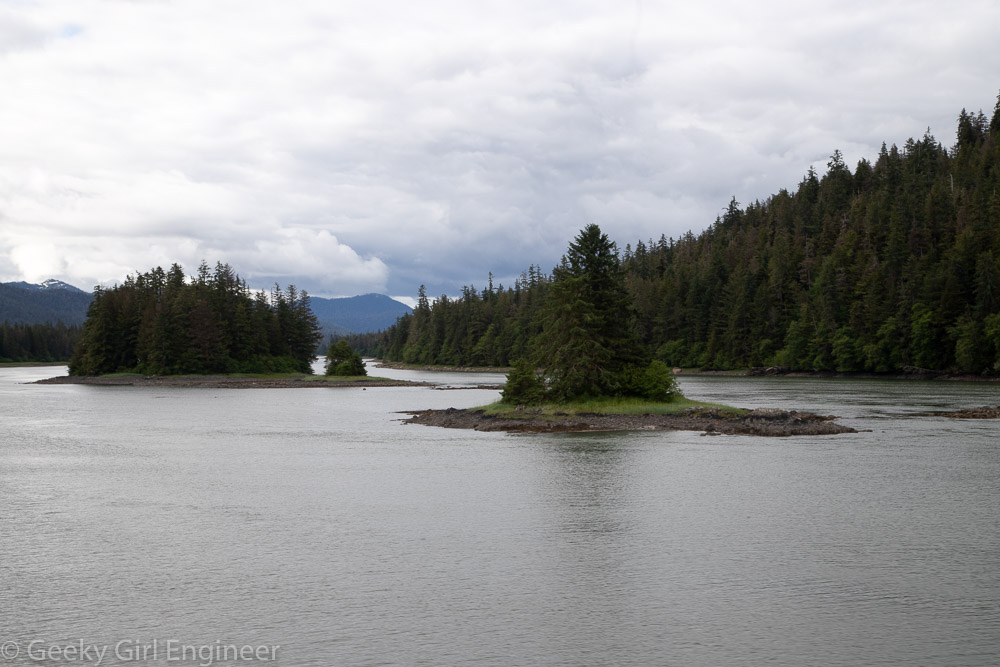
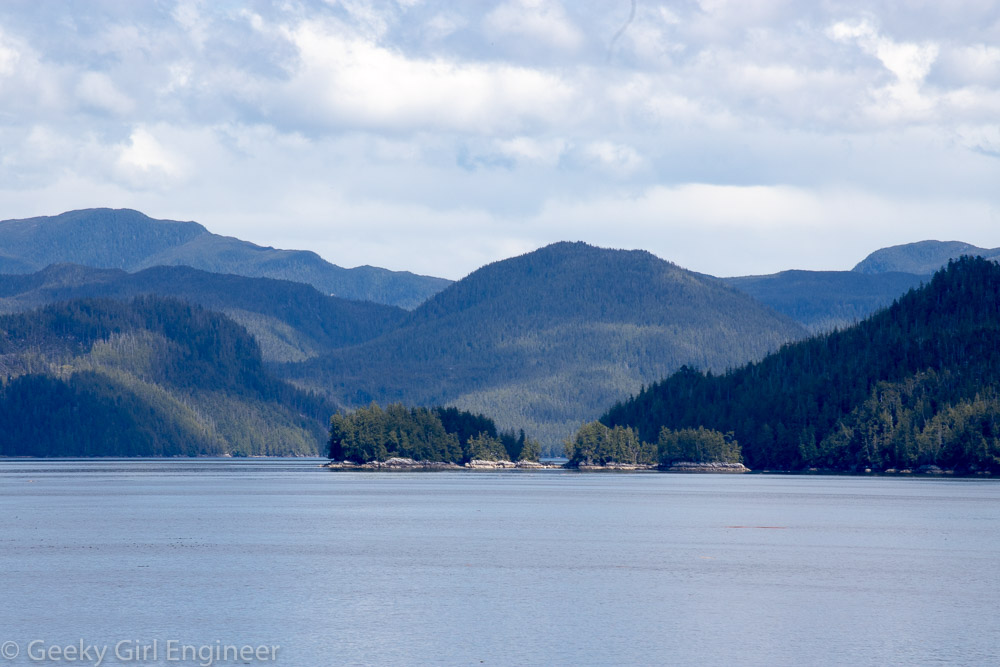
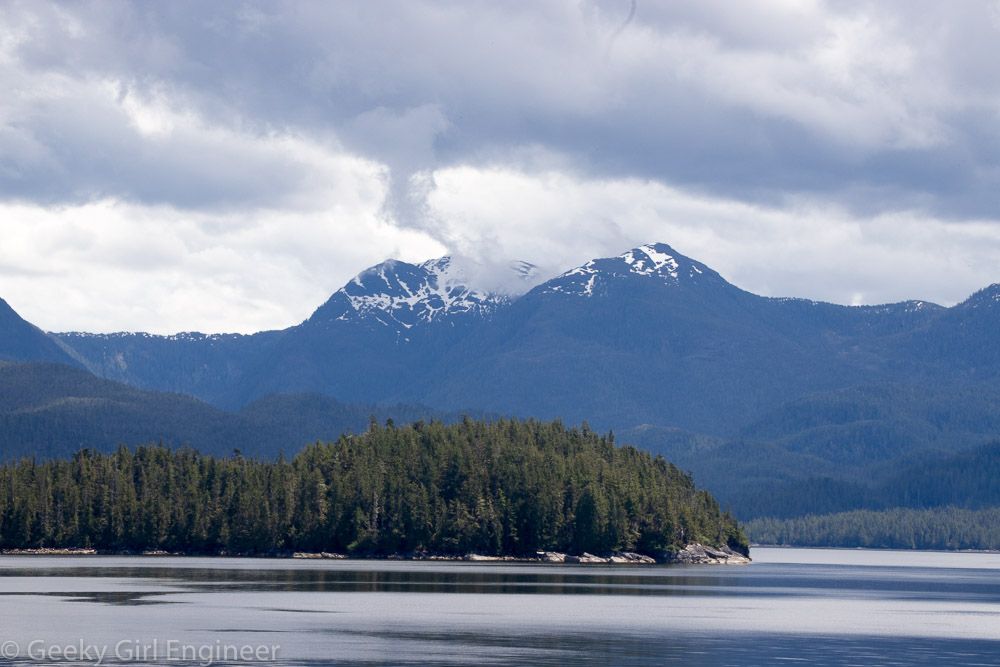
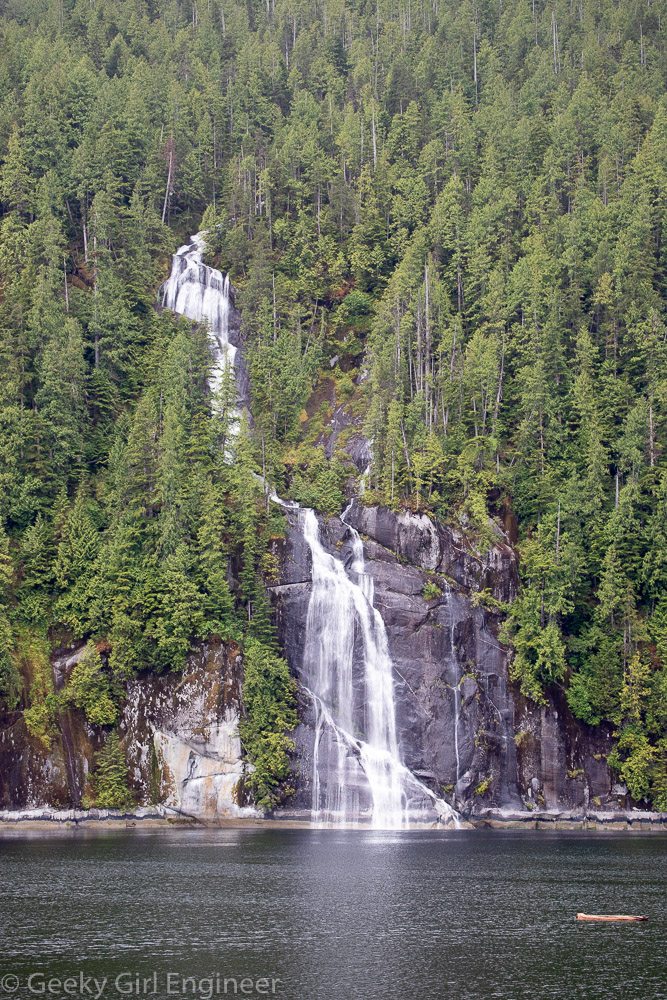
Wrangell Narrows
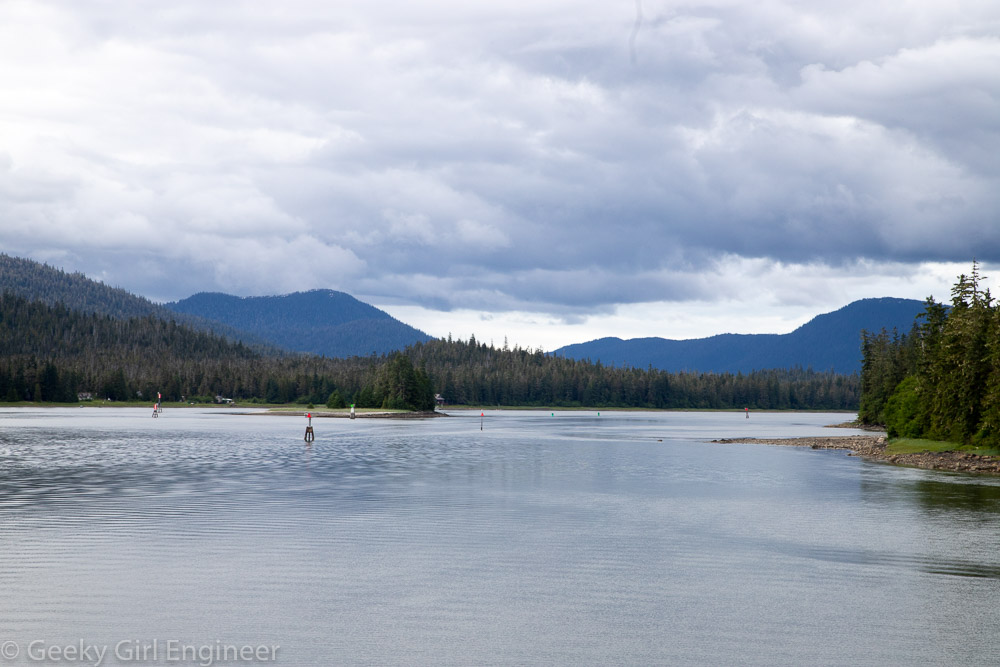
Wrangell Narrows
Wrangell Narrows
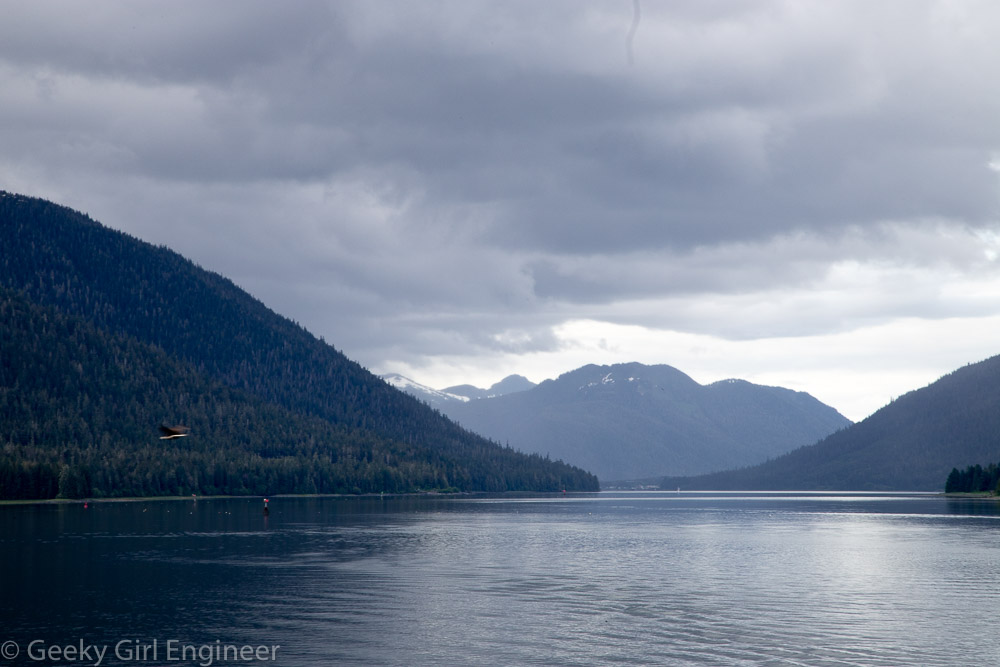
Wrangell Narrows (with an out of focus bald eagle flying across the shot on the left)
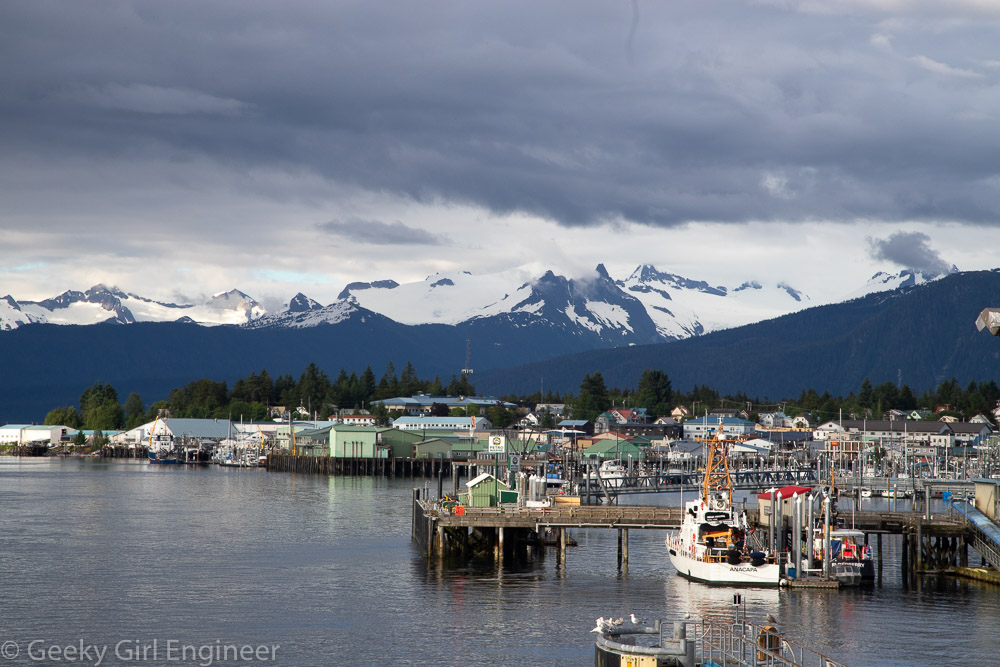
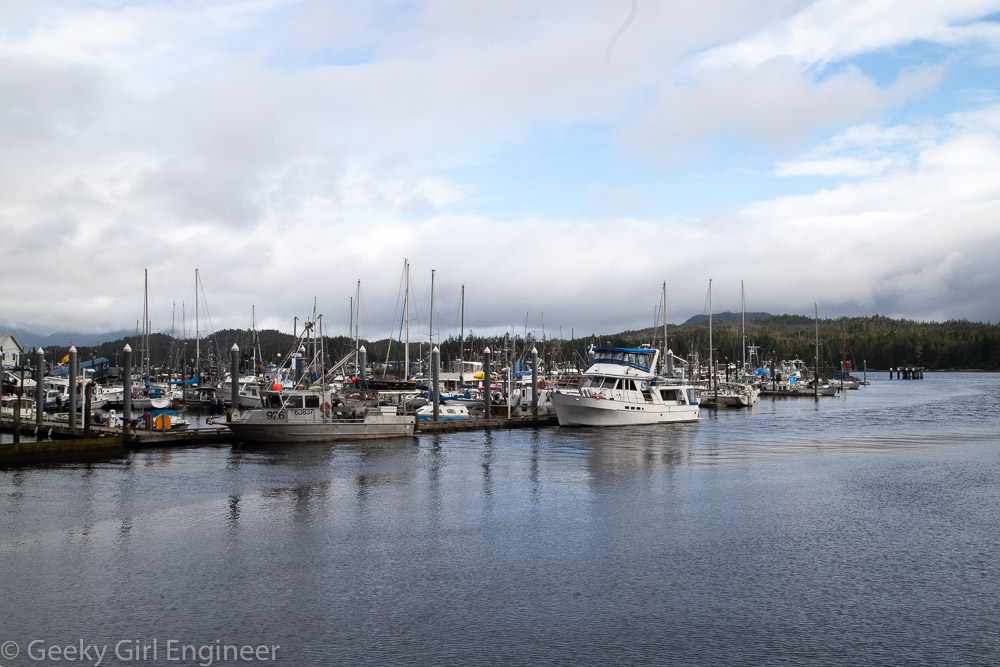
Petersburg
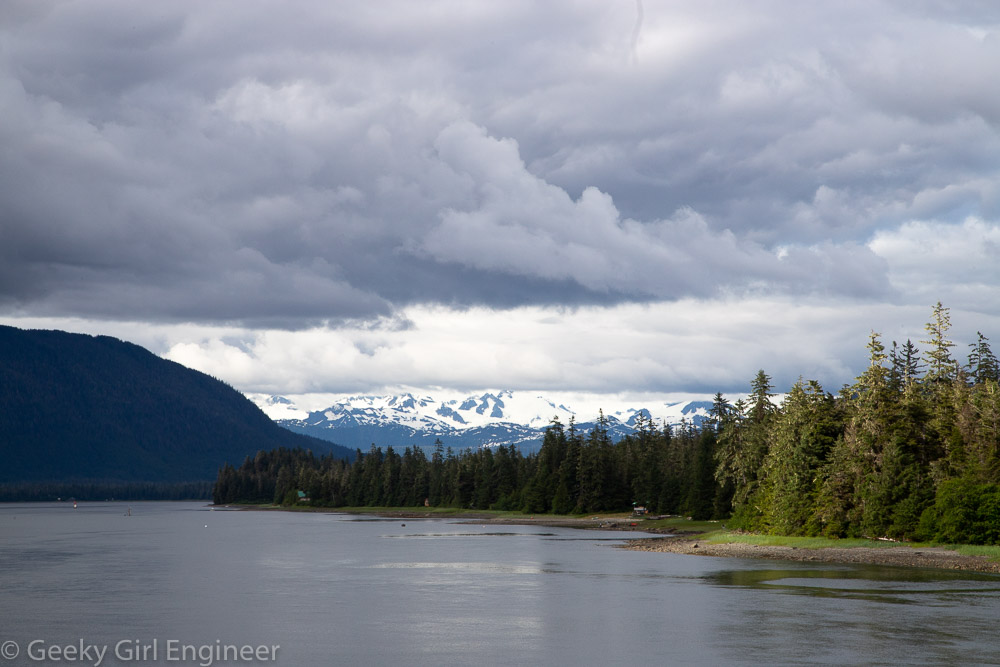
Near Petersburg
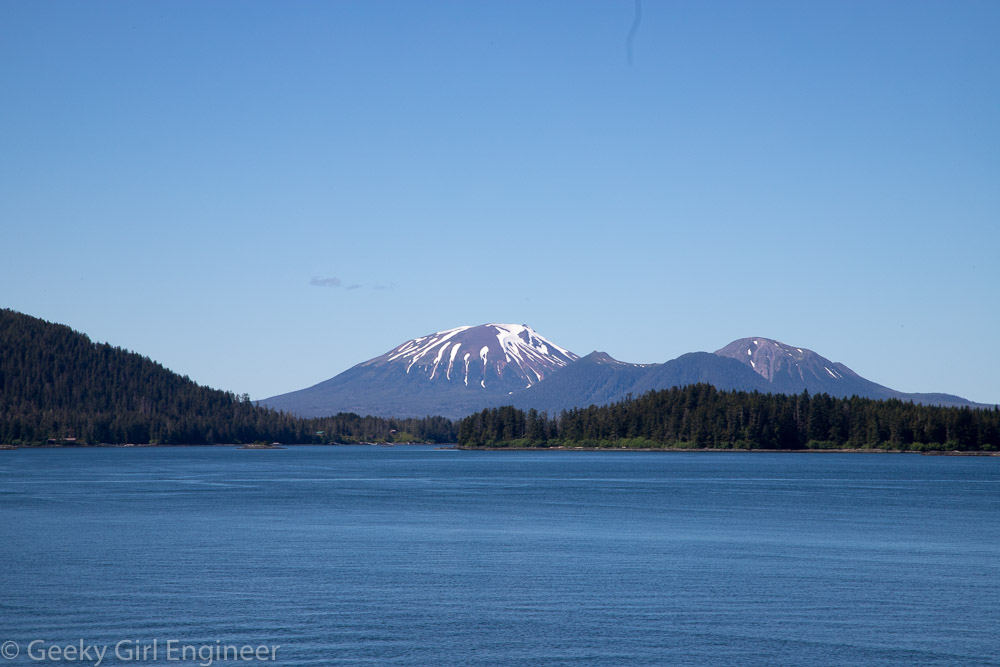
Mt Edgecumbe, near Sitka
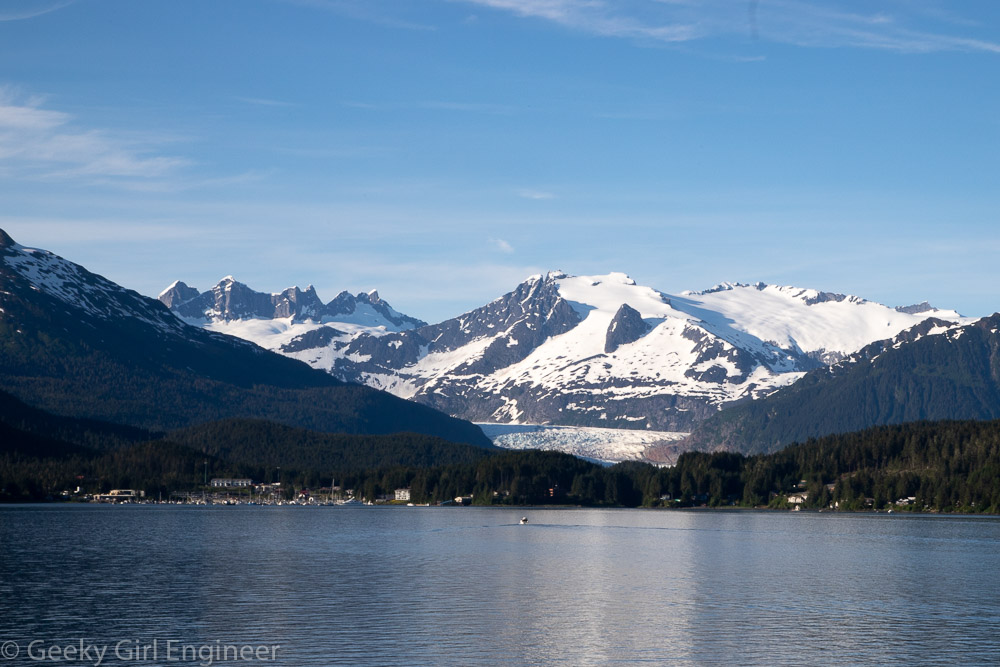
Juneau