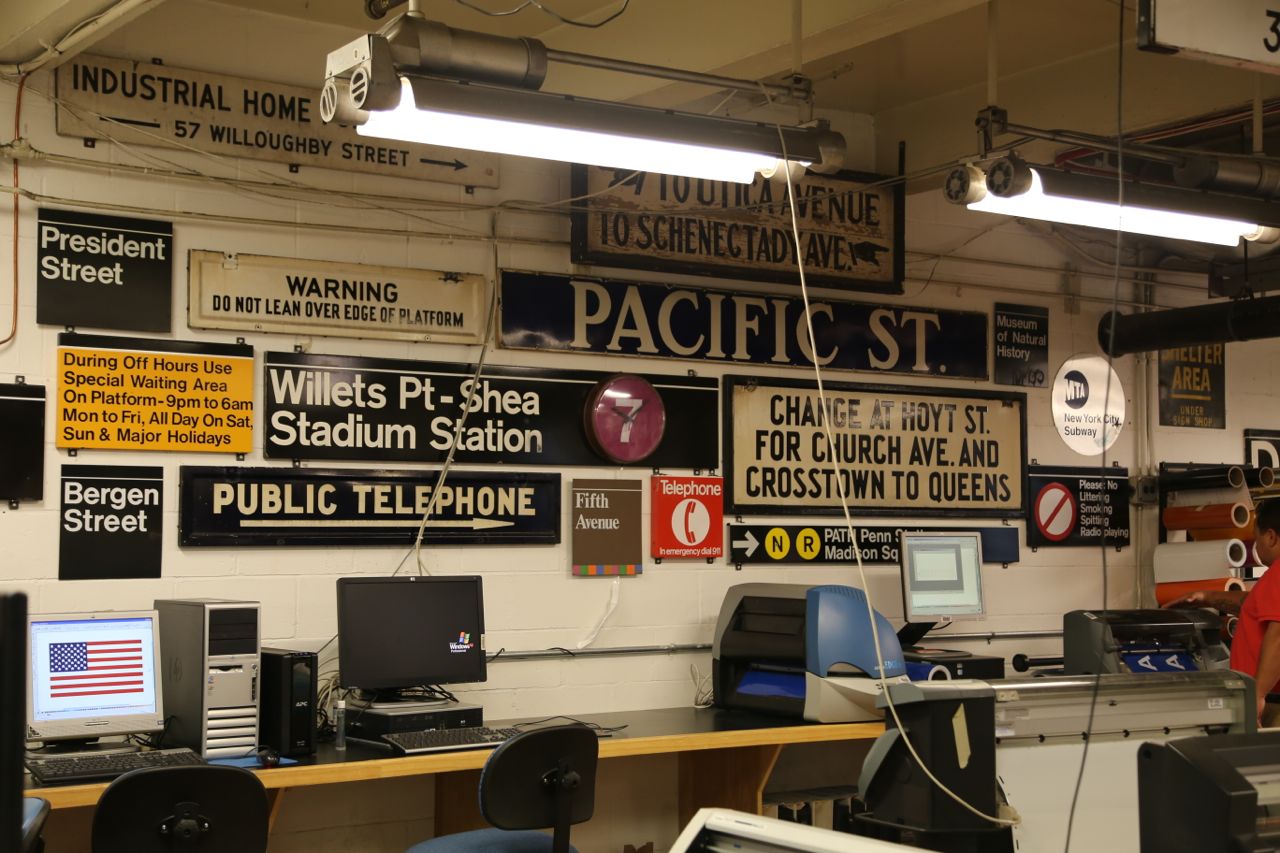
Collection of old signs on the shop’s wall
I recently had a chance to tour New York City’s MTA’s Bergen Sign Shop. The Bergen Sign Shop is where all the signs for MTA’s subways are made and possibly a few other signs. The wonderful employees came in on a Saturday so that they could take two tour groups, from the New York Transit Museum, through the shop and show us how they make the signs. It was really neat to see and also interesting to hear how things have changed from the way things used to be made. Computers are now used for much of the process where as like many things, they used to have to be done by hand. Some of the signs they make are made like many of us make signs with regular ink jet printers, although they have massive printers with the biggest ink cartridges I have ever seen.
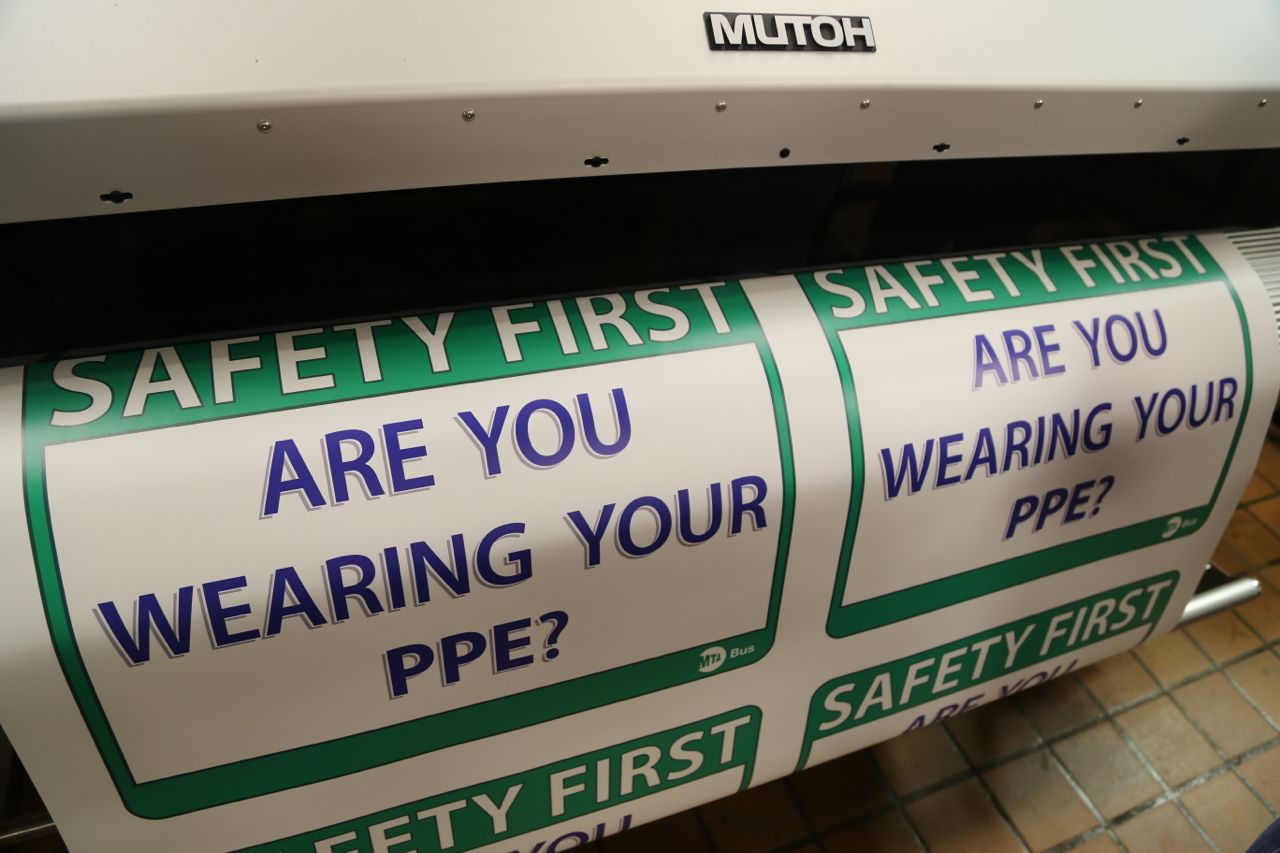
Safety first signs being printed in bulk. As an engineer, I particularly enjoyed seeing this.
All the “buttons”, the colored circles with the subway line letter or number, are printed on rolls of colored vinyl with adhesive backing. The line’s letter or number is then printed in black or white. A machine also cuts the circle into the vinyl, so employees just have to remove the excess from around the circles.

Rolls of vinyl in various colors ready for the printer. C line buttons being printed.
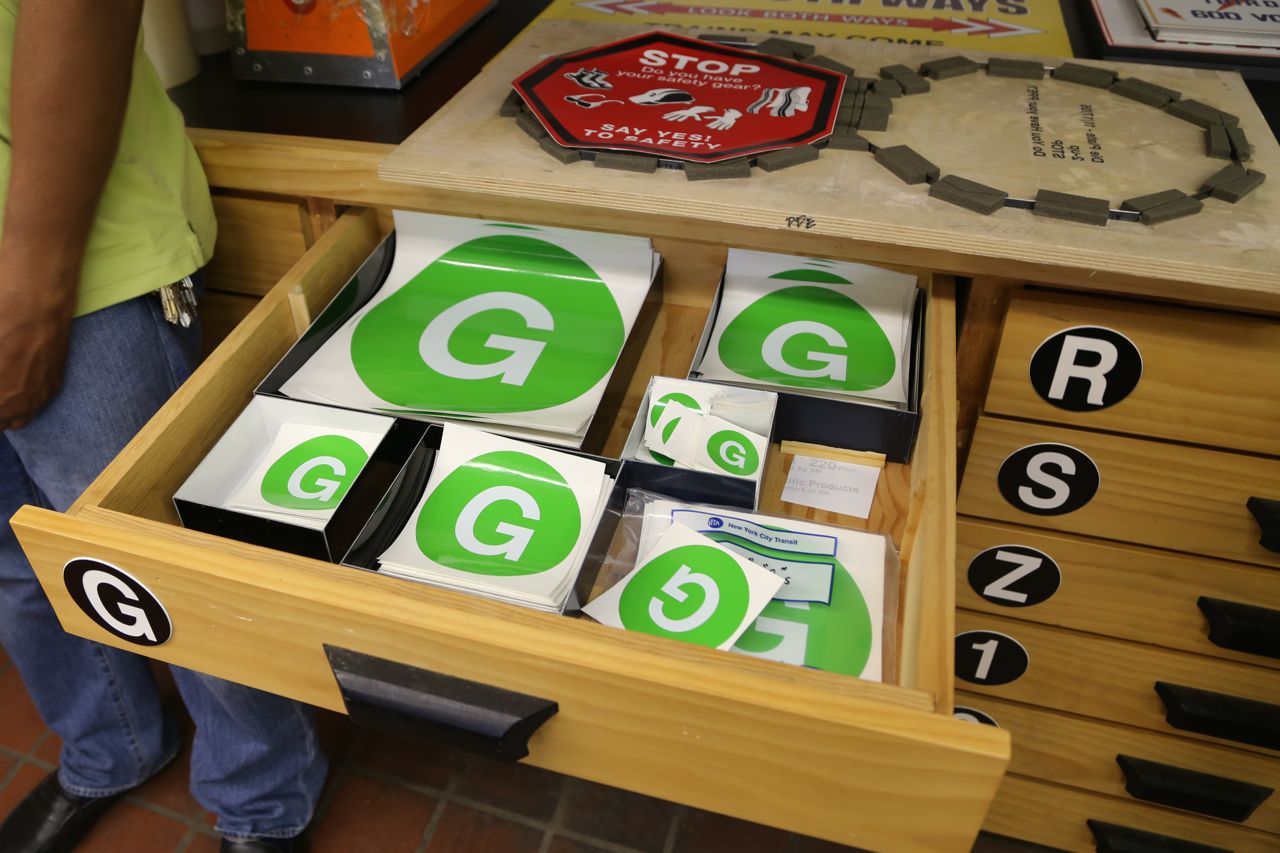
Drawer full of ready to go buttons. The buttons are made in 7 standard sizes.
They have another machine that just does detailed cutting of vinyl rolls. Once the vinyl has been cut, the excess is removed, and letters, numbers, and symbols are left in place. The letters are already spaced properly like they would be from a printer and are then transferred as a unit by an employee to a sign.
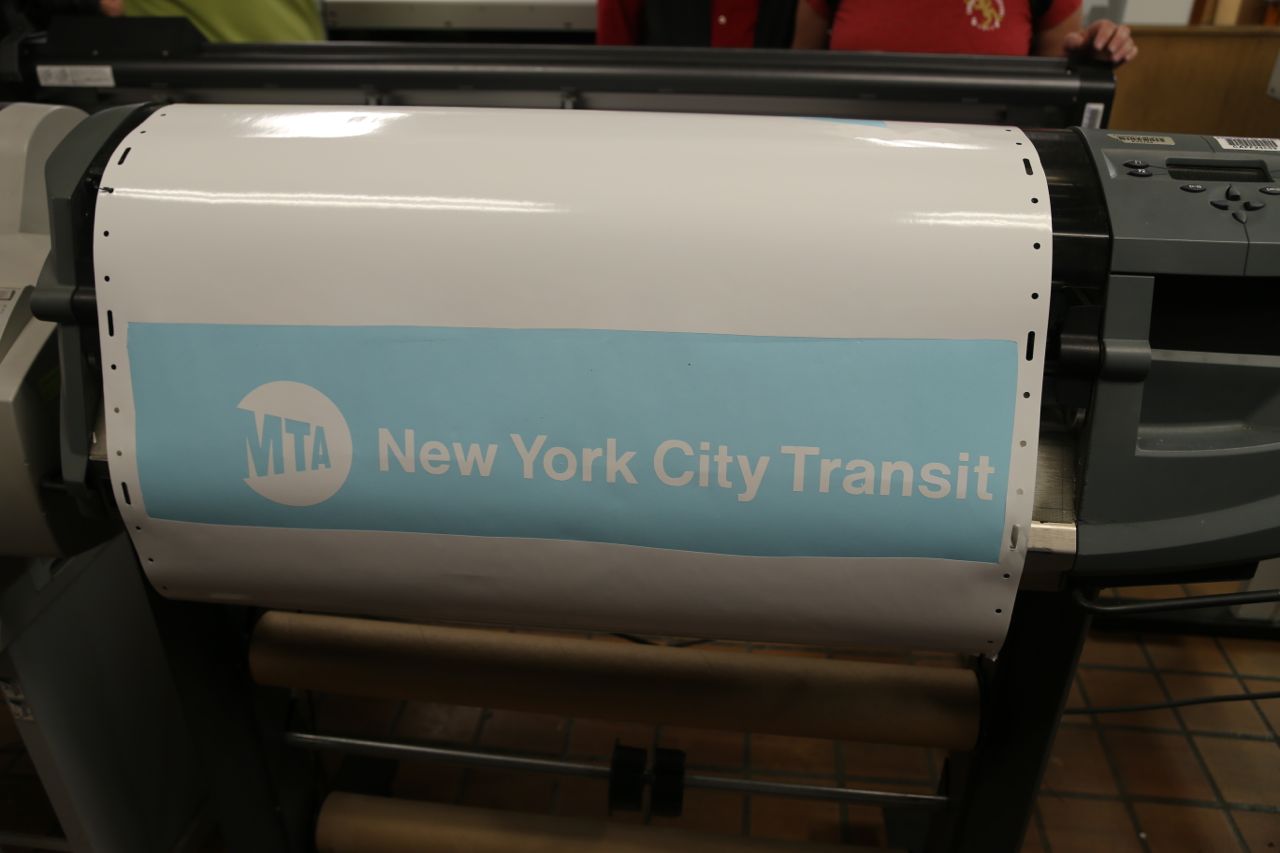
Roll of vinyl leaving the cutter.
The below, very short video is a series of photographs of an employee showing how he transfers the cut letters to a sign. The method he uses keeps all the letters spaced properly as they were spaced by the computer. The letters are transferred from the vinyl roll to transfer paper then to the sign.
Once the letters, buttons, etc. are on the sign, the sign is then laminated. It is later sent to the tin shop to be applied to a metal frame.
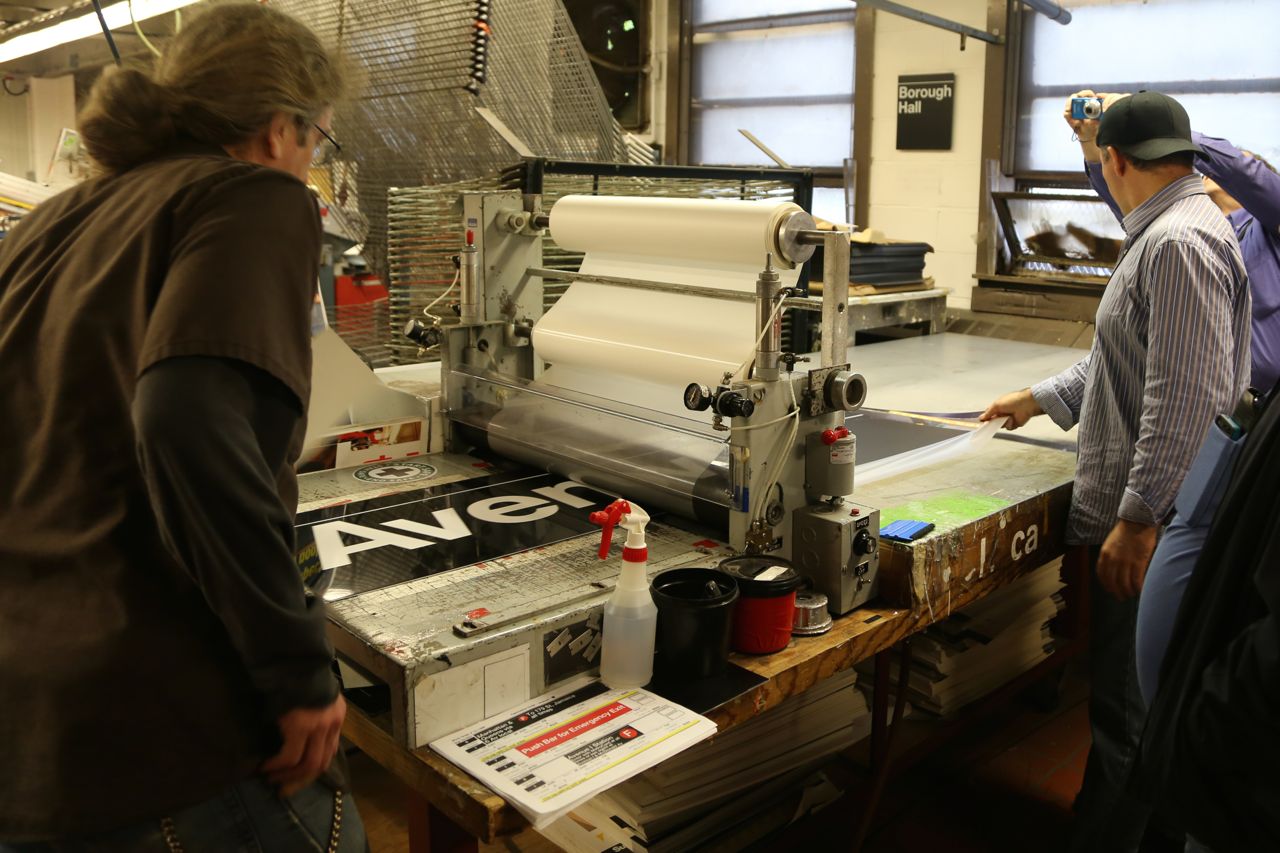
Sign being laminated
There is another machine that engraves signs and also applies to plastic beads to make braille signs.
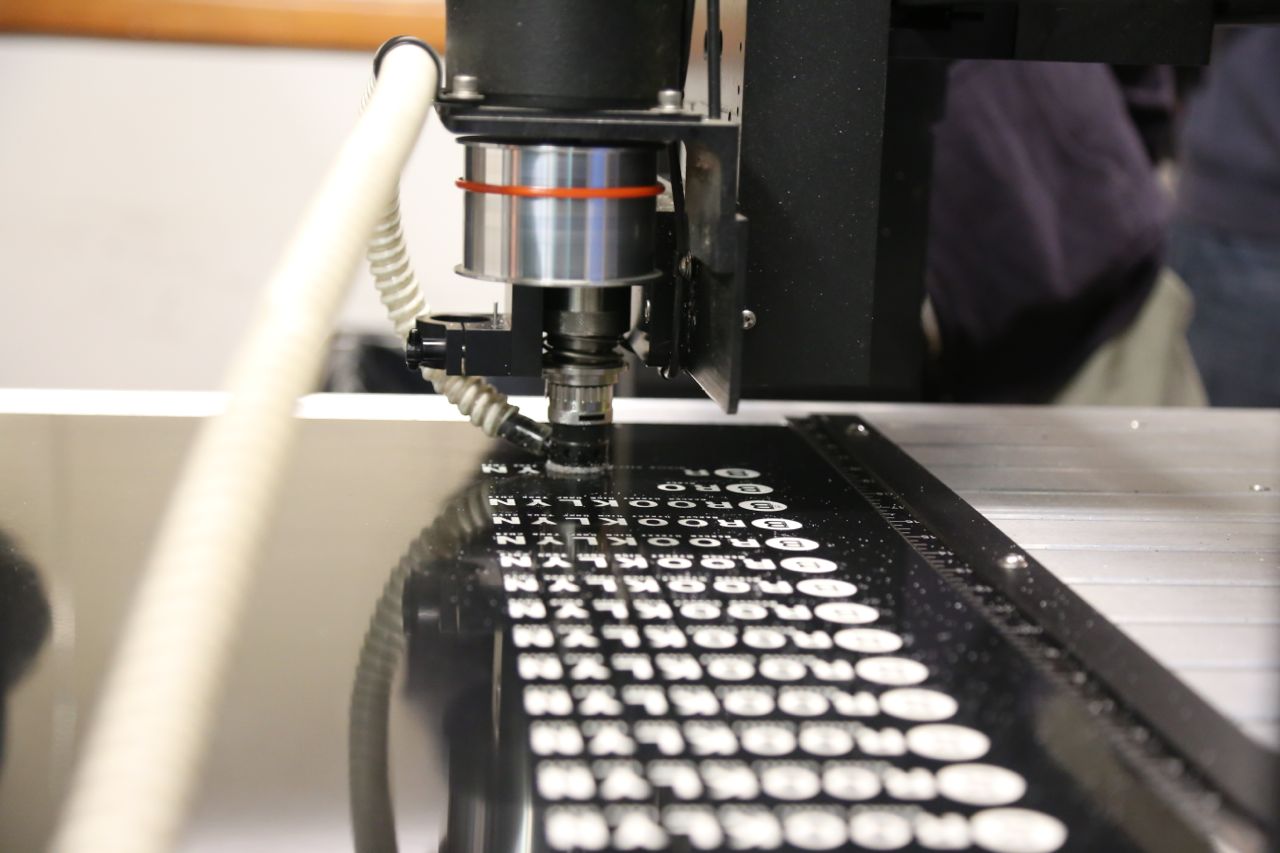
Engraving machine
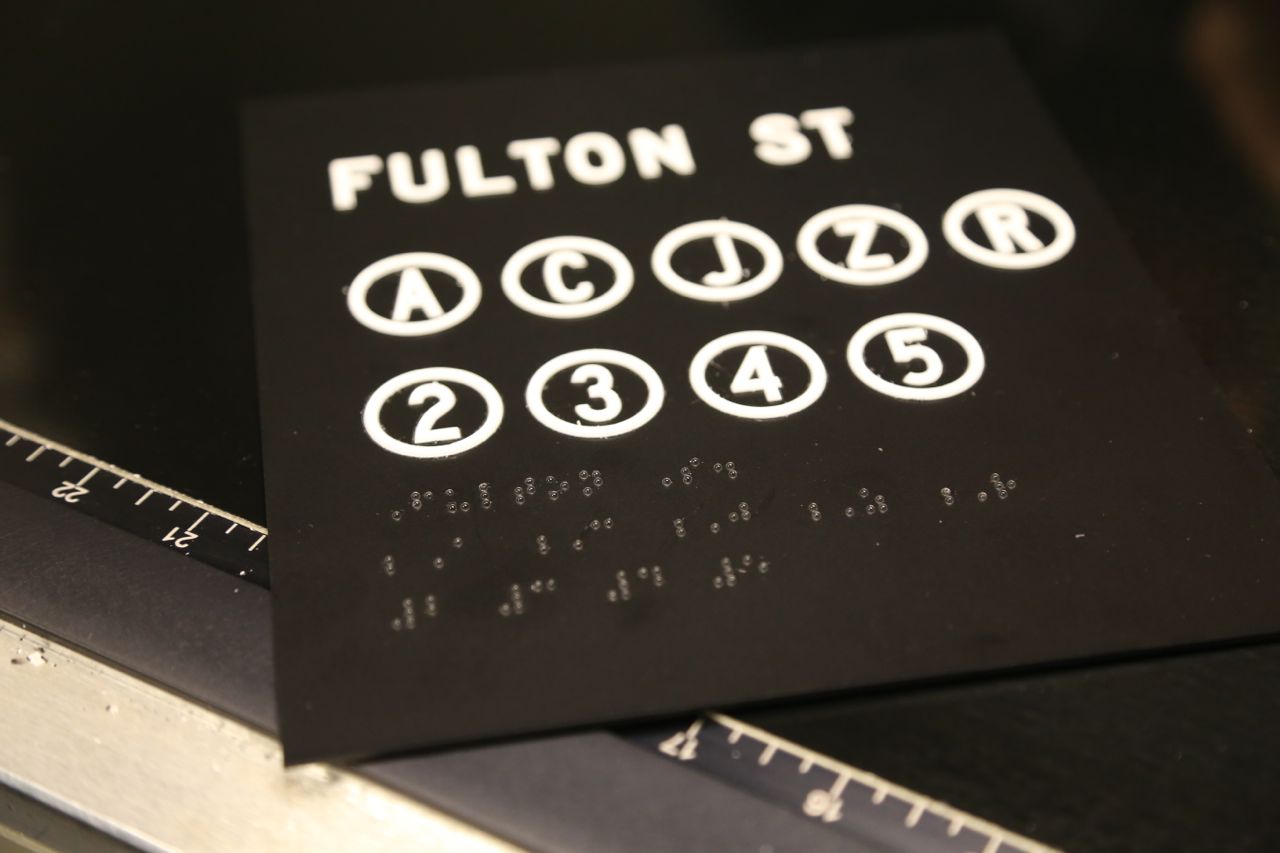
Temporary location sign with Braille.
In a separate room, they make frosted glass signs by applying a template and coating the glass with uv-activated substance. Ultraviolet light is then applied, and anything not covered by the template will be frosted.
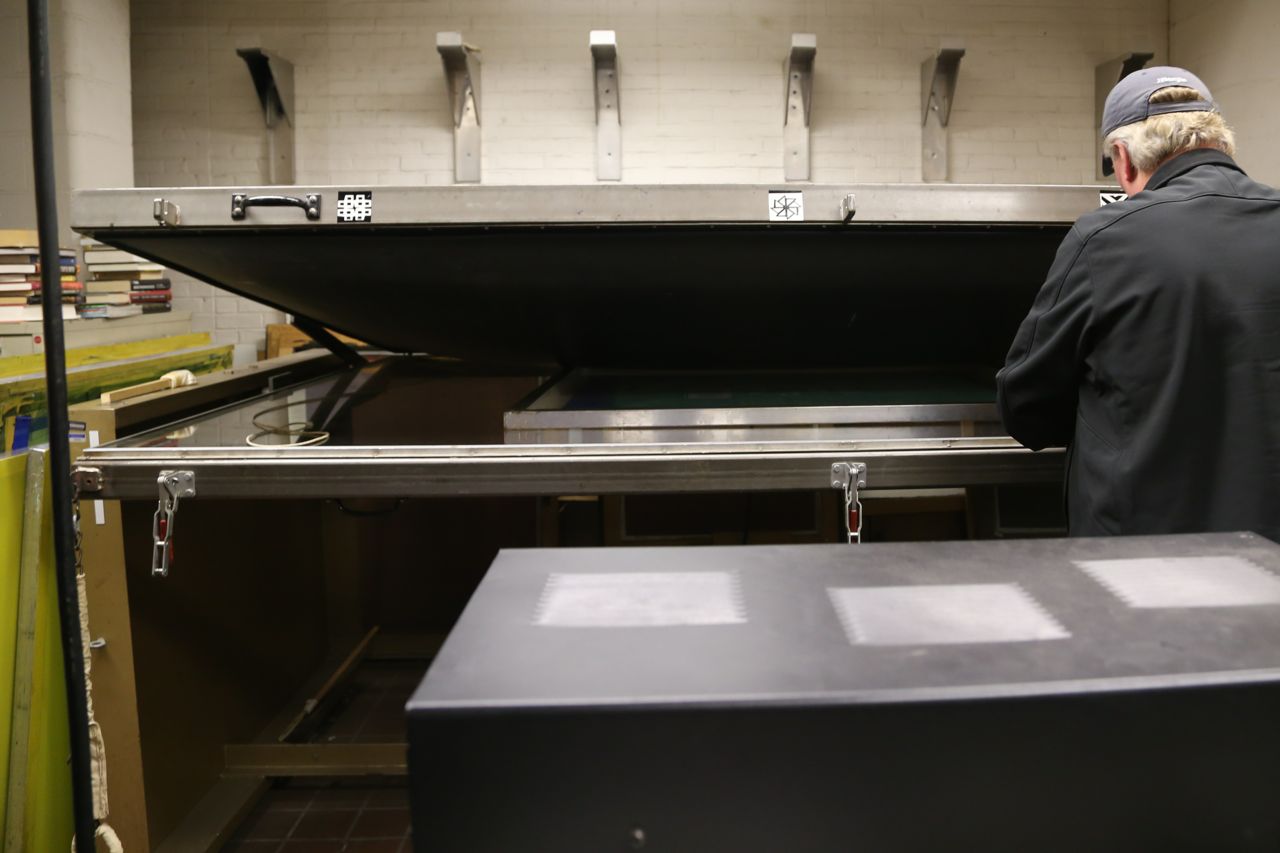
Glass placed into machine where a vacuum will be applied and then it will be treated under ultraviolet light
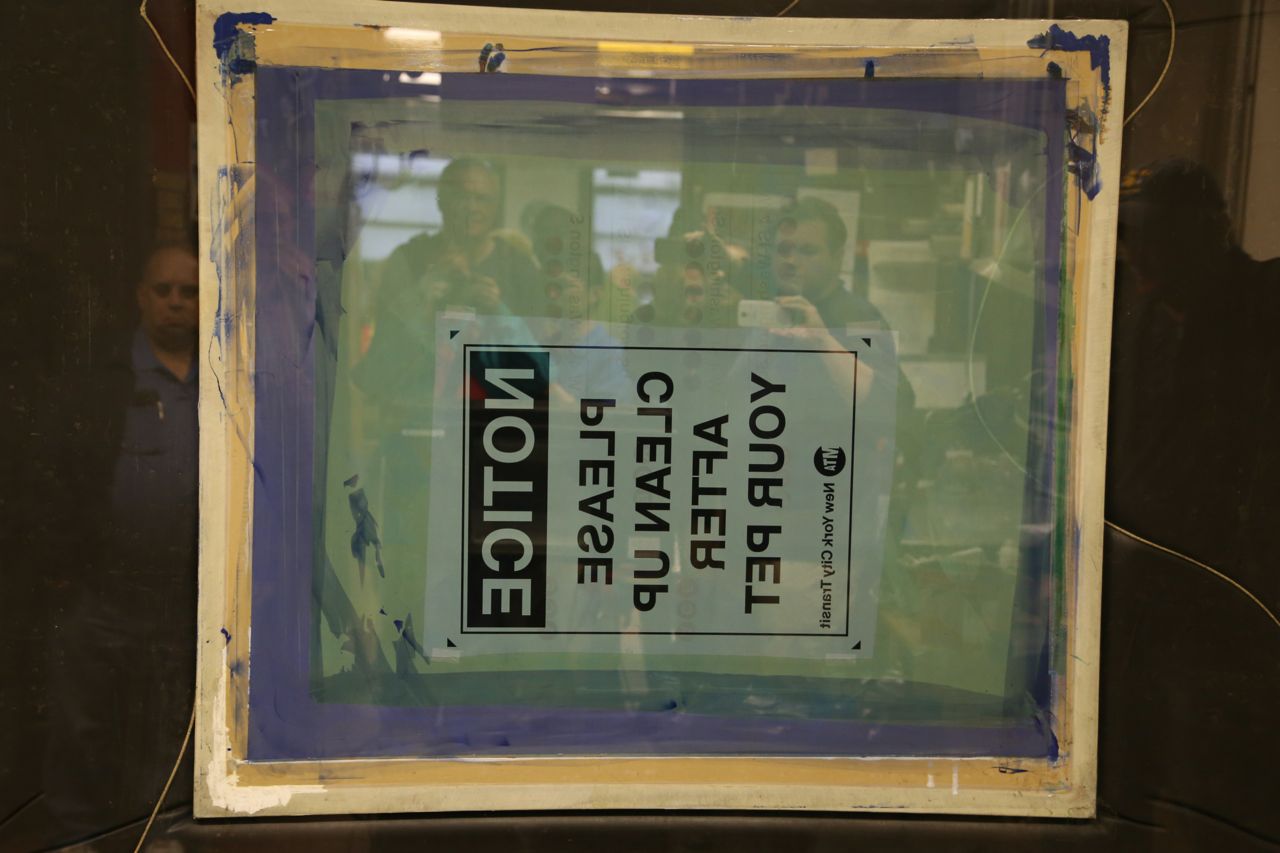
Sign about to be treated under ultraviolet light
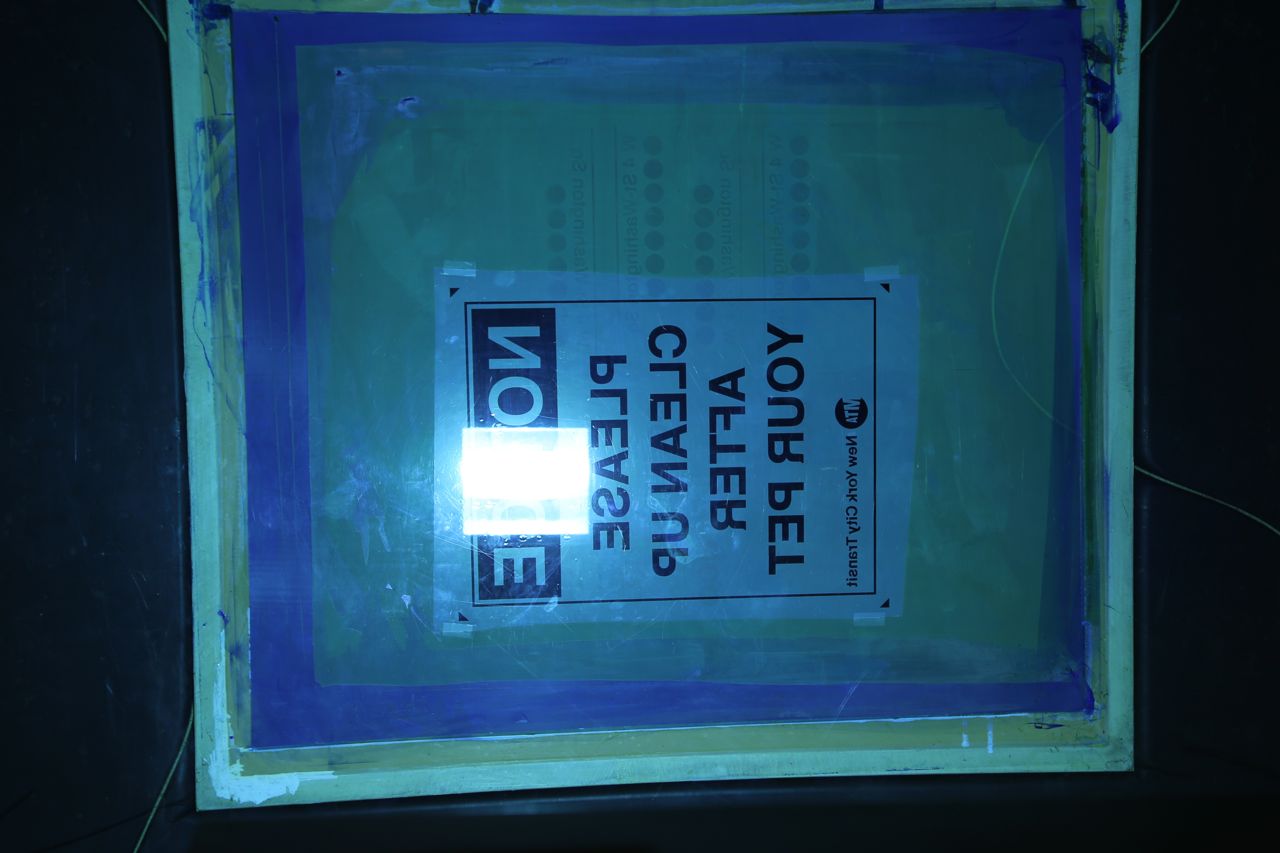
Sign being treated under ultraviolet light
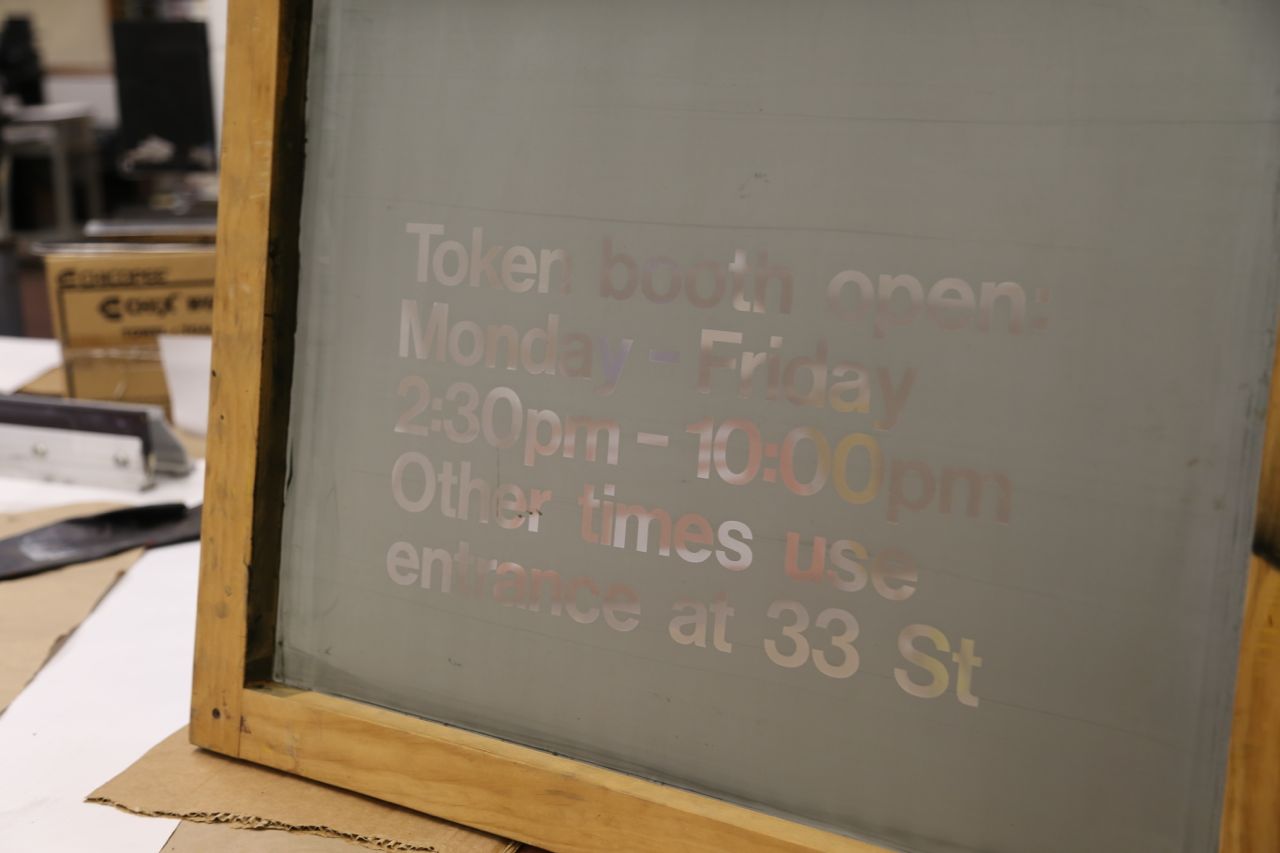
Glass after being treated with uv light
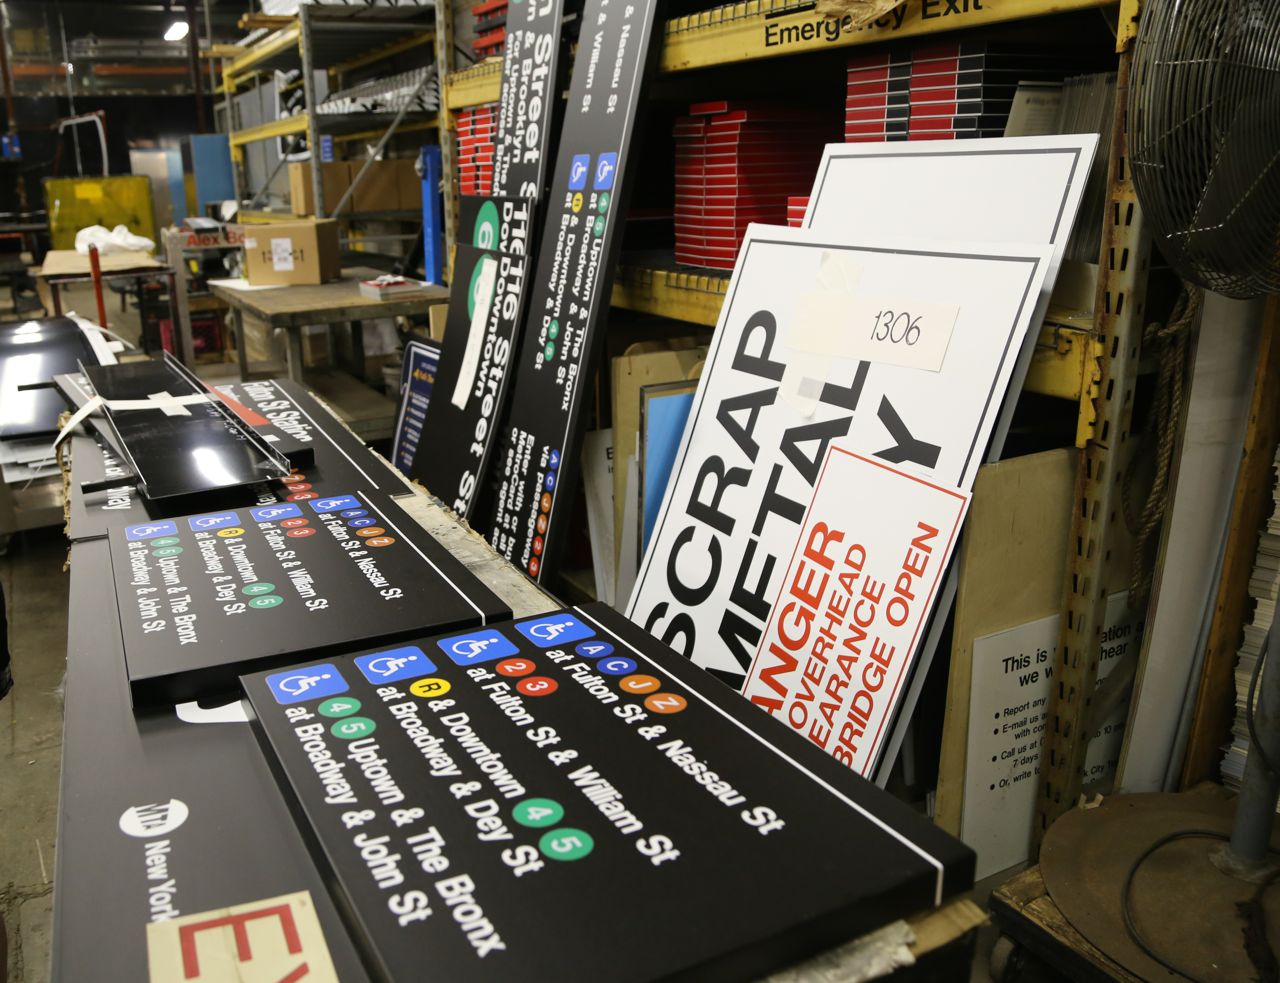
In the back, they had the finished signs stacked up ready to be installed. They also had a supply of generic signs used in various places.
Spare generic signs stacked in storage
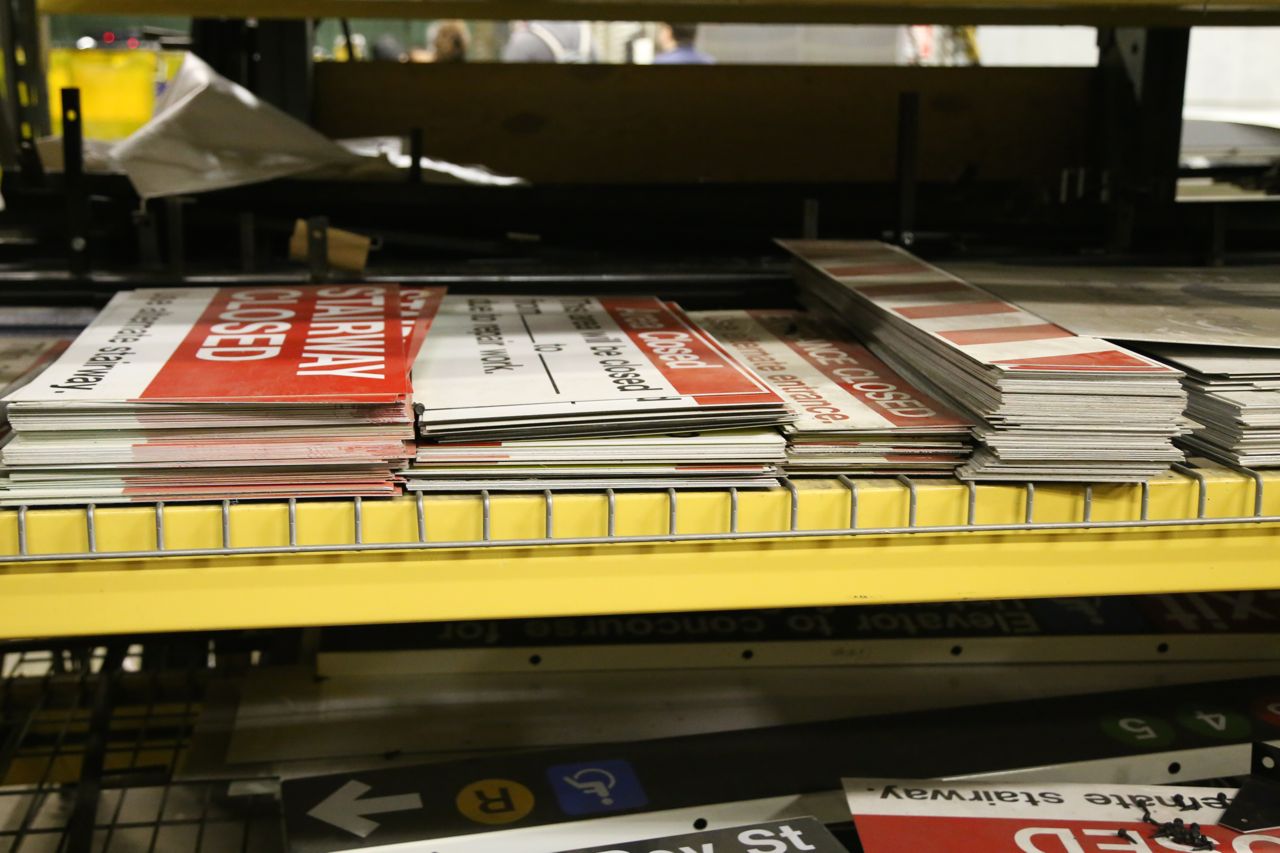
Finished signs ready to be installed
It was a really fun tour, and it was really neat to learn how the signs are made. Thanks to the New Your Transmit Museum and MTA employees for allowing us to take this tour and showing us how they do everything!