
I used to do a lot of cross-stitching. Then I became too busy with school, work, home renovation, etc. I finally have all that behind me, so I am working on stitching projects again. As well as picking up stitching projects to finish, I realized that I had a lot of stitching projects that are actually finished, but now I need to have them framed or finished in a way that they can be displayed. Hence this blog post is to show a prototype of a way I am experimenting with finishing some projects and to seek opinions and advice about this manner.
First, here is the model. Years ago, I cross-stitched this Halloween design. I then took it to the store I frequented for all my stitching needs and paid for someone to make it into this hanging piece. The piece is edged with twisted floss or thread with two tassels at the bottom and hanger at the top. Both the front and the back have a very slight amount of batting or some other cushioning behind it. The piece is also very stiff. There is definitely a board in between the pieces. Best I can tell, each piece of fabric (front and back) is attached to their board.
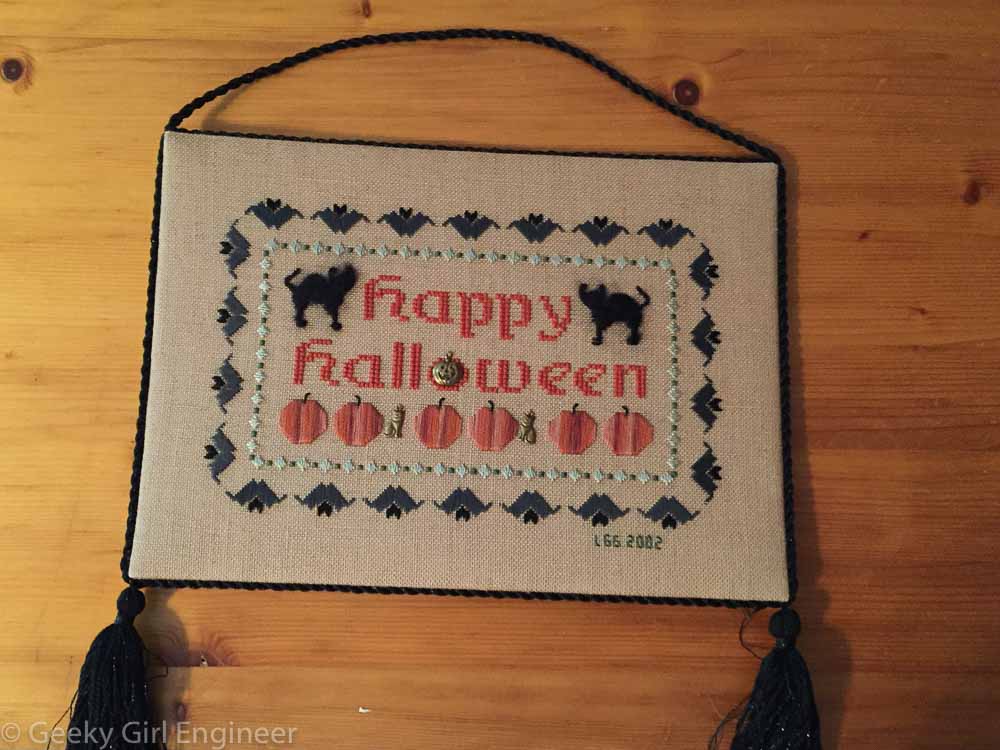
Finished cross-stitch
The back fo the cross-stitch was finished nicely with a matching fabric that I picked.
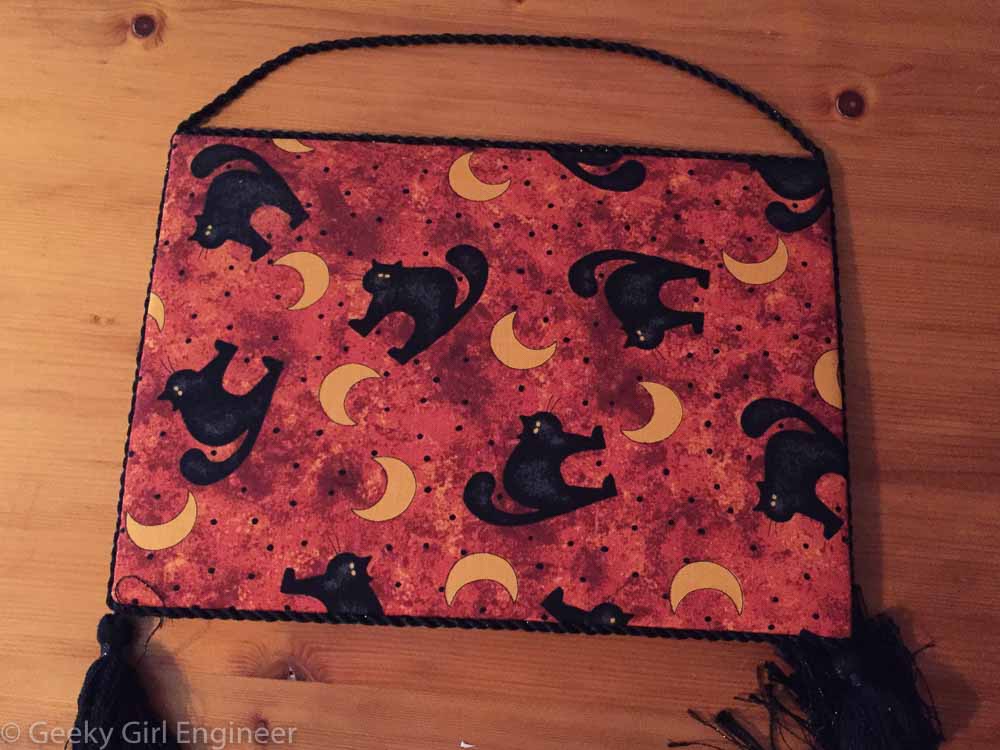
Back of finished cross-stitch piece
The piece is finished really nicely with cording lining where the two pieces meet. I could not photograph it, but there is some stitching between the two pieces of fabric. My best guess is that it is just a whip stitch. I can’t quite tell if it is just between the two pieces of fabric, or if it goes through the cording also.
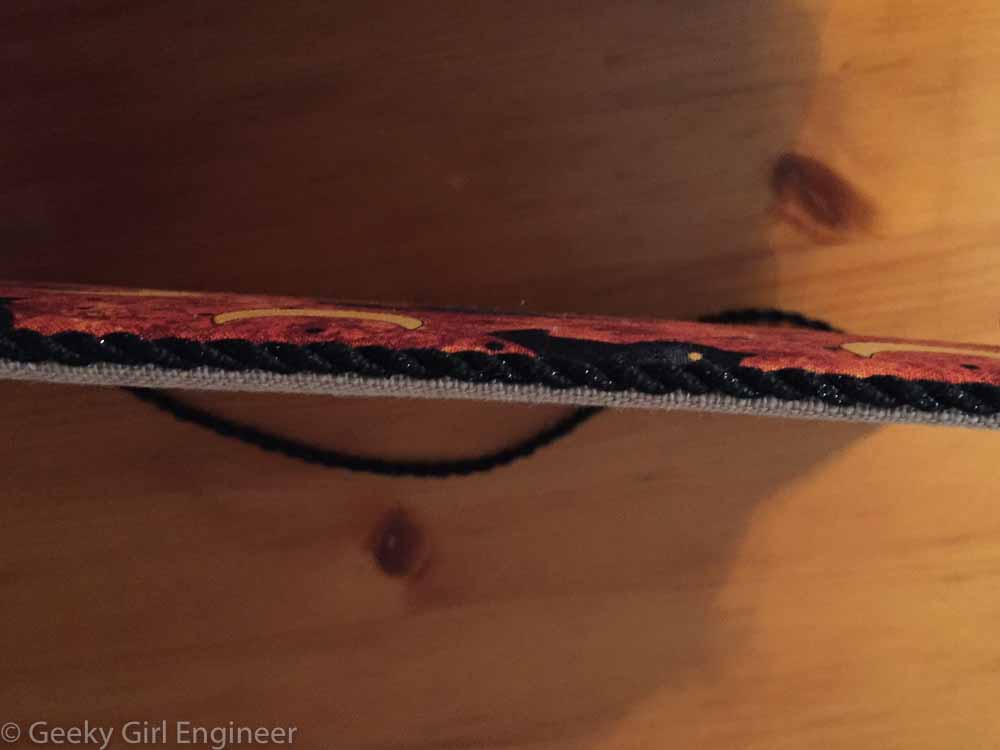
Side view of finished cross-stitch piece
The only part that is somewhat separated is one corner, which is where I presume the cording is glued in between the two pieces.
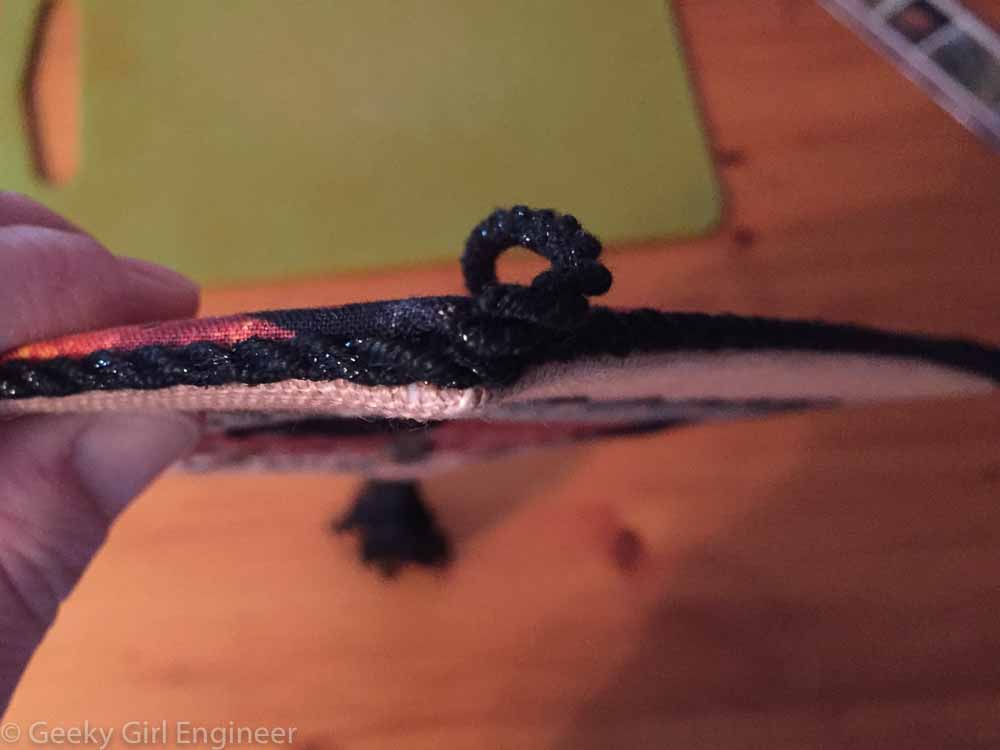
Side view of corner of finished cross-stitch piece
I tried to make a prototype to duplicate my Halloween piece using some extra fabric. I cut a piece of fabric into a six inch by six inch square. I then cut a piece of low quilt batting into a four inch by four inch square and laid it on top.
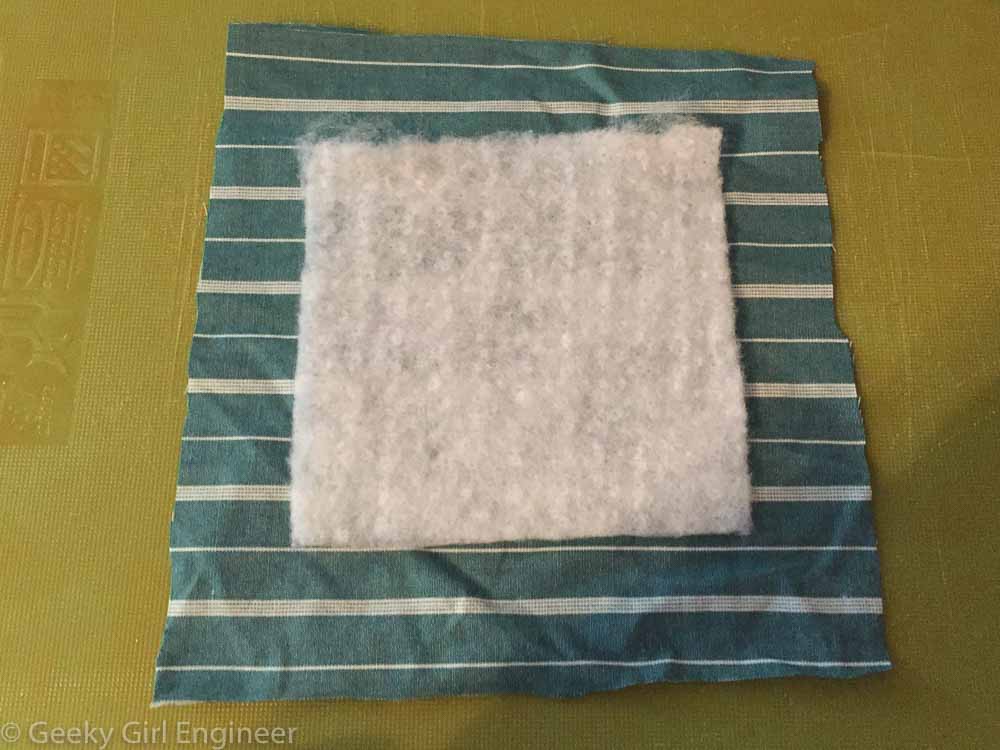
Prototype square of fabric with smaller square of batting
I then cut a four inch by four inch square of framing mat board and laid it on top of the batting. I searched craft stores for a board to use. Poster board doesn’t seem to have the stiffness I need. I think non-corrugated cardboard might work, but I couldn’t find any. Framing mat board seemed to be the best compromise of stiffness and thinness.
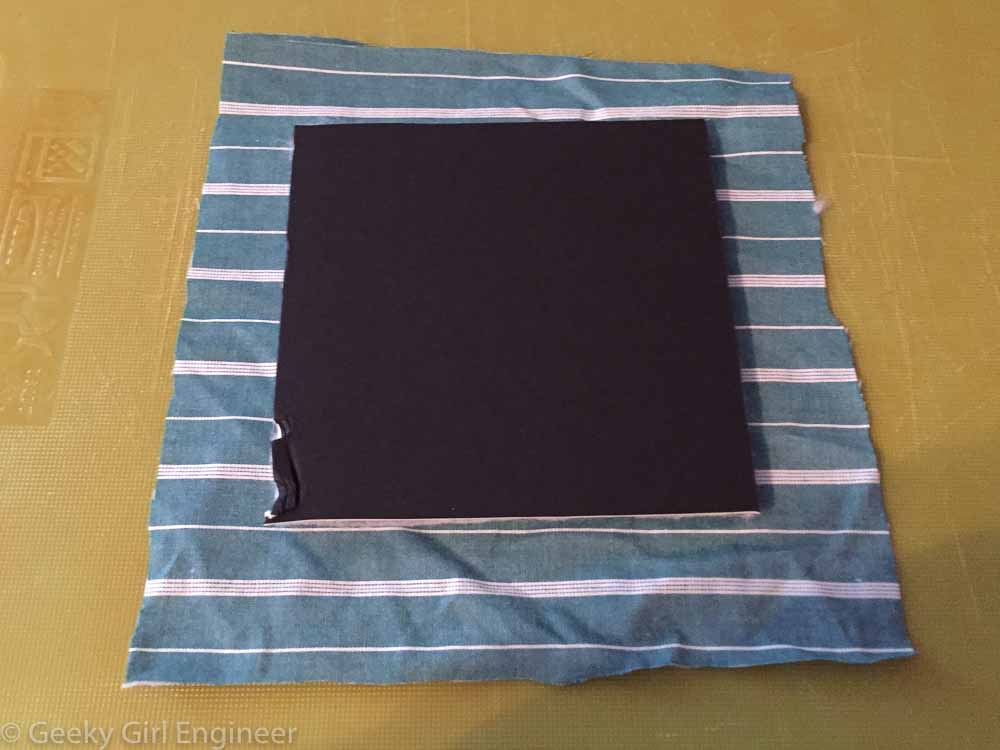
Prototype square of fabric with smaller square of batting with mat board on top
I stretched the fabric and folded it over the board. I used a glue stick to attach it to the board. I cut a bit of the fabric in the corners to lessen the thickness of the corners.
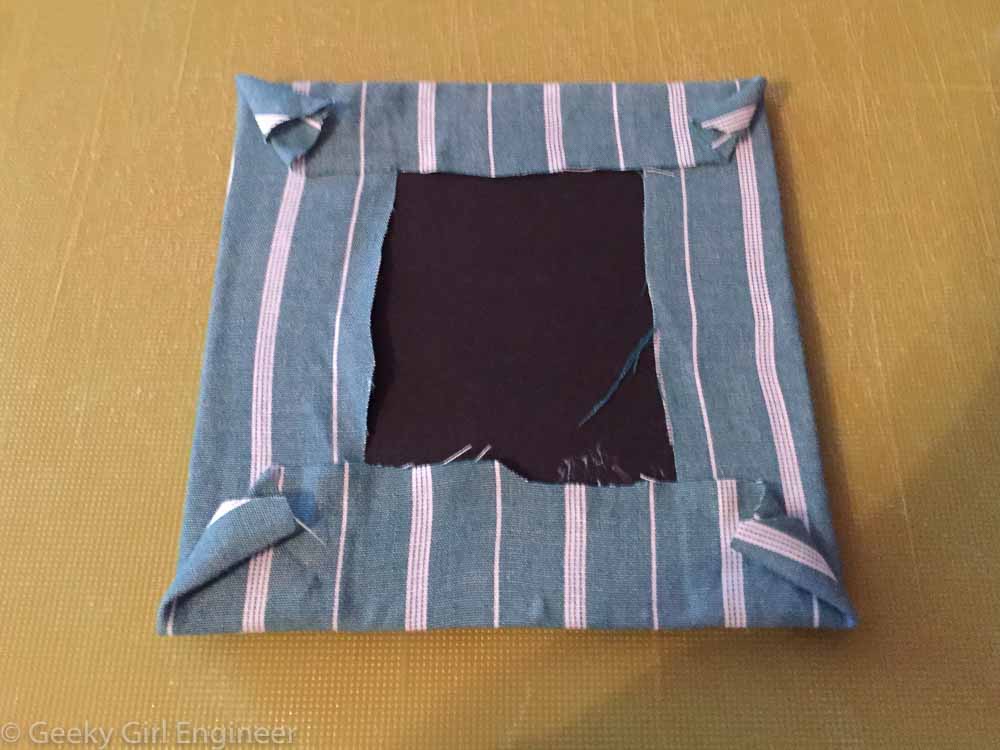
Excess fabric stretched and folded over back of mat board
This is what the square looked like after from the front.
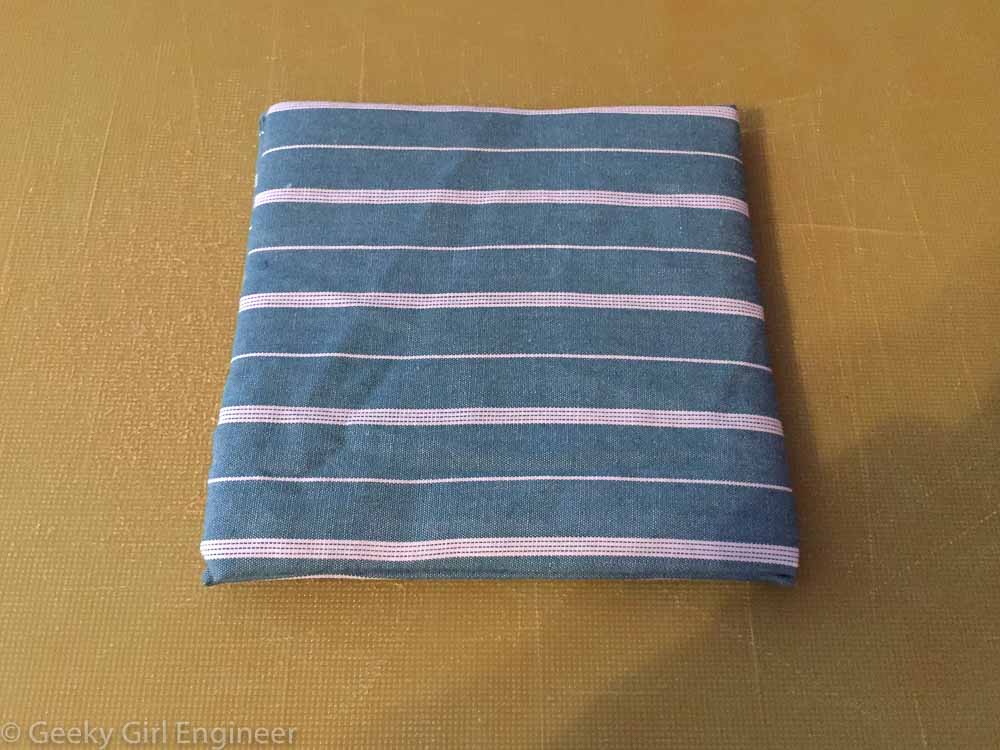
Front of finished square
I then made a duplicate square, and I glued the backs together. From the side, the piece now looks like this.
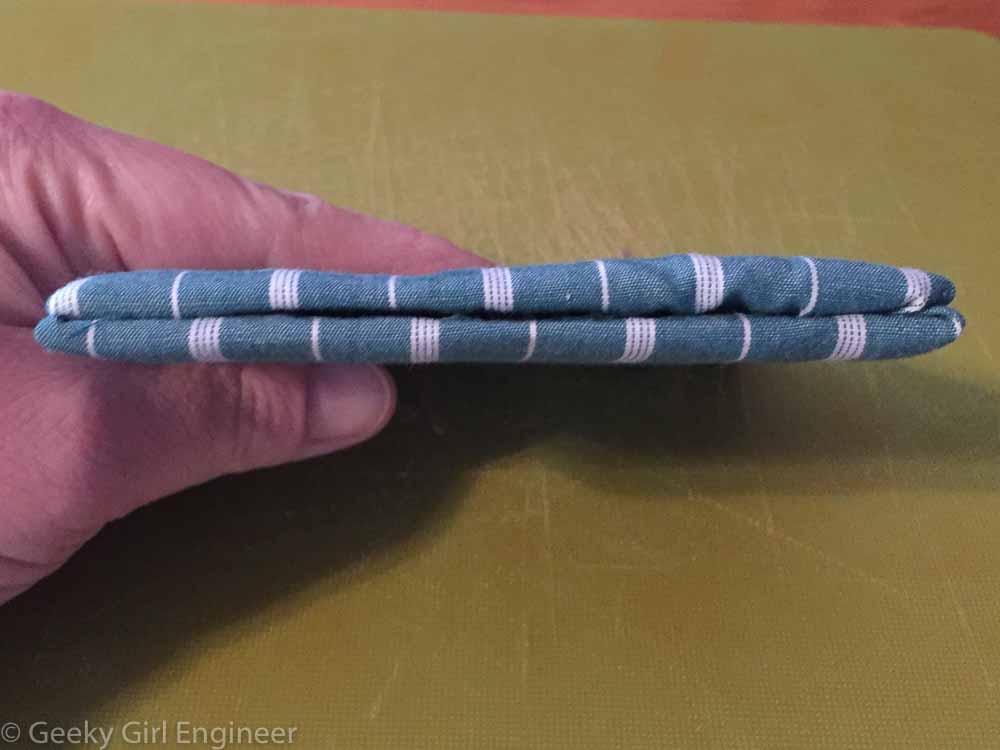
Side view with two squares glued together
I think the prototype came out ok. First, I used low batting, which was to be the least puffy batting that I could find, but I still think it is slightly puffier than my Halloween model. I can’t decide if the mat board is too thick, but it does have a nice stiffness. After looking at the side of my prototype, I think the whip stitch might be needed to bring the two pieces of fabric together and eliminate the noticeable gap between the two pieces. Covering the sides with cording will definitely help also.
Now I am seeking advice and opinions. I have searched the internets, and I can’t find directions for how to make this type of finished piece I want. Has anyone seen this type of finishing before and knows how it is made? Does anyone have advice on how to make my prototype piece look better?
Couple of ideas/comments (take with a grain of sale because they are from someone who has some sewing skill but only because I do random projects every so often, often decades apart):
1) cut out extra fabric in the corners will help the two pieces fit together better…less bulk at the corners. I do this by cutting diagonal across the corners so that you have the fabric “mitered” when it folds over the boards.
2) Use use only one board with the batting on the front for the stitching and no batting on the back. Helps make it thinner and easier to have tight fitting fabric.
3)whatever fabric you are using on the back, stitch it to the front (right sides together) along three sides using a machine, trim the seams and corners, then flip right side out, insert the padded board and then whip stitch the final seam closed.
4) But honestly, for my stitch projects I did during grad school to keep my sanity, I got them professionally framed and they looked great on my walls ever since. Granted they weren’t small (11×17 in. for one and 8×36 in. for the other) or holiday themed but if you aren’t changing them out all the time and want them permanently hung, this is my recommendation..