


I finally finished a project I have been wanting to do for about a year now. In my master bathroom, I had a store bought, plain white, Roman shade. It did its job, but I really did not like it for a multitude of reasons. I wanted to make a curtain for the window instead. Since last year I bought a fancy new sewing machine that does embroidery, I decided to use that to make a simple curtain into something not so simple.
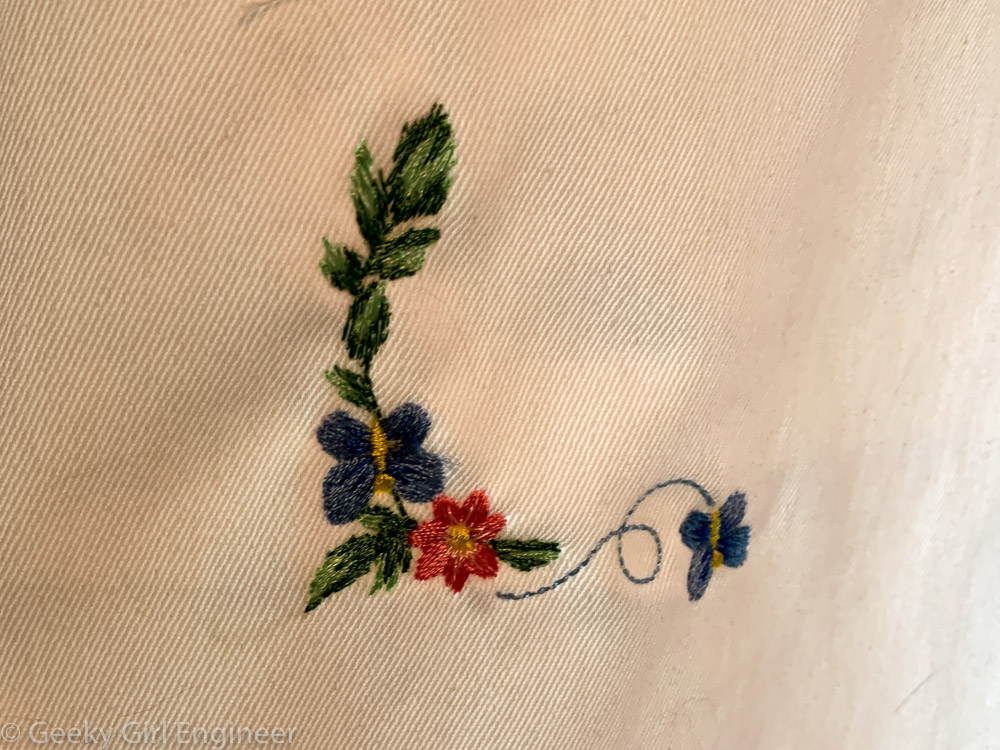
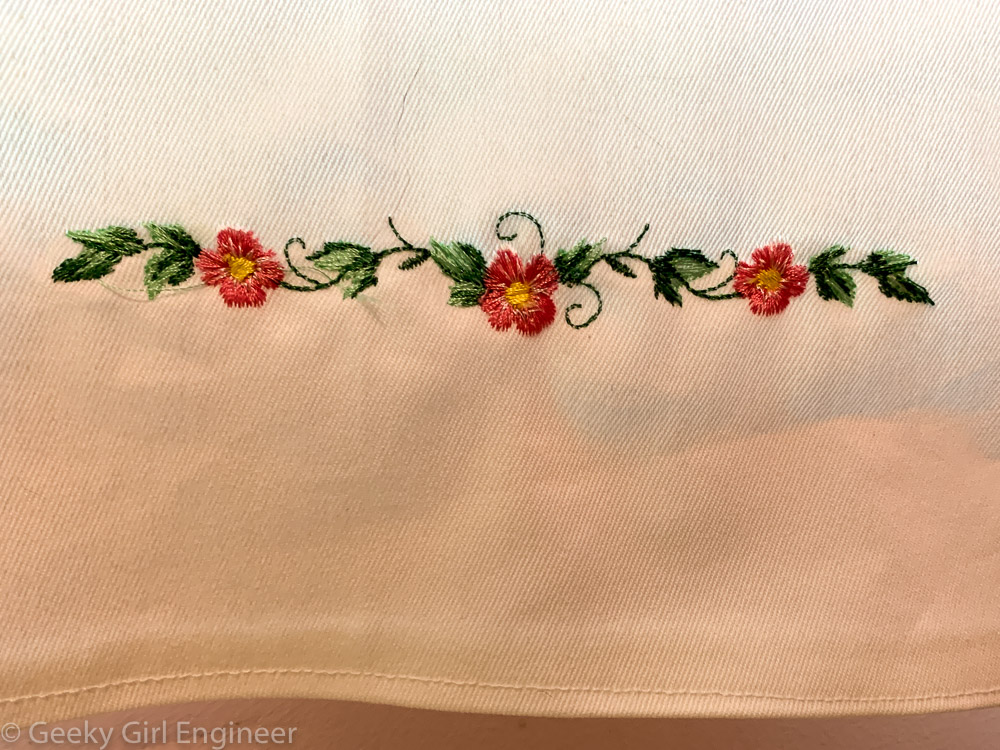
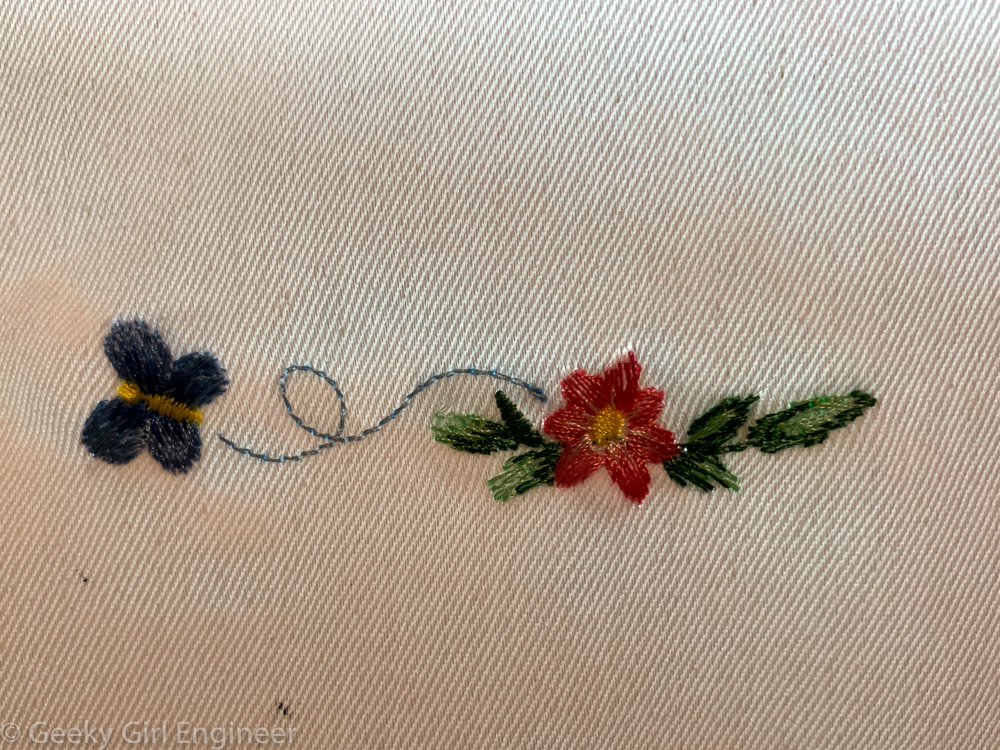
The curtain is made of white denim. I choose this material because it lets in light while giving me privacy. I sewed a simple rectangle a bit bigger than the window. I then sewed simple tabs to hang it from a very simple rod I bought at IKEA. I had to use really simple finals as there is not a lot of room in between the window and the shower on the left and door to the water closet on the right. Then to make the curtain fancier, I bought a collection of machine embroidery floral border patterns. I sewed several corner and border patterns around the curtain’s perimeter. Then all I had to do was hang the curtain. I really like how the curtain looks. It is perfect for my bathroom.
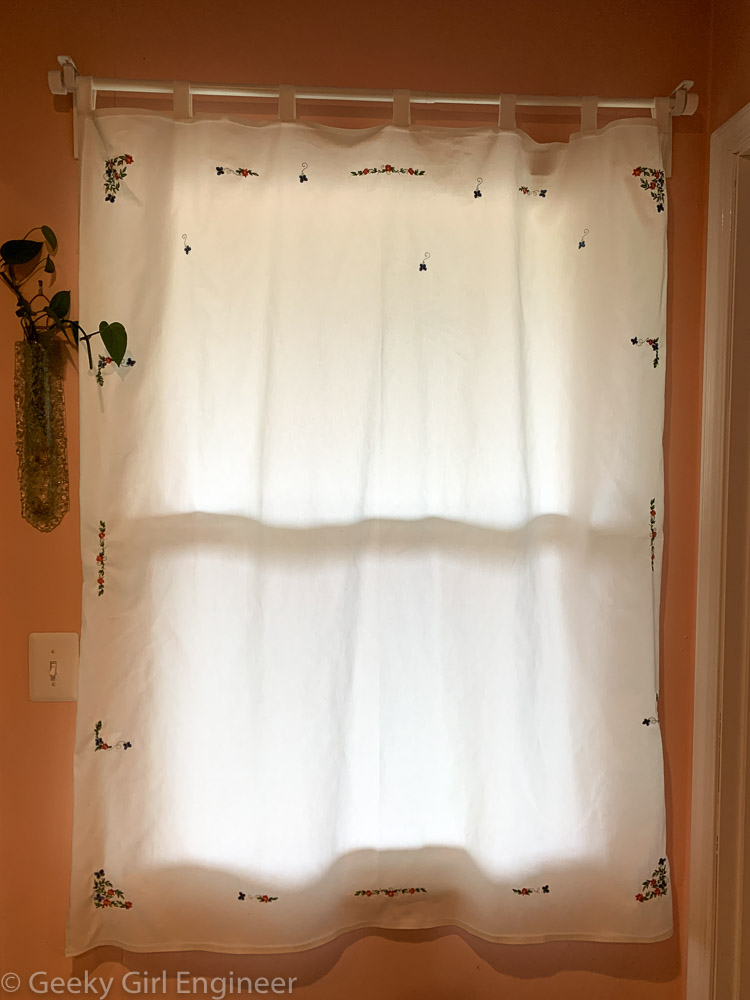
New bathroom curtain
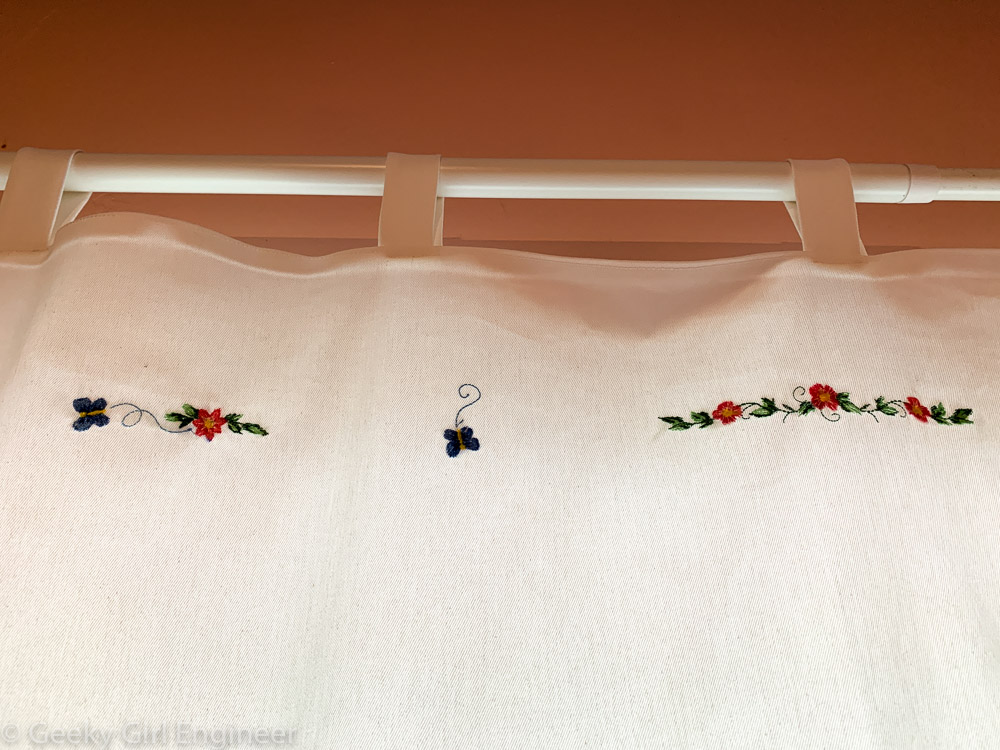
Close up of border embroidery
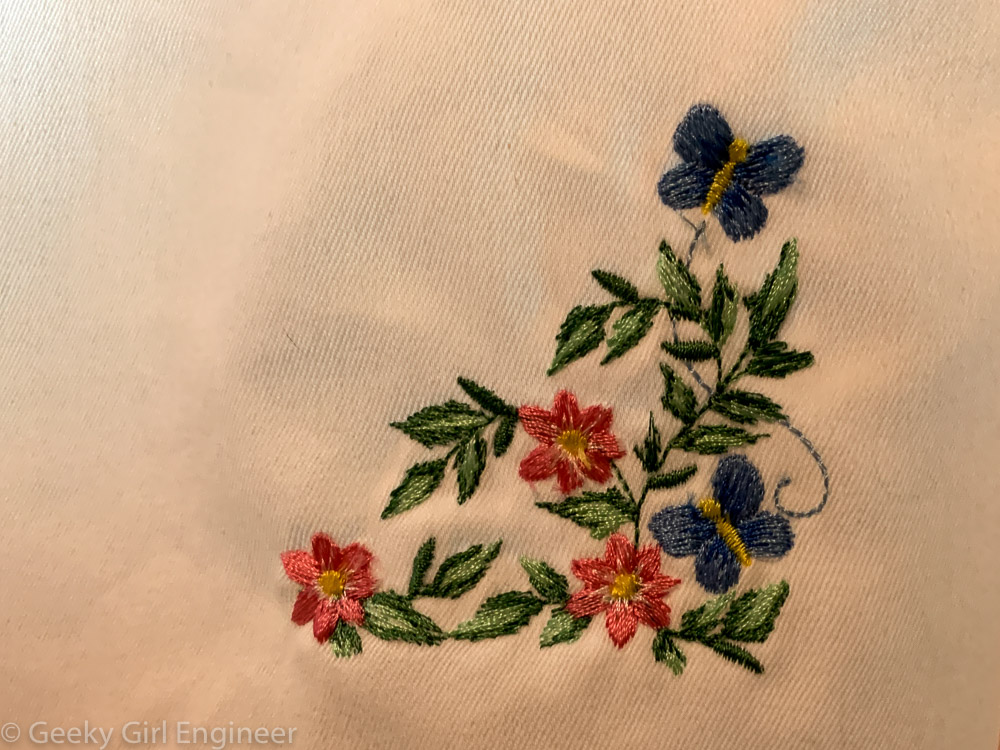
Close up of corner embroidery
Close up of border embroidery
Close up of border embroidery
Close up of border embroidery