
After my blog post asking for help as to how to finish a cross stitch in a manner that mimics one I had professionally finished years ago, I received some good suggestions of how I should and should not do it. After a bit more experimenting, I have now finished two cross stitch works that I did years ago, so now I am posting how I did it.
Let me start with why I did not just have a professional do it. First, I figured I could do it myself. Second, I found a local stitching shop to inquire about having some stitching work I had done finished. They said that to do what I wanted done would be about $75. This is probably not an unreasonable cost, but I have twelve that need to be finished, and that would have cost a lot of money. Years ago, I took a stitching class, and we did one for every month of the year.

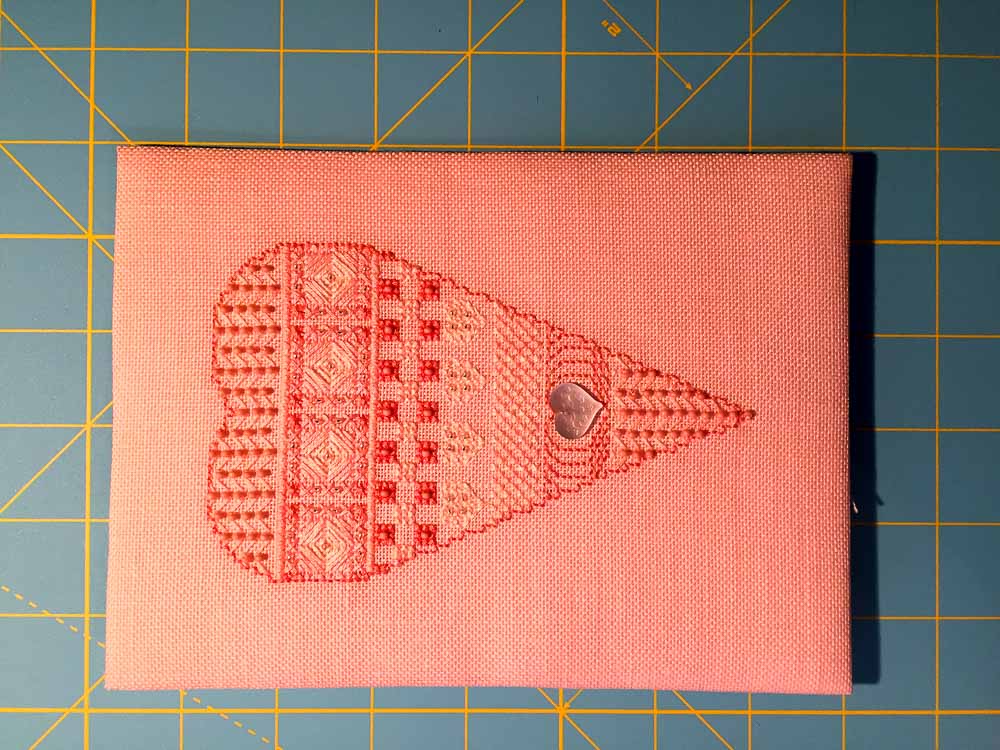
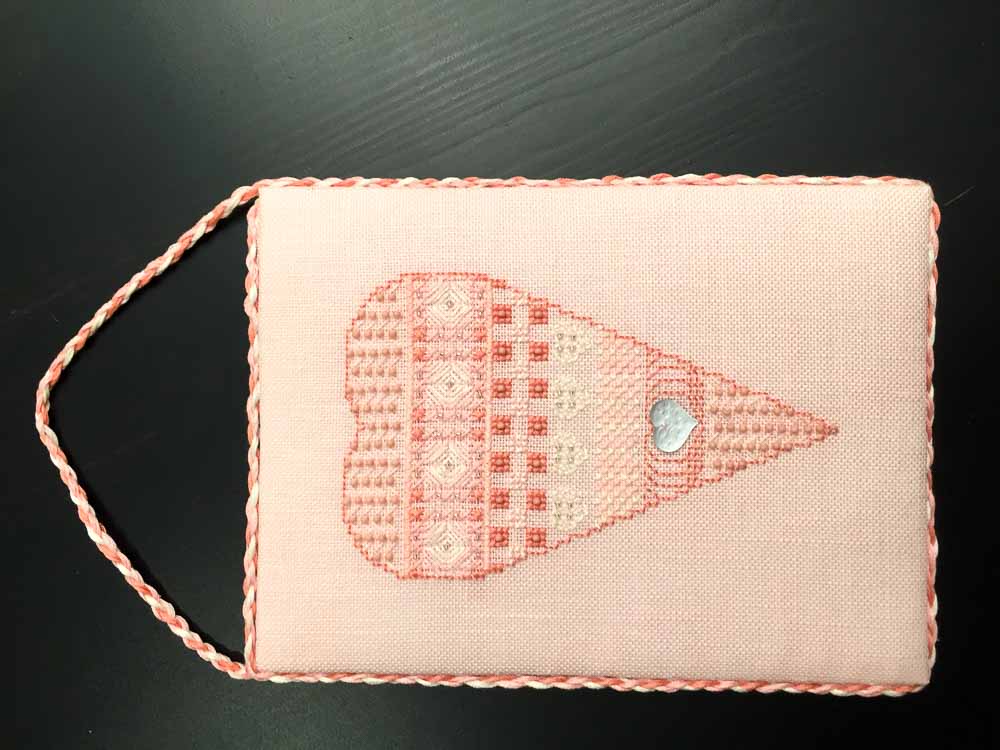
Here is a closer look at the January one.
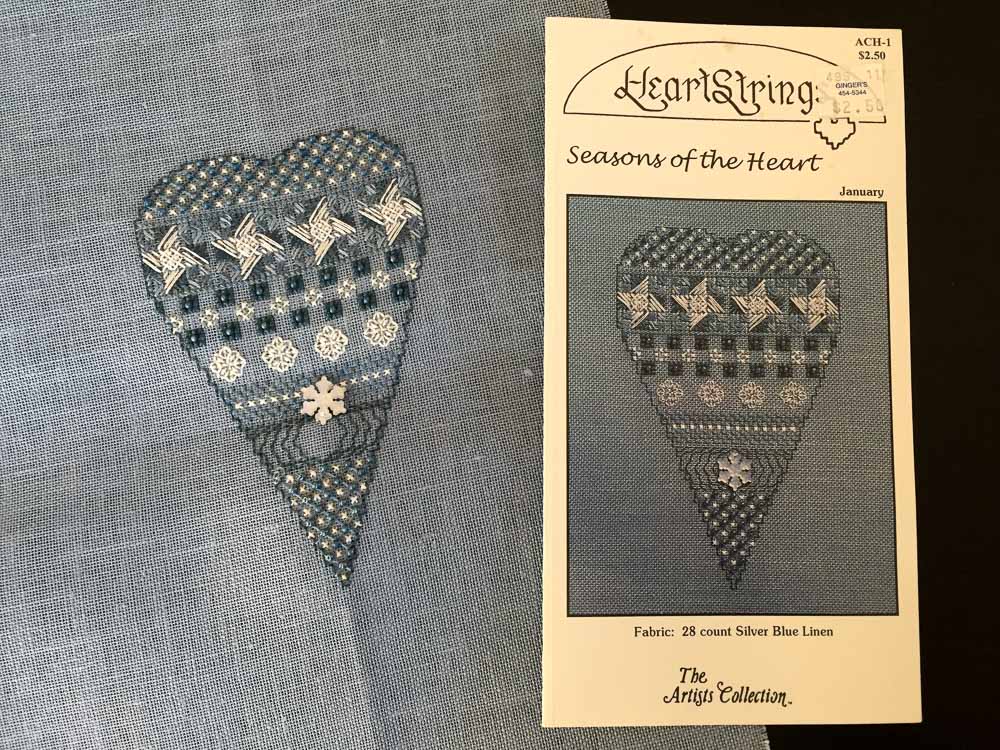
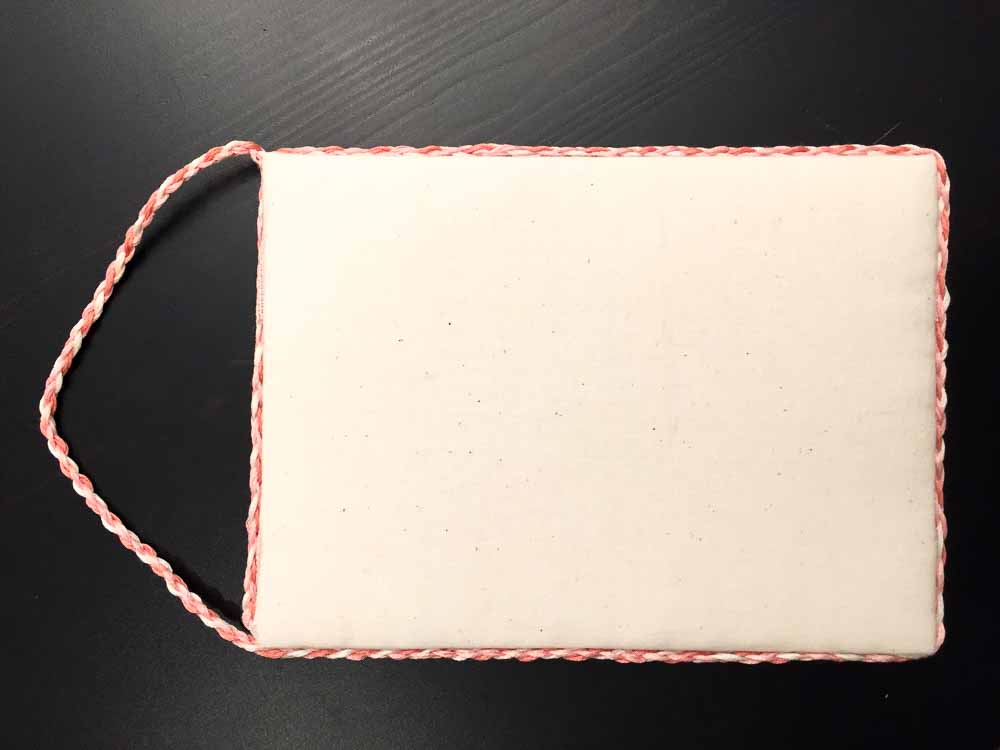
I wanted the pieces finished on a padded mat board that could be hung using cording of some type. I used the Halloween one that I had professionally finished as a model for making decisions on the hearts. Unlike the Halloween one, I decided just to use a plain, off-white muslin as the backing for all the hearts. The back won’t normally be seen, so I decided just to go with something simple and buy one big thing of cloth that I could cut into pieces for all the heart backs. Next, examining the Halloween one, it looks like they used DMC pearl thread for the cord border. The problem with pearl thread, is that it does not come in that many colors, and I wanted to use cording that matched the pieces. I decided to just use the floss that was used for the pieces themselves, and I will show how I did that below.
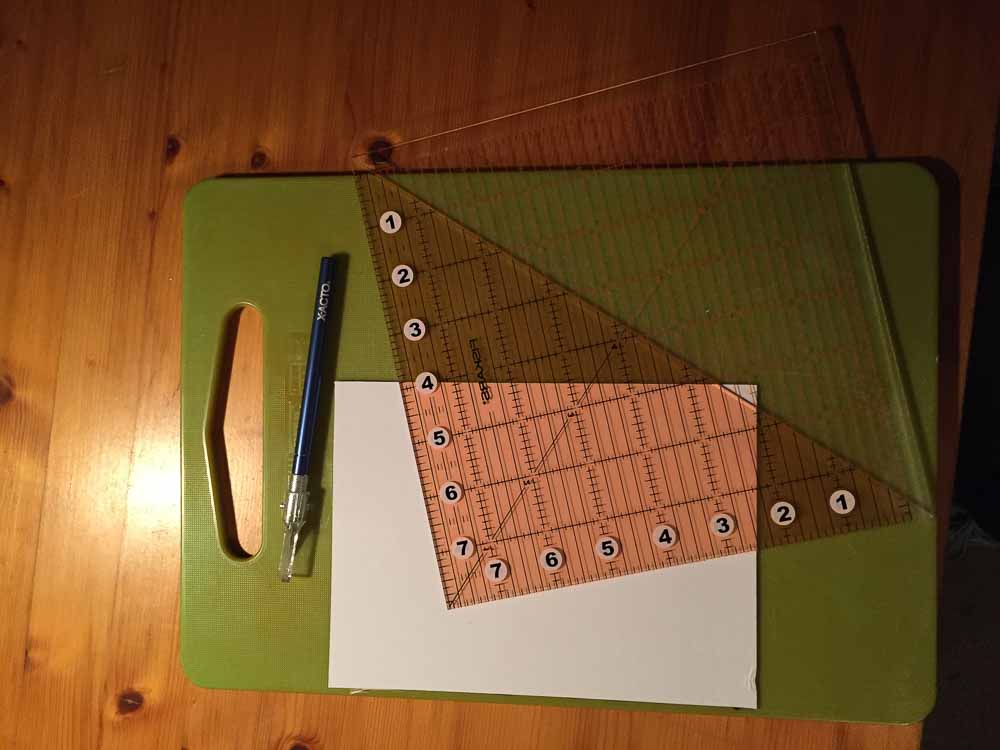
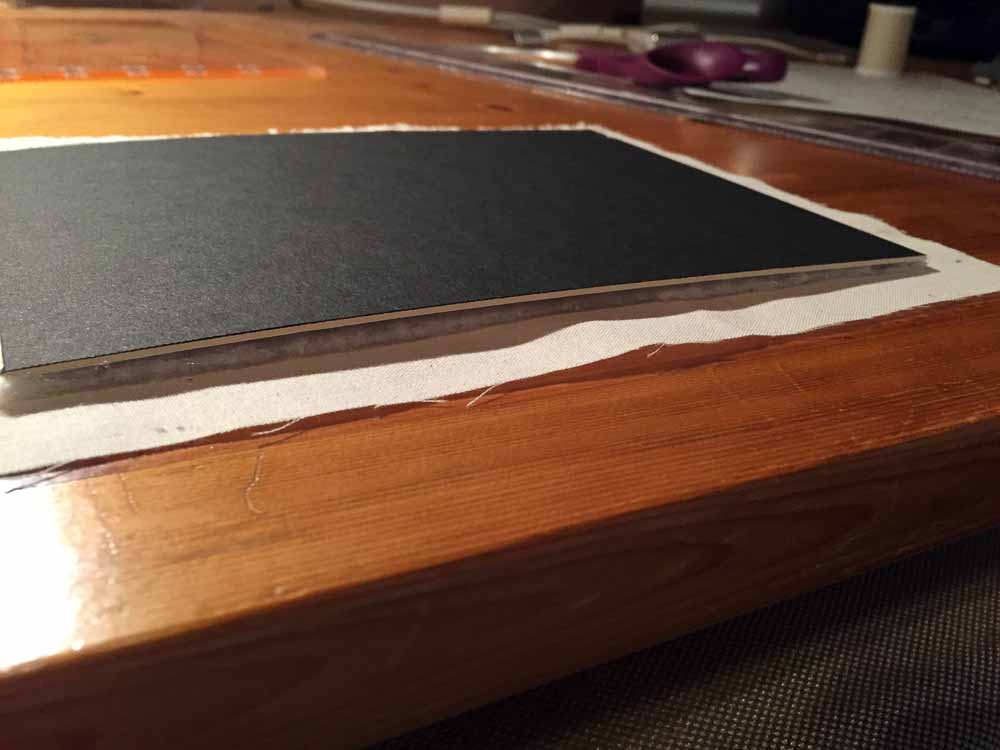
I decided to make the pieces one inch wider on each side than the stitching. This worked out to a piece that is 5.5 inches wide and 7.5 inches high. To start, I bought framing mat board, and I cut two pieces that were each this size, one piece per side of the finished piece.
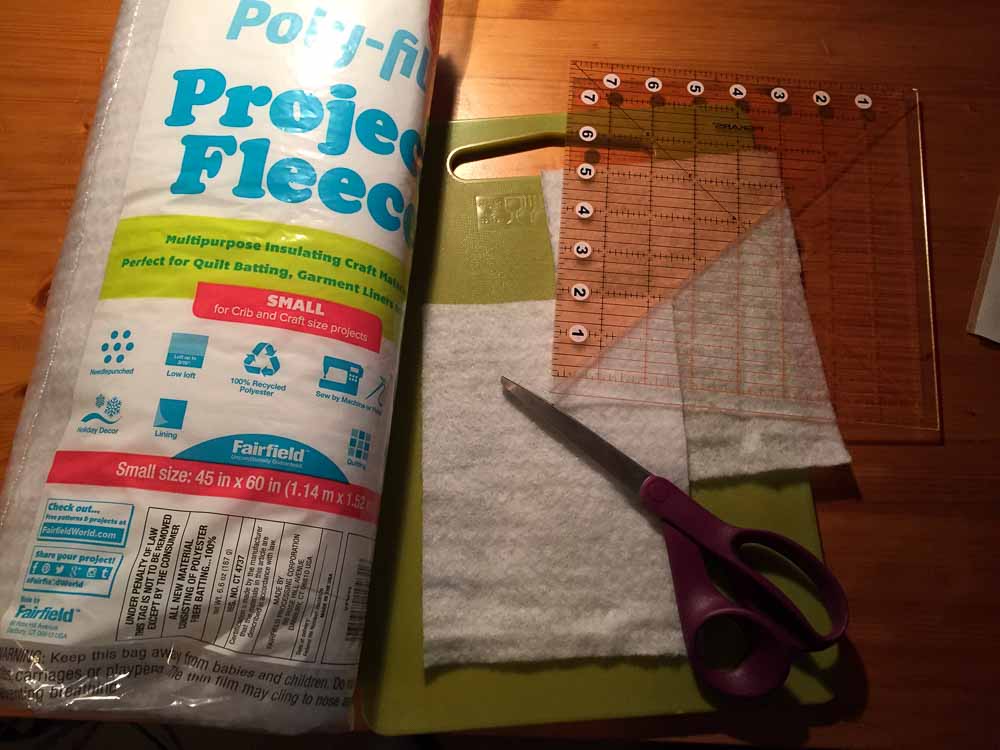
Next, I used low loft batting for quilting, and I cut two pieces at this same size. I did not use fusible batting, and this became a good thing later.
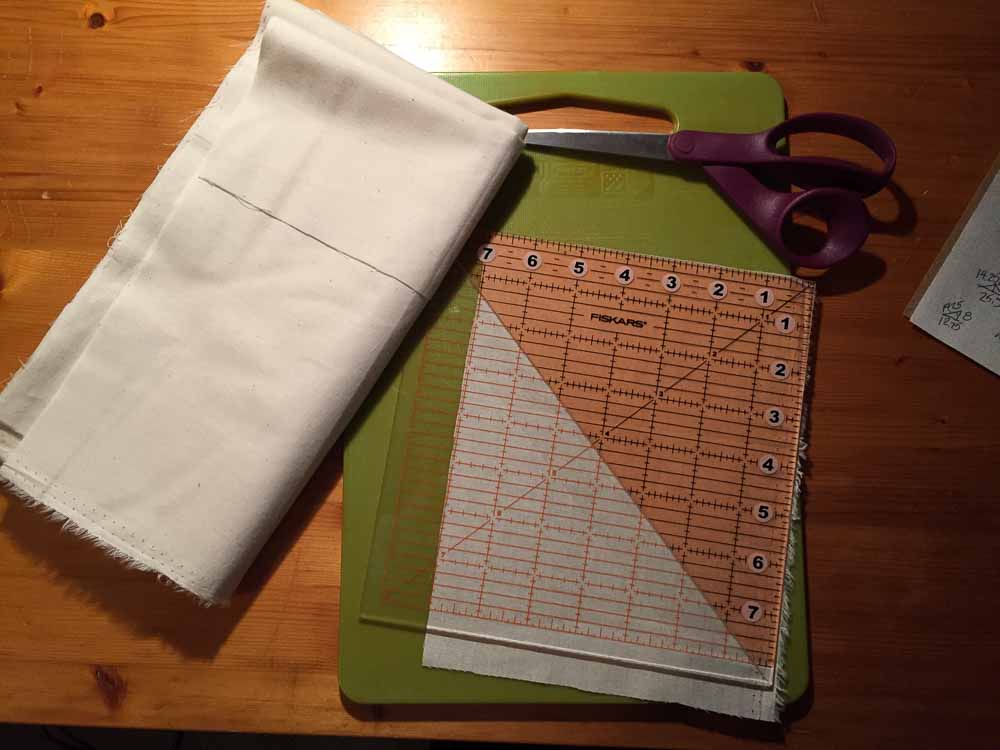
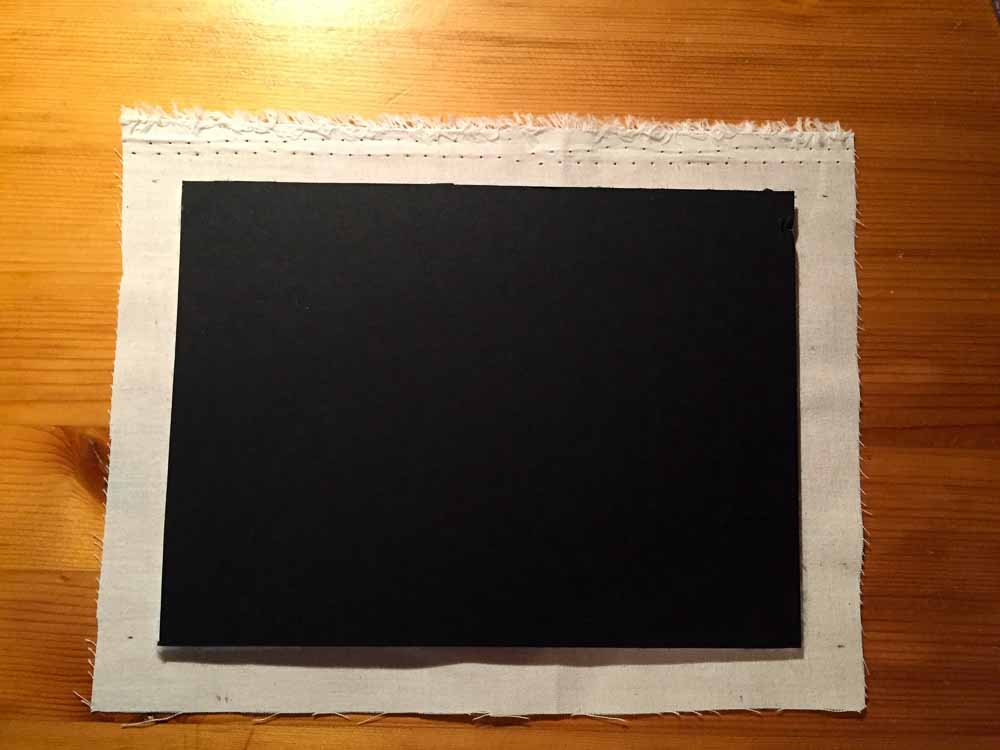
Next, I cut a piece of the muslin. I cut the piece about an inch larger on each side than the finished piece, so two inches wider and two inches higher than the finished piece.
I started with the back piece. Very importantly, I ironed both the batting and the fabric first. This is one of the reasons it worked out well that I did not use fusible batting. I laid the cut muslin down, then centered the batting on top of it, then I laid the mat board on top of it. After the first piece I quickly realized, it is much easier to first glue the batting to the board, then to center the batting/mat board on the fabric and then to attach the fabric. I used a plain glue stick for this. I used glue that did not contain acid.
Then, I stretched the fabric and pulled it around the back. I then glued it to the back of the board.
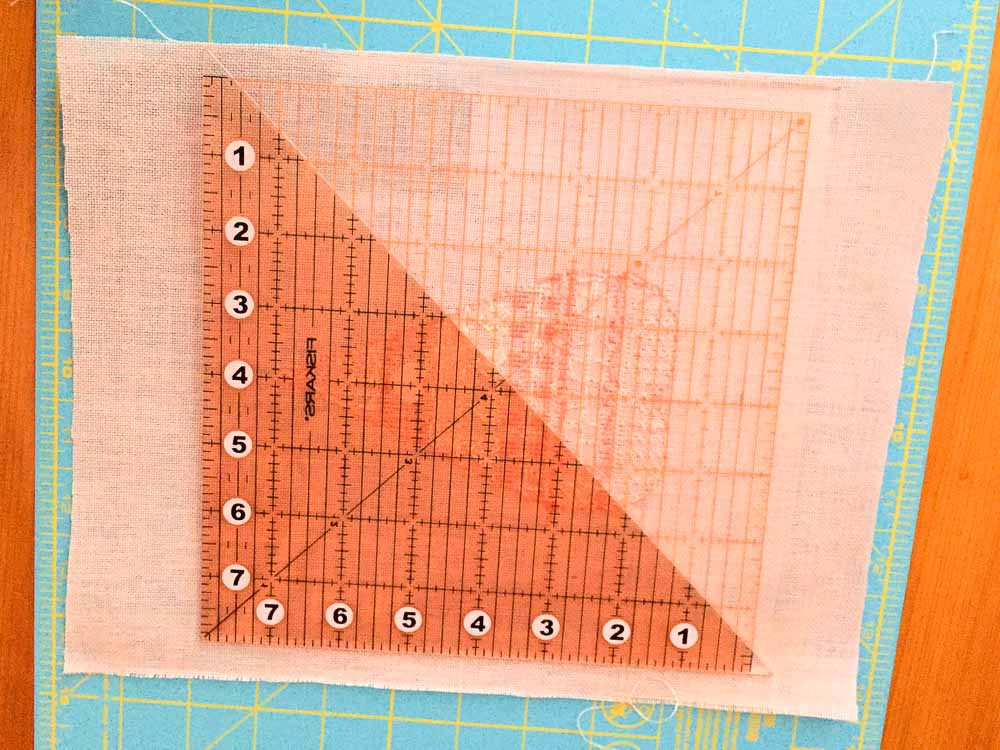
Next, I moved to the cross stitched side. I again ironed the cross stitch fabric and the batting piece. I cut just a little bit of the excess fabric, but I left as much as possible in place. I then laid it face down, measured an inch from the farthest edges of stitches, and made tiny little tic marks to help me center the batting and mat board.
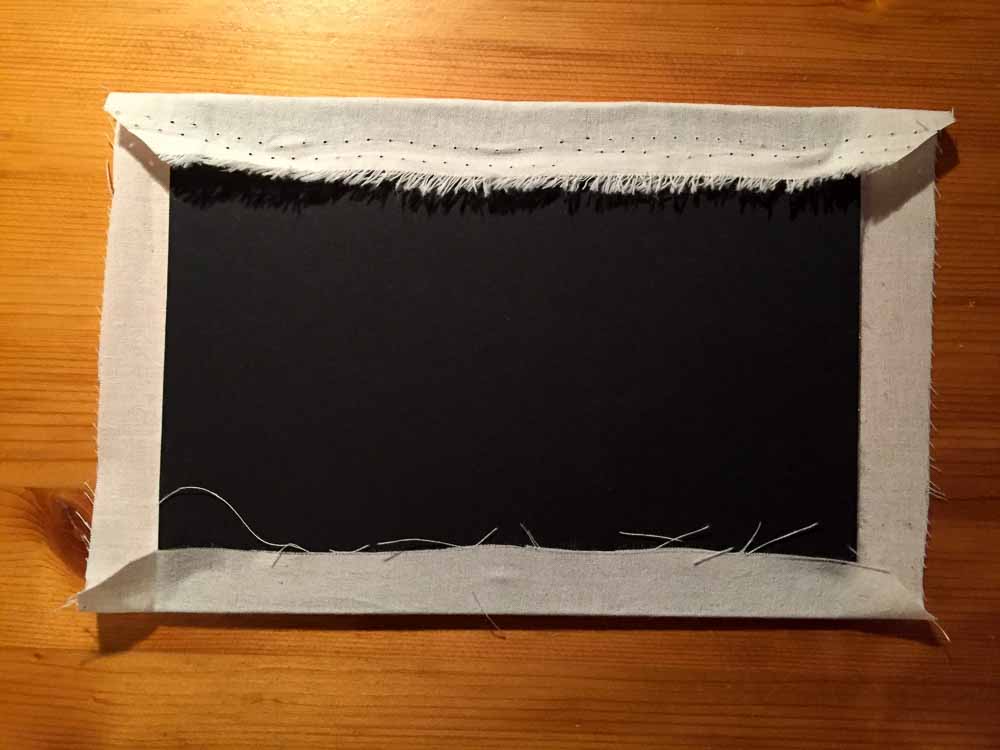
As I said above, I found it worked better to first glue the batting to the mat board. I then centered that on the back of the stitched fabric using the tic marks. Then I very carefully pulled the fabric evenly taunt and glued it to back of the board.

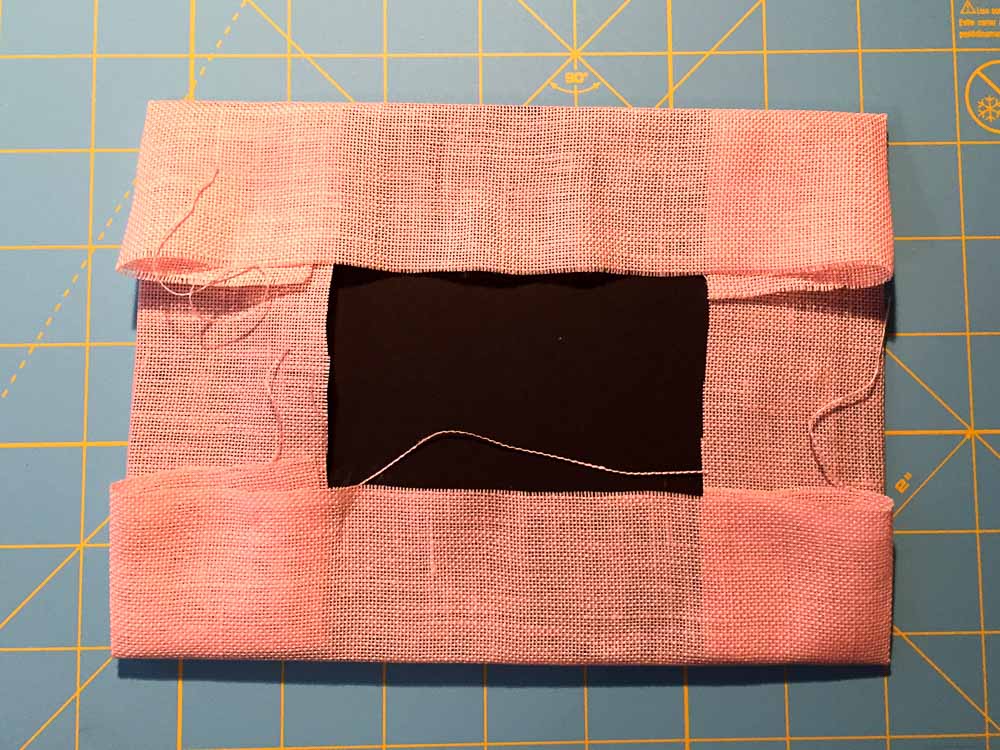
It does not look that good from the back, but this will be covered up. Something I realized after doing the first one, is to not glue the excess fabric from the folded over sides on the top of the piece. The reason is that this fabric makes a good anchor to attach the floss that I used for the cording to surround the sides and to hang the piece. I used thread to attach the floss to the fabric.

I then braided the floss. I explained how I did that in another blog post. I braided enough floss until I had enough to cover the perimeter of the piece and then to make a hanger.
I then knotted the end of the braided floss and stitched it to the back of the excess fabric on the top side opposite where I attached the start of the fabric.

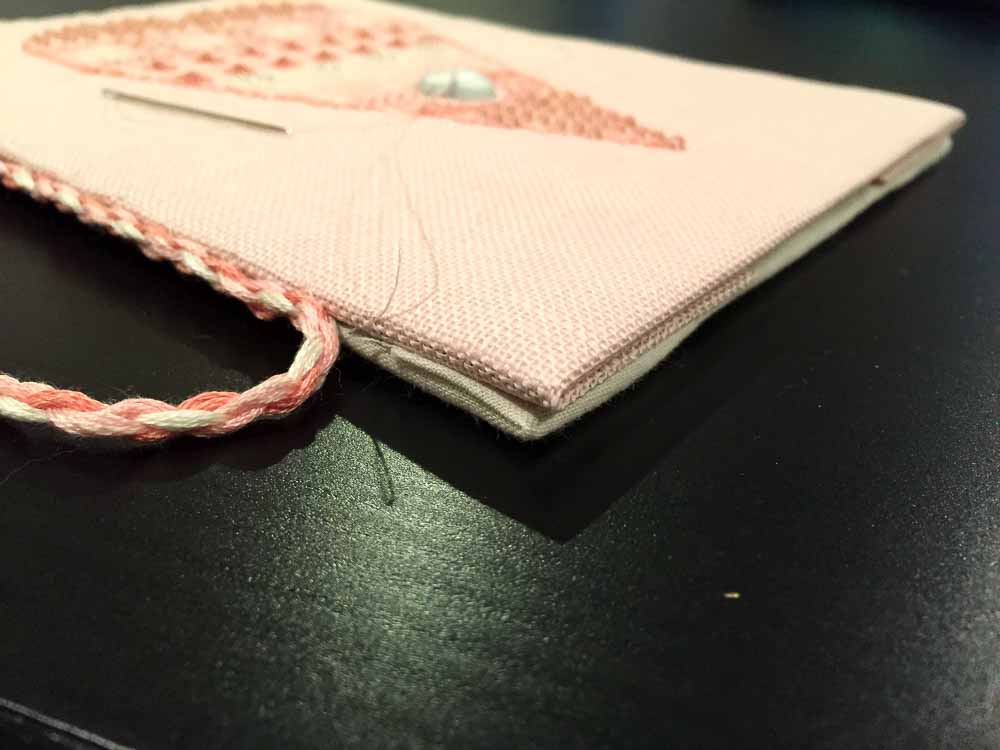
Then I finally glued the back piece covered with muslin to the front piece with the stitched fabric. I used a glue stick to glue them back to back. Then I used thread to stitch the top of the of the two pieces of fabric together to close the gap formed because of the matting and the boards. At the same time while stitching them together I also ran the thread through the braided floss to attach that. I used a slip stitch of sorts to make the thread as invisible as possible.
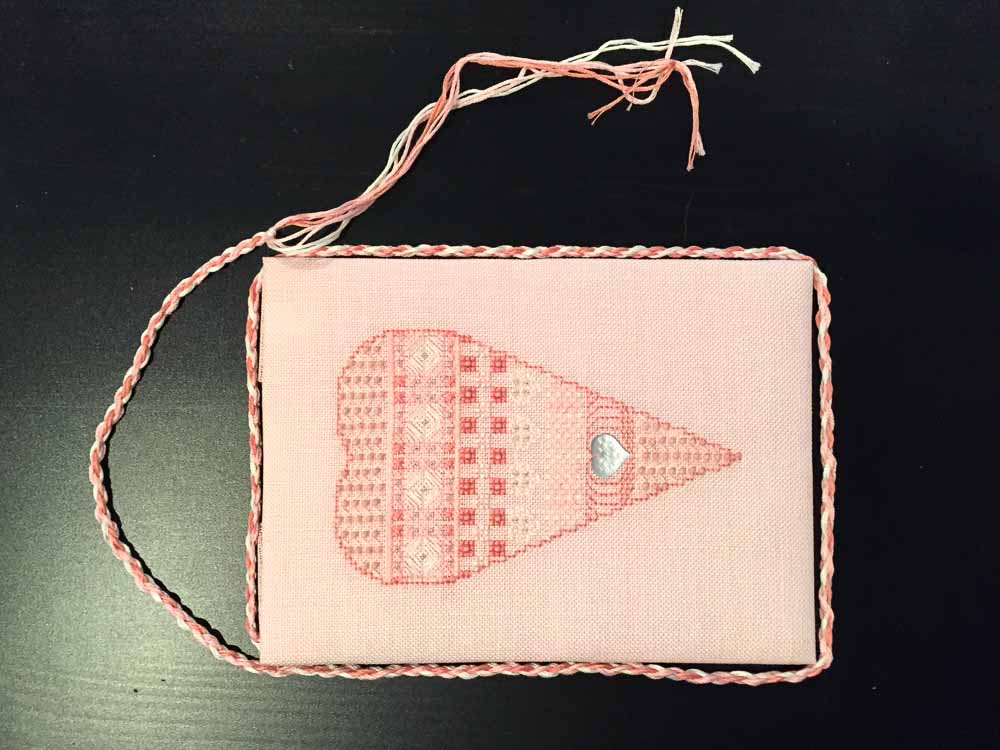
The excess braided floss was then used as the hanger for the piece. Finally the finished piece looks thusly.
I think the most time was probably spent braiding the floss, but other than that, it was fairly easy. If you decide to do something similar, take your time, and as always, measure twice, cut once. Now I only have ten more to do.
Edited to add: I finished the entire set of twelve!

As always, very impressive, Linda!