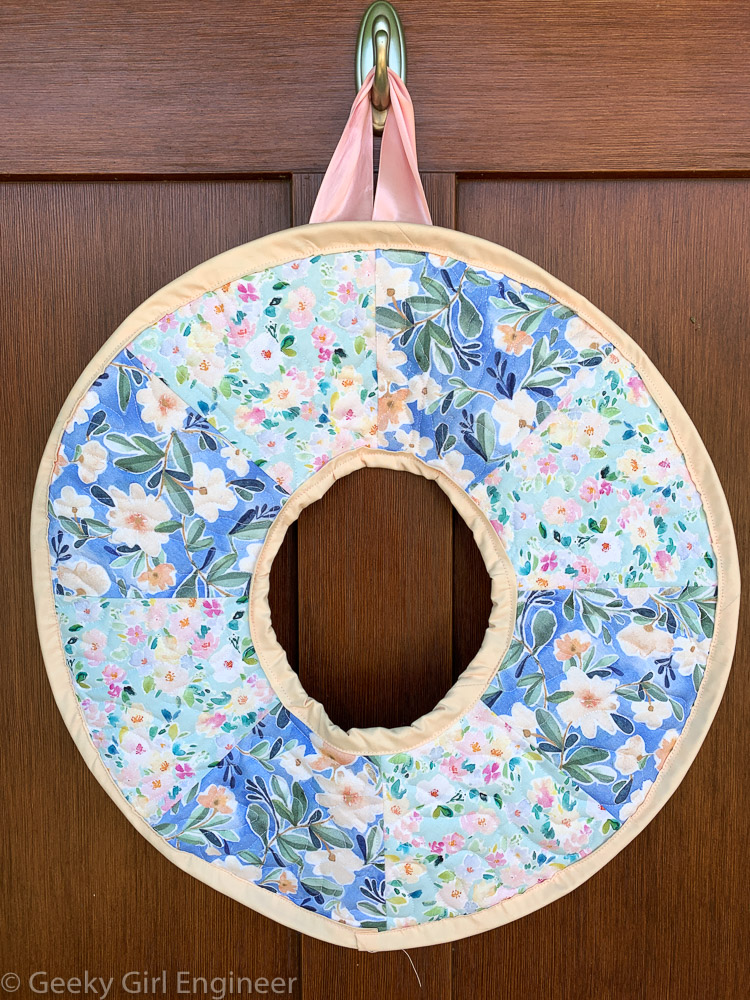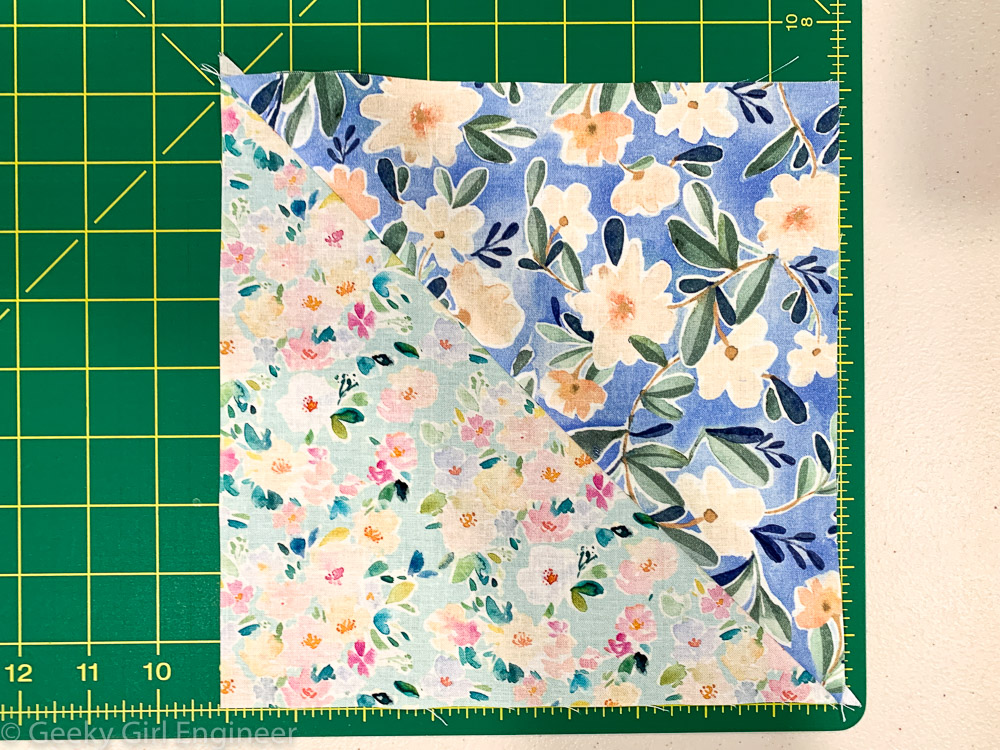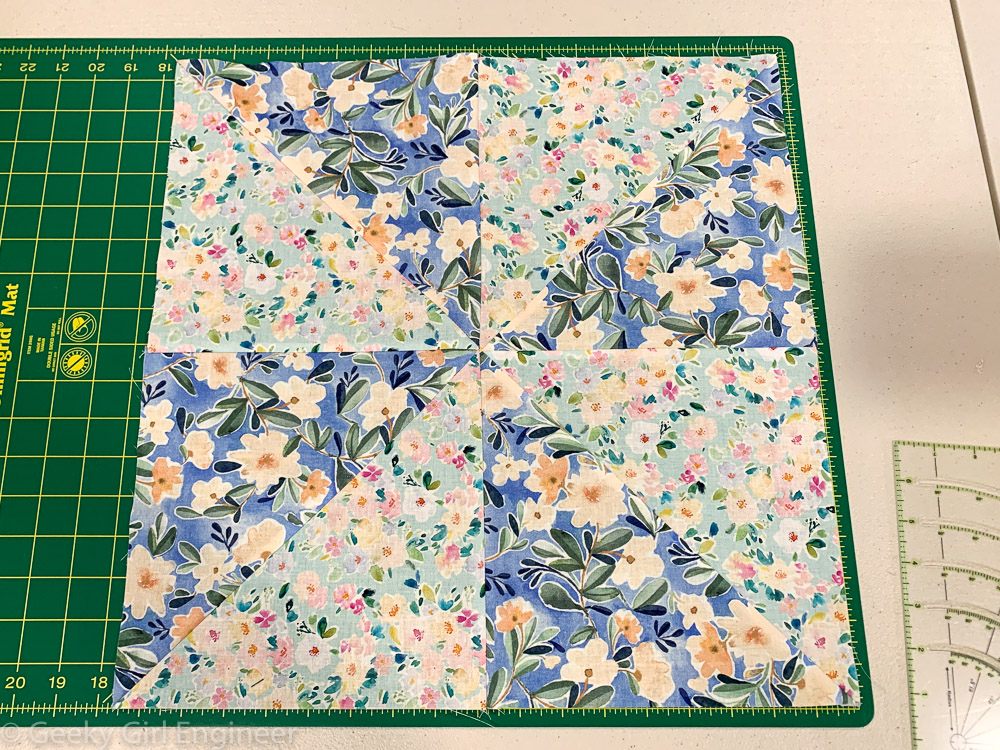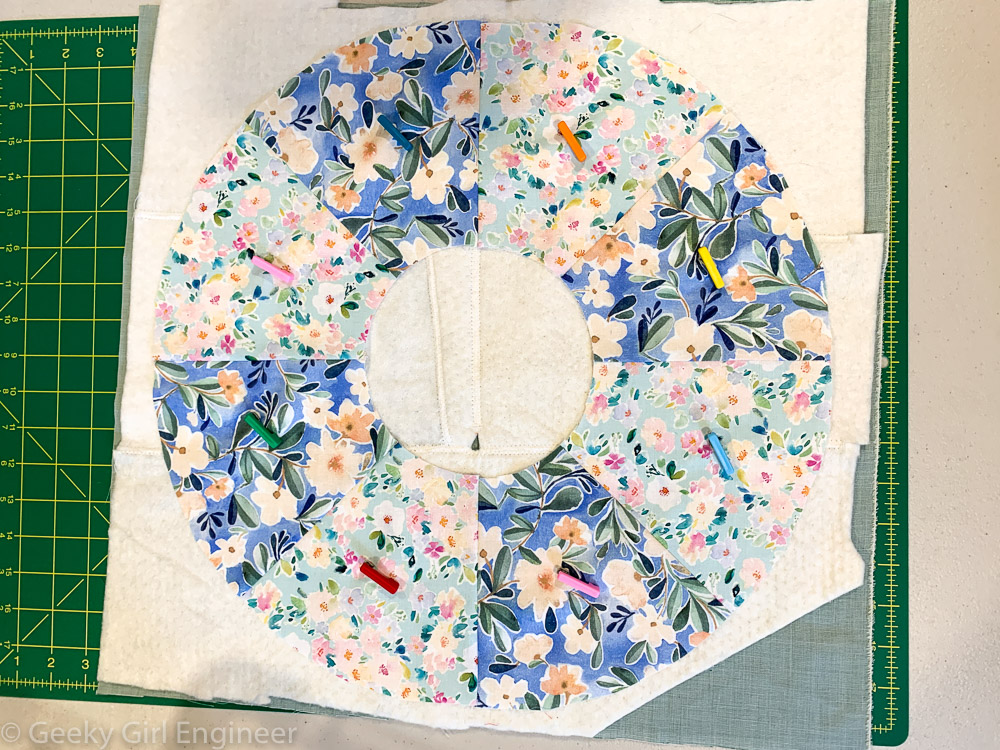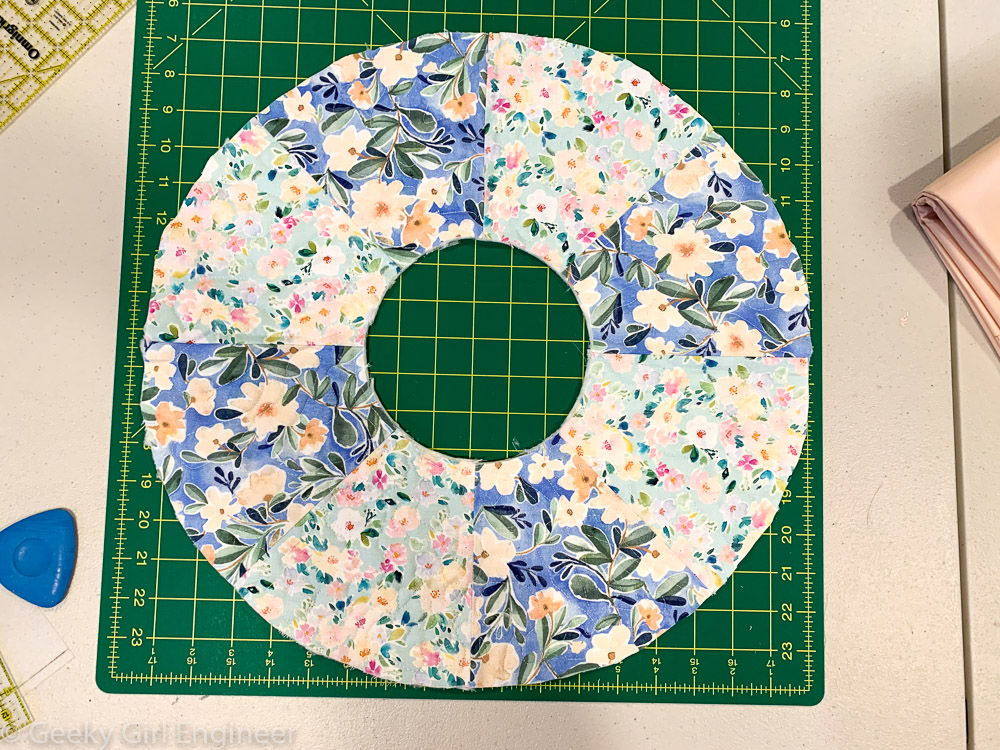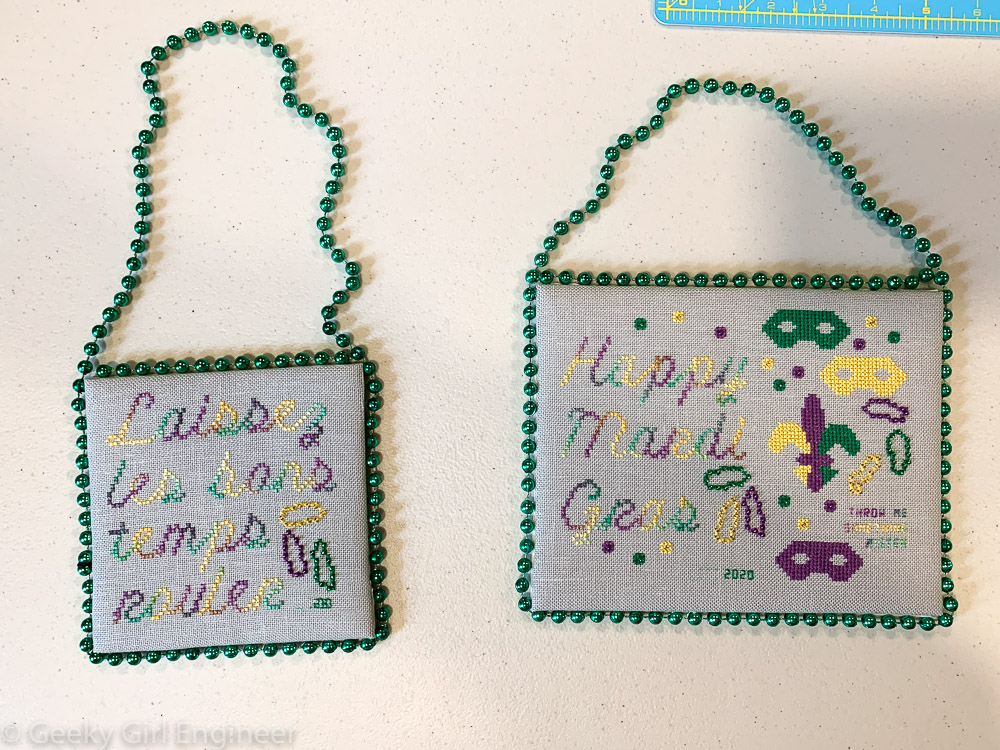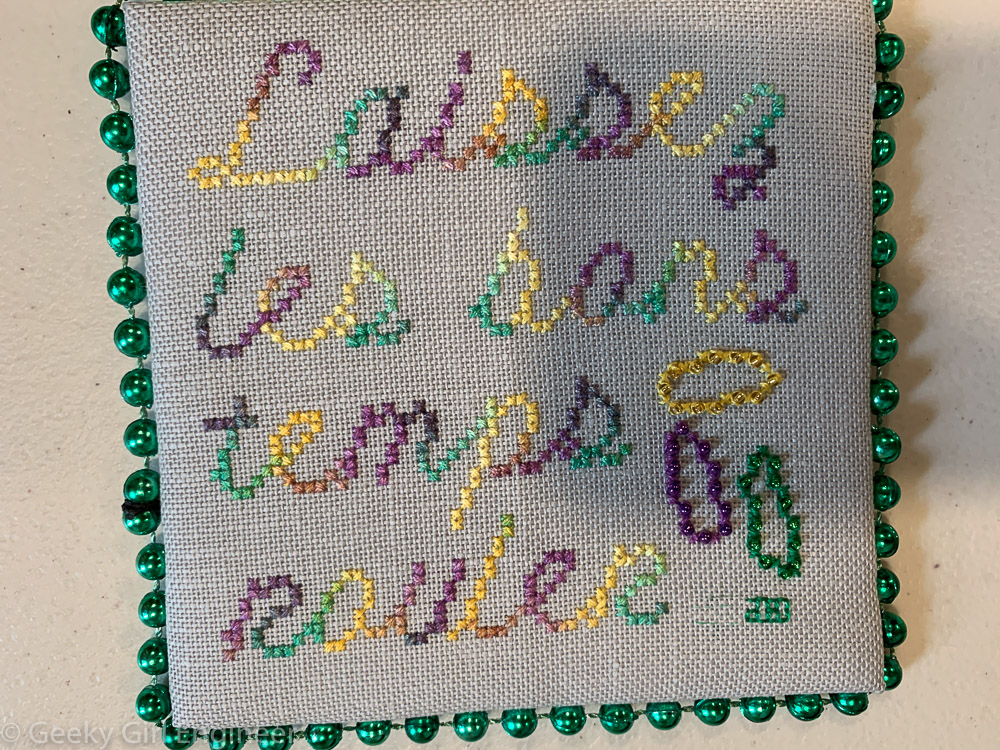
I have really liked decorating my front door for various holidays such as Mardi Gras and Easter. Last month I used some fabric from my Independence Day table runners and the Thanksgiving table runners I have started making to create a door decoration for later summer. No holiday to celebrate. Just a celebration of the season and flowers. I found a nice sunflower appliqué, and I added a button to the center, and it created a perfect focus for the hanger.
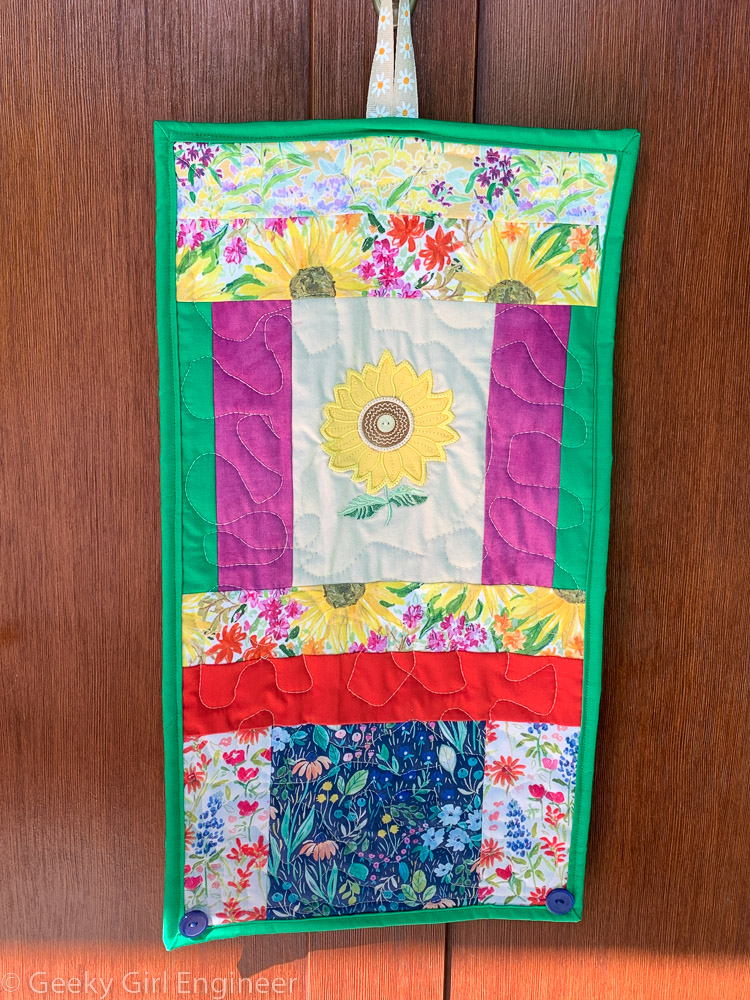
Late summer door hanger

Sunflower applique on late summer door hanger