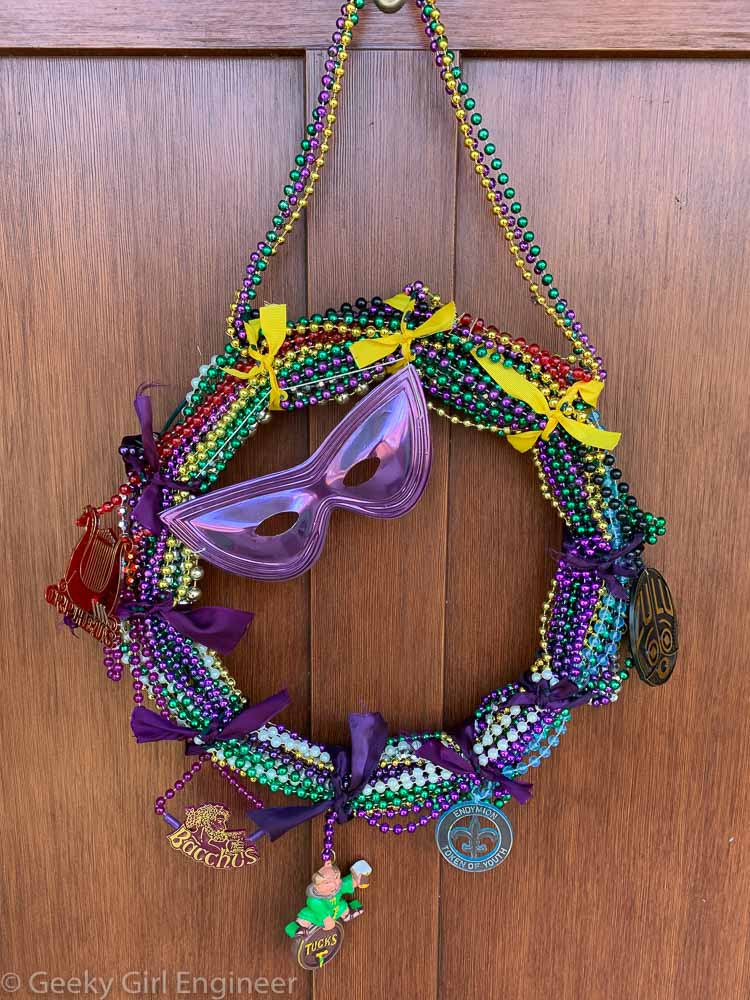
I was able to spend a couple of days in New Orleans on my way back home from spending the holidays with relatives. One of the top things I wanted to do was find a fabric store with New Orleans theme fabric, especially for Mardi Gras. Outside of New Orleans, finding Mardi Gras anything really, can be difficult. I found a fantastic fabric shop on Magazine Street (a great shopping area if you are ever there) called Chateau Sew & Sew. They had so many wonderful Mardi Gras appropriate fabrics, and I went a little crazy. Anyway, I just made some simple table runners with standard 2.5 inch strips. I made one for me, my mom, and a few extra. I am thinking of trying to sell an extra on Etsy or something, just to recoup the cost of the fabric. They were so easy to make, and they are just so fun. I am so happy to finally have some Mardi Gras decorations inside my house. I did make a Mardi Gras door wreath and a couple of cross-stitch pieces, but still I needed more decorations.
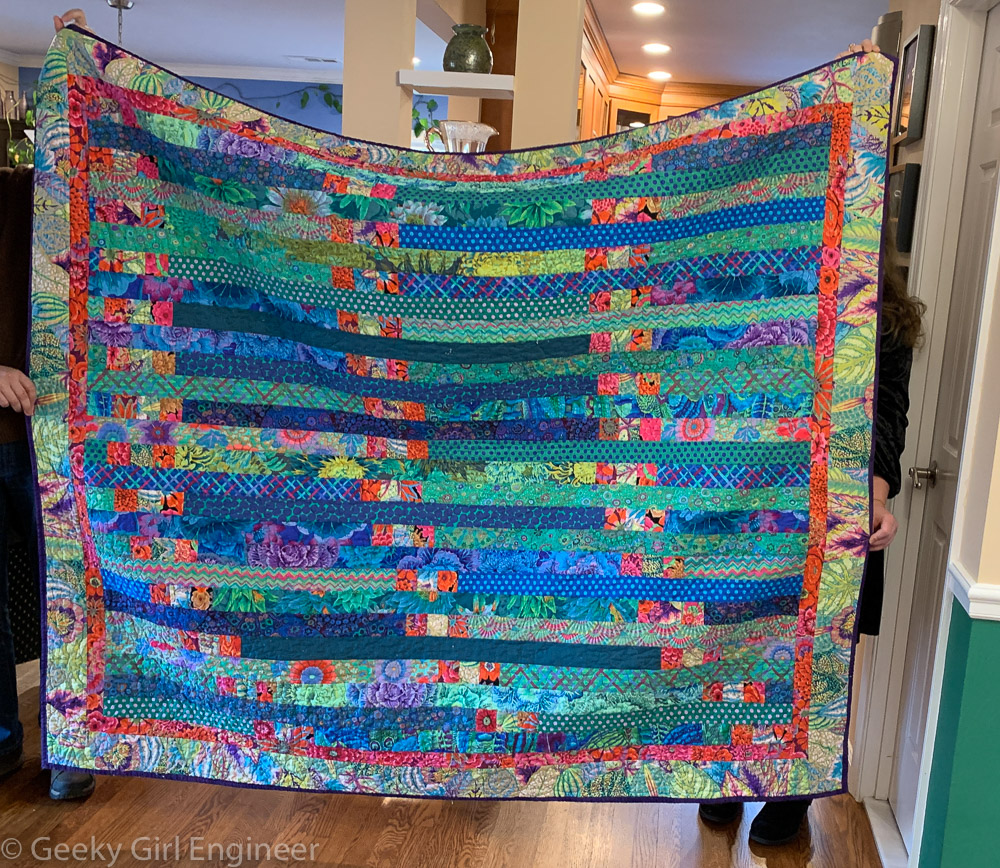
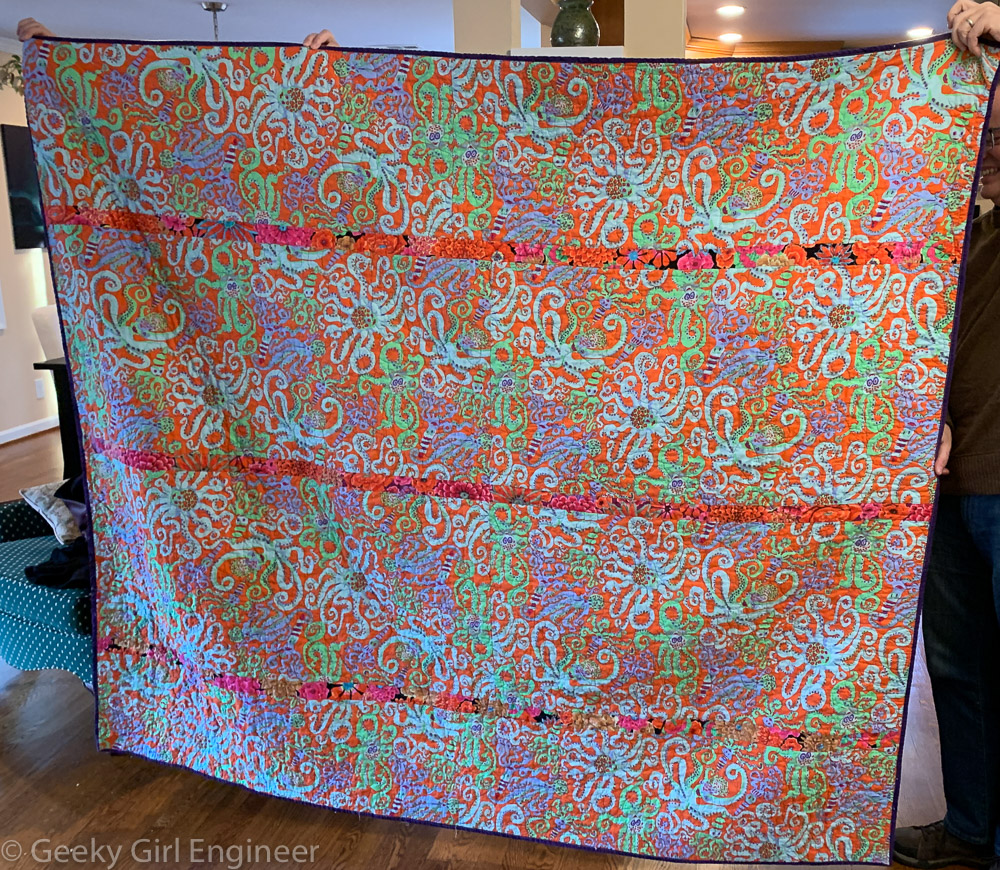
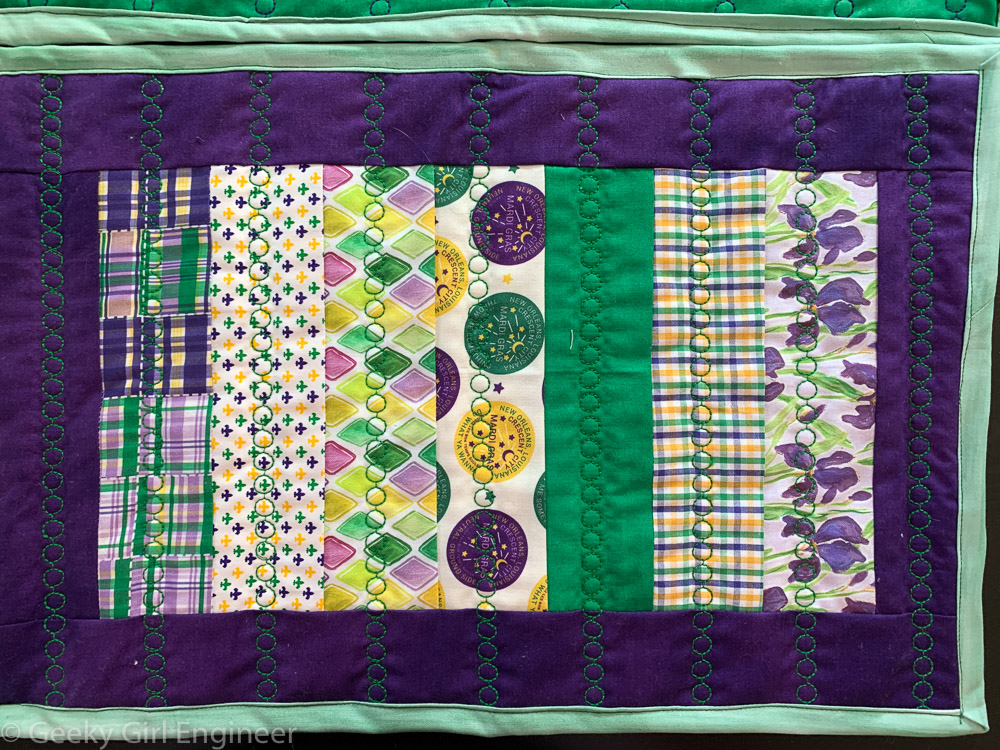
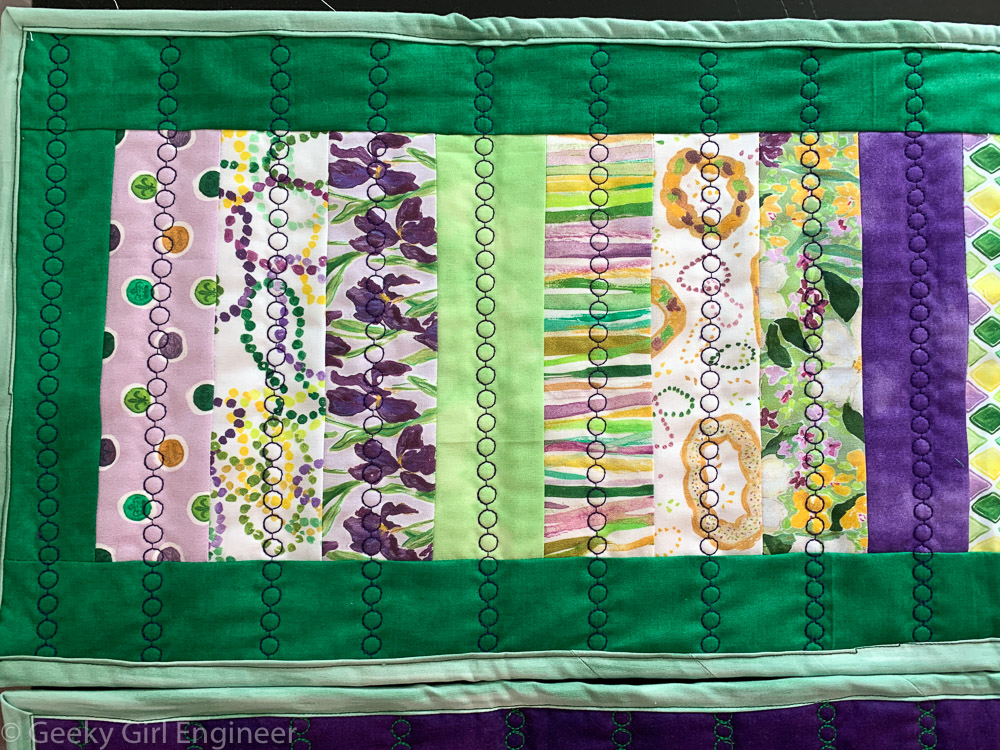
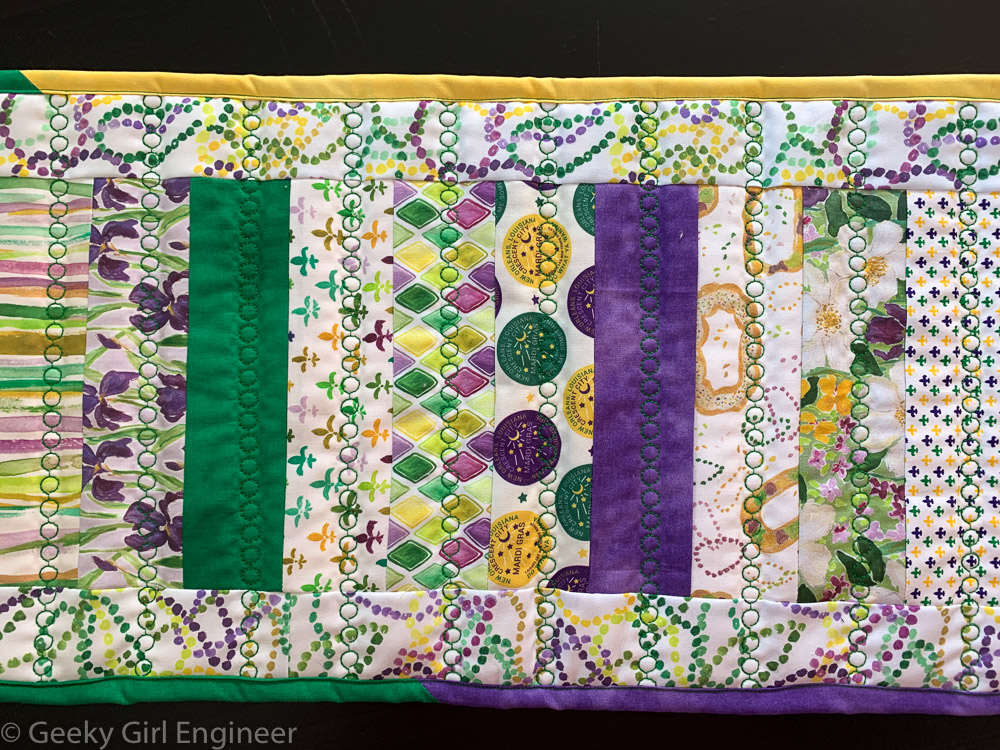
They are, of course, mainly green, purple, and yellow, the colors of Mardi Gras. I found two different fabrics with fleur de lis, a constant symbol in New Orleans. I used the fabric with irises for a couple of reasons besides the colors. Louisiana iris is the state wildflower of Louisiana, but also my mom was in Krewe of Iris. In the below photo, the one of the right, is the one I made for me. I just love the fabric that looks like Mardi Gras beads, so I used that to border the rest of the strips. It makes the whole runner a bit wilder, but I love it. I also used several different green, purple, and yellow strips for the binding instead of one fabric for binding. That also makes it a bit wilder, but it is for me. Finally, for all of them, I used a programmed stitch in my sewing machine that I think looks like Mardi Gras beads for the quilting stitch.
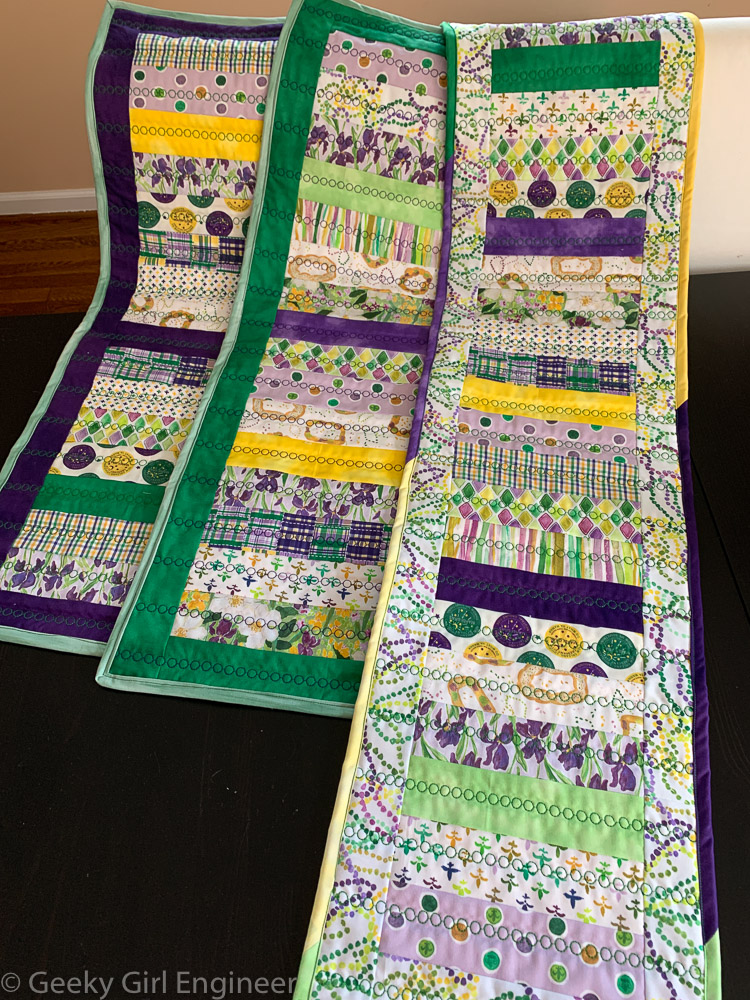
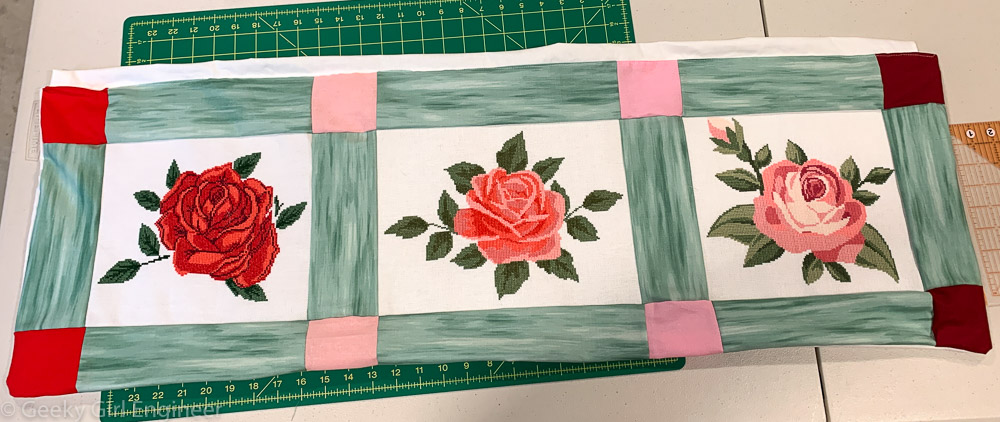
Three of the Mardi Gras table runners
Three of the Mardi Gras table runners
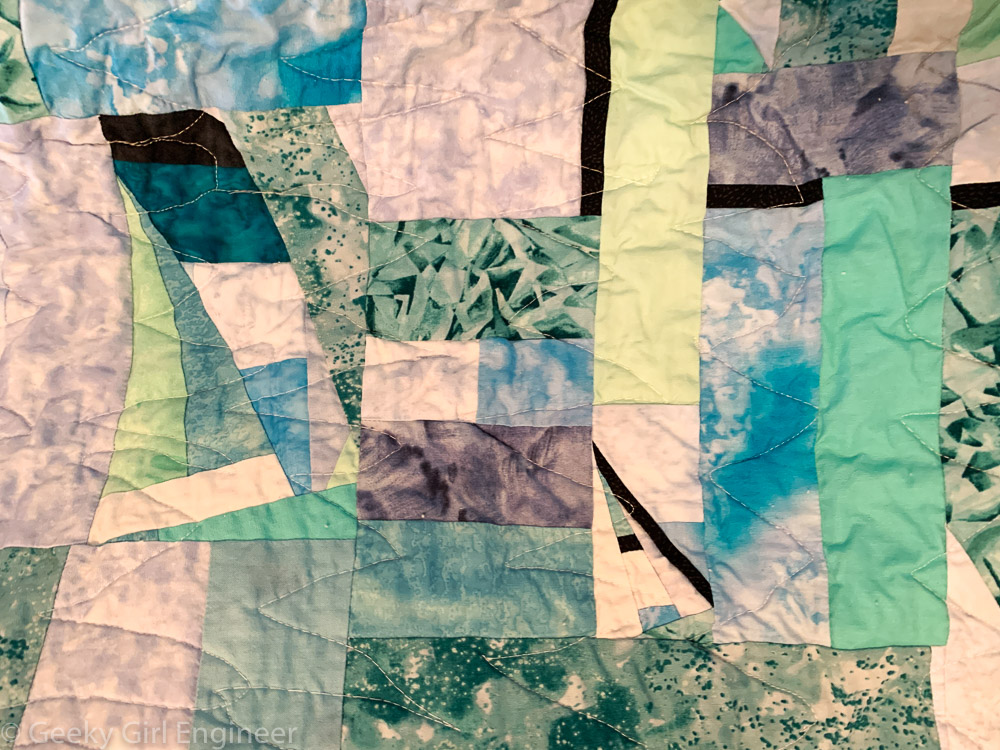
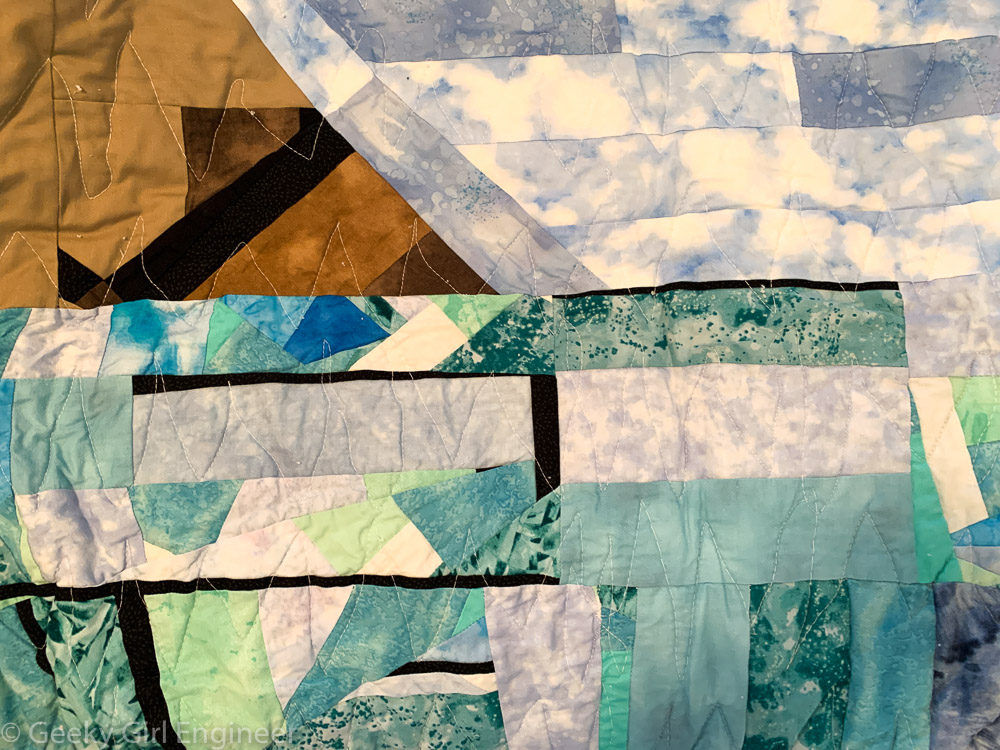
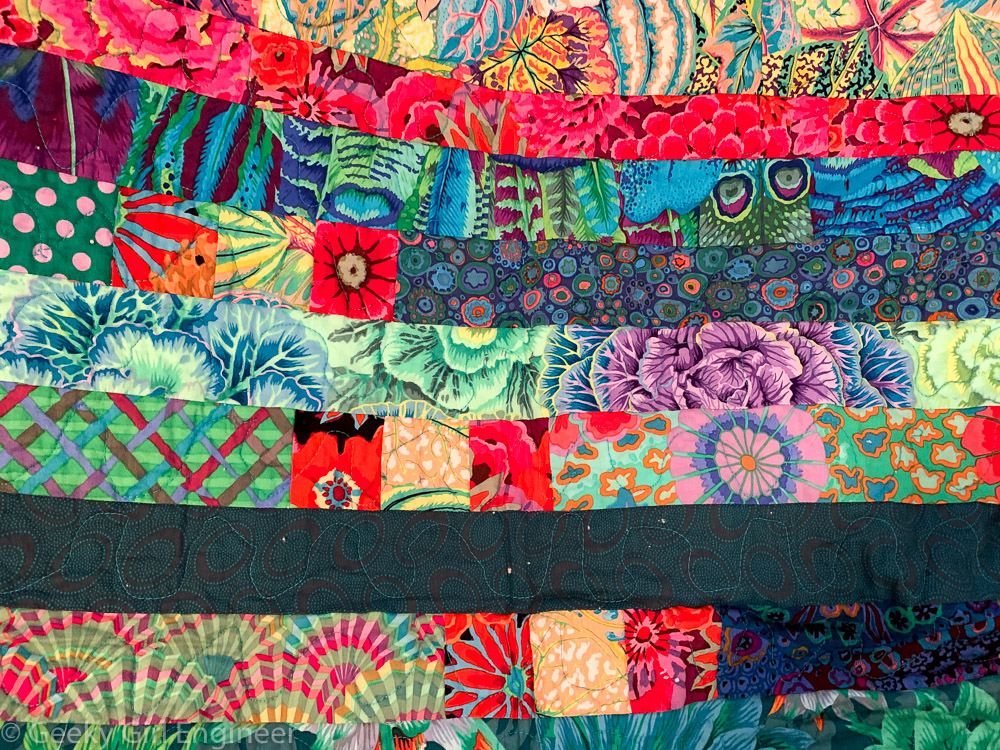
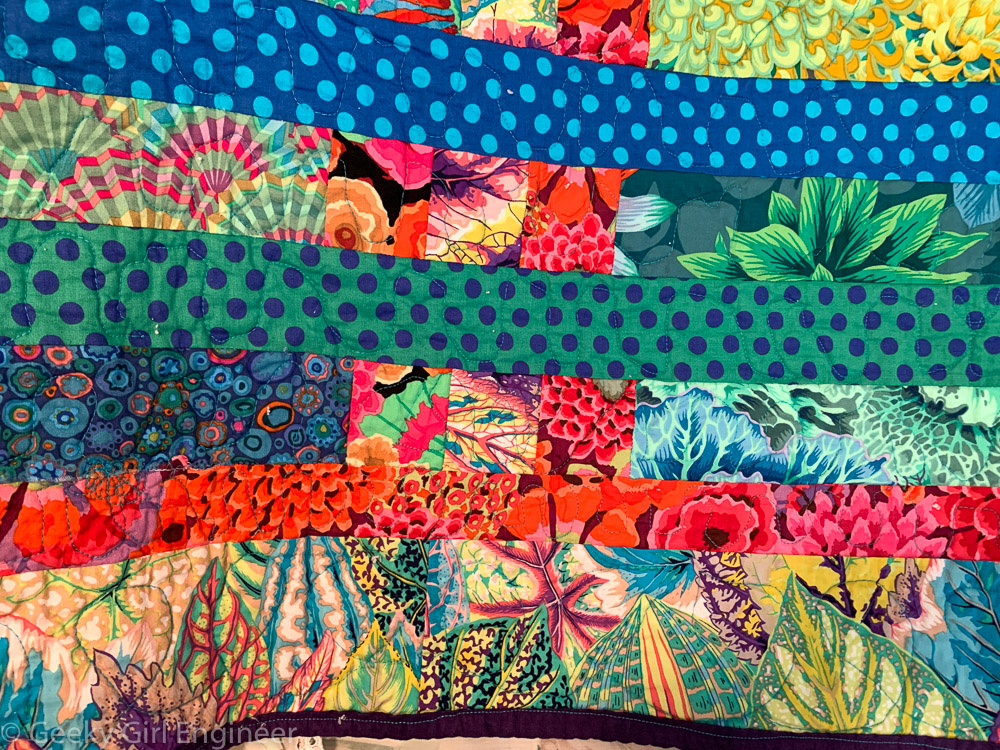
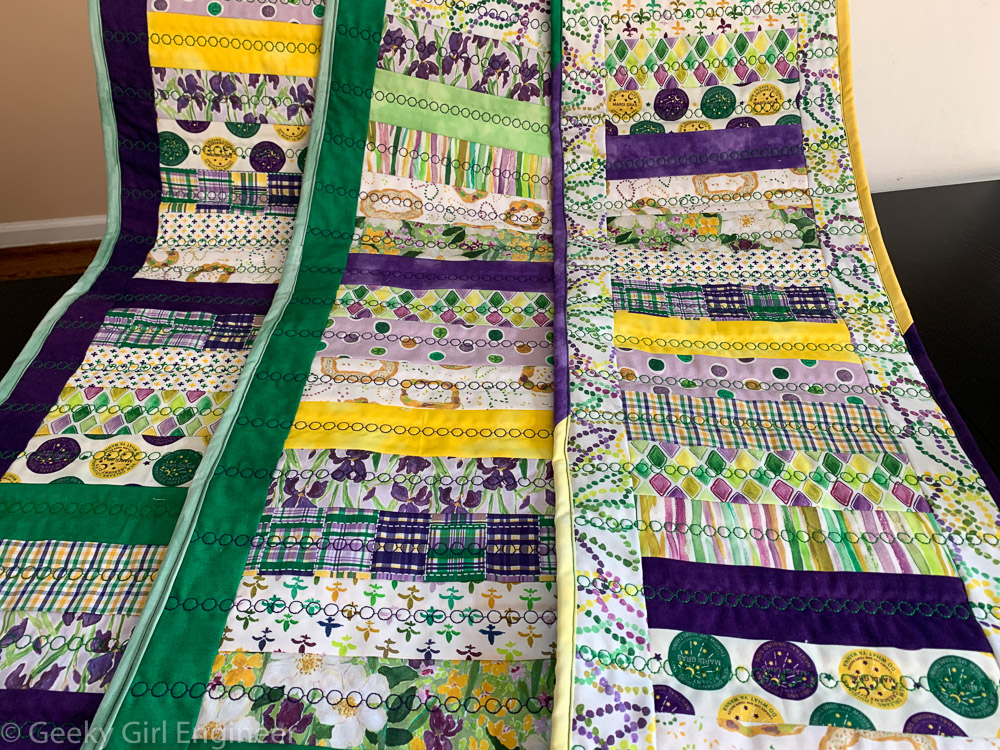
Part of one of the Mardi Gras table runners
Part of one of the Mardi Gras table runners
Part of the Mardi Gras table runners I made for me