I have started to just experiment and play with fabric for the purposes of not creating something practical, like a table runner, but art. I have bought fabric, a lot fo fabric really, that I love because the fabric itself is beautiful, but I did not exactly buy it for the purpose of creating something specific. I bought a book “Intuitive Color & Design” by Jean Wells that among other topics discusses cutting fabric without measuring it and just creating.
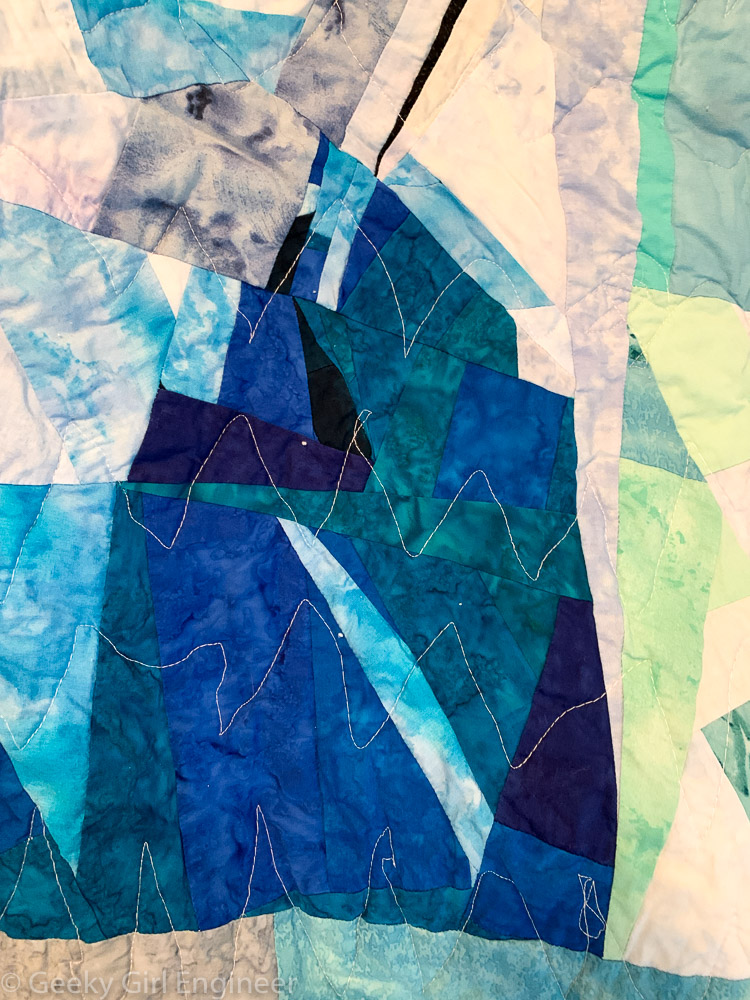
I wanted to try that a bit with some of the beautiful fabrics I have bought. I started first with a bunch of green and blue batik fabrics. I cut and sewed them in unmeasured strips to sort of resemble a landscape or perhaps something else. I just sort of cut and sewed them in a manner I liked. I then glued the whole piece to a pre-stretched 10 inch by 10 inch canvas.
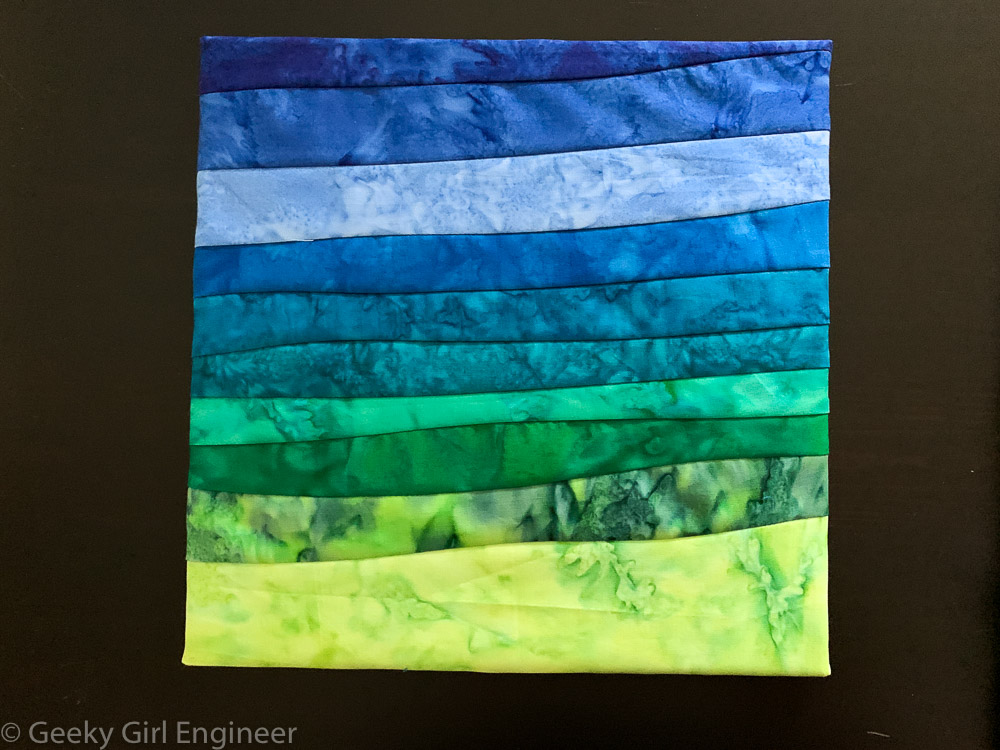
Blue and green free cut landscape
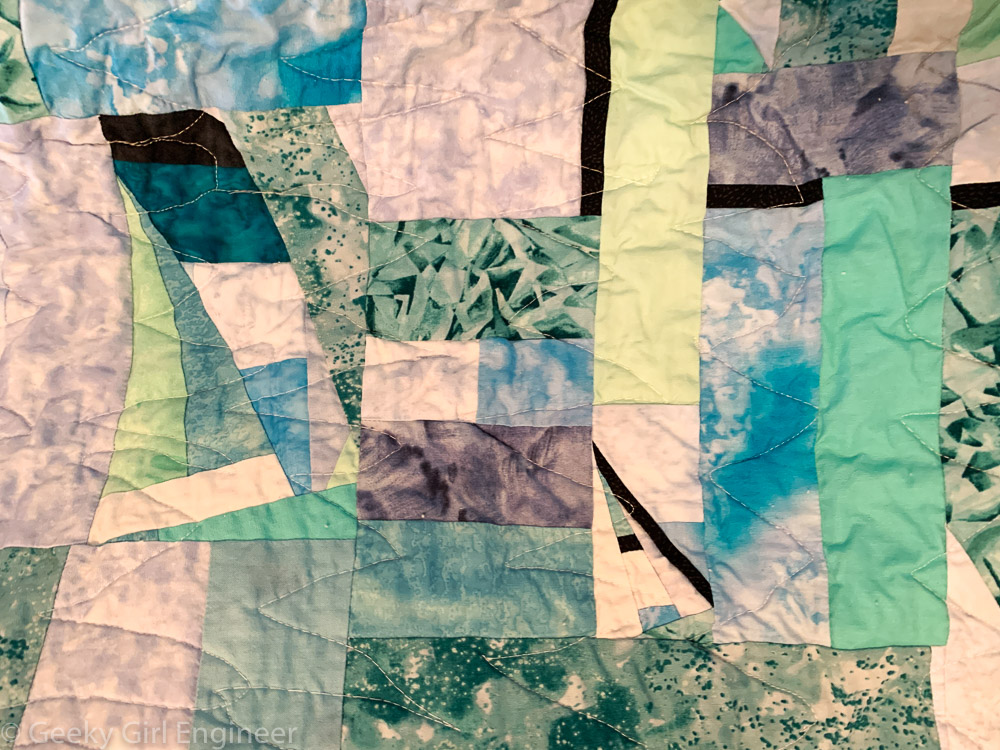
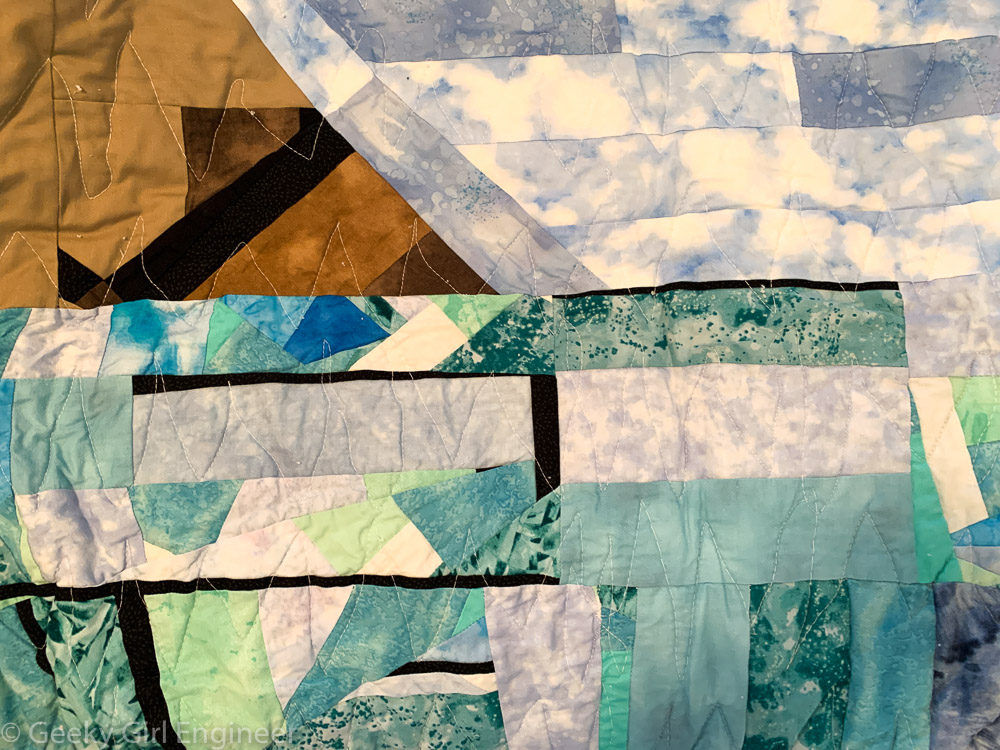
I rather liked the way it looked, so then I tried something a bit less abstract. I own several paintings by amazing artists whose paintings are quite literally three dimensional. I have both a pointillism and floralism painting by Sara O’Connor. I love her use of color and the way she literally gets the paint to stand up off the canvas. I also have a painting by Diego Lukezic, which he calls floral sculptural paintings. I think the term is appropriate as the paint stands off the canvas. I used their paintings, or at least the ones hanging on my walls, as inspiration for an experimentation with fabric. I cut and sewed a bit more of a simple landscape as before. Although I used a beautiful pattered batik fabric for the foreground that resembles greenery with leaves and flowers. I then cut, sewed, and sculpted fabric strips to somewhat resemble flowers. I hand stitched them to the landscape fabric, and I also sewed a glass bead for the center of each flower. I then glued it to a 10 inch by 10 inch pre-stretched canvas as before, but for this particular piece, and I glued a piece a batting between the fabric and the caves, and I thought that would help soften any issues with the fabric from the flowers sewed onto the landscape. I am rather happy with the way it came out. I want to play some more with this type of art, but it was enjoyable to create.
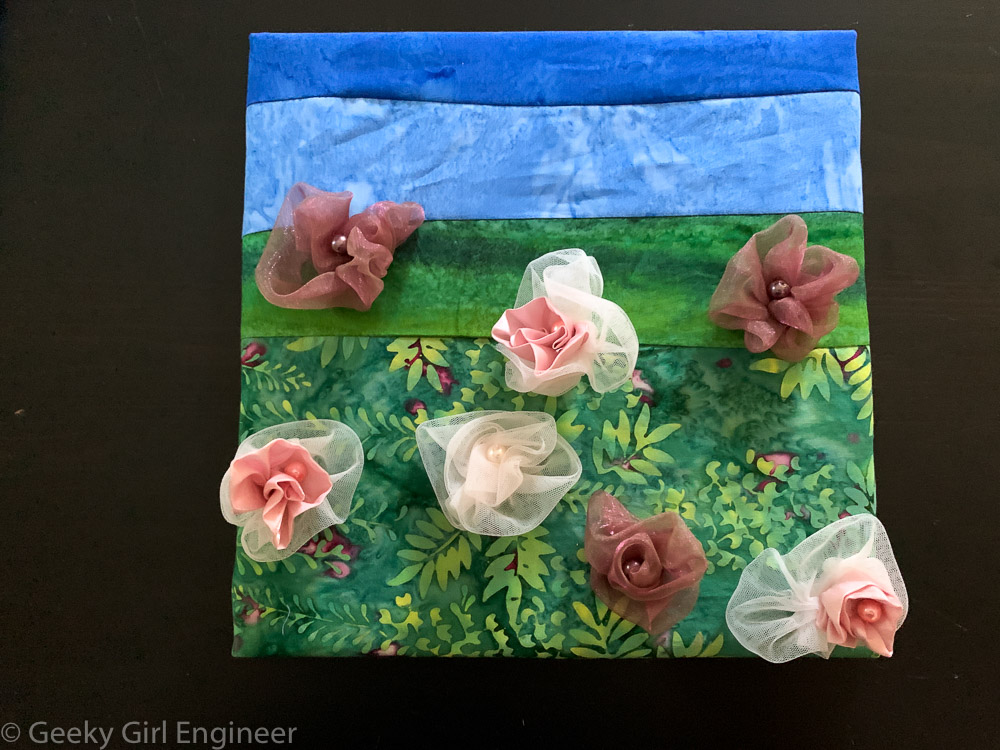
Blue and green landscape with roses
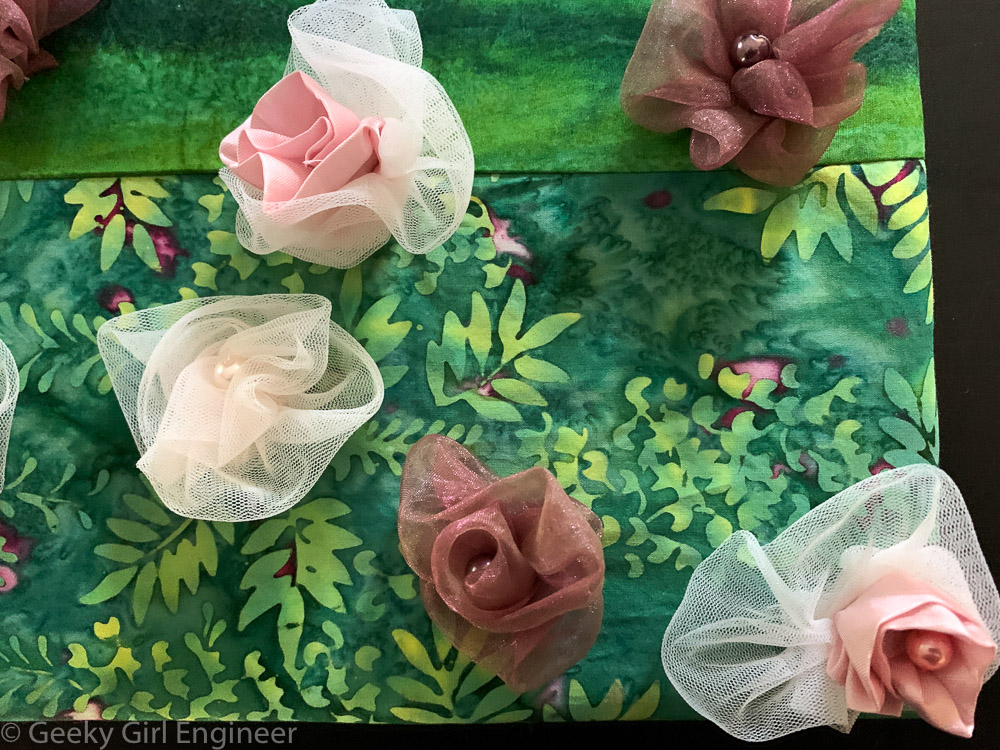
Up close view of roses on landscape