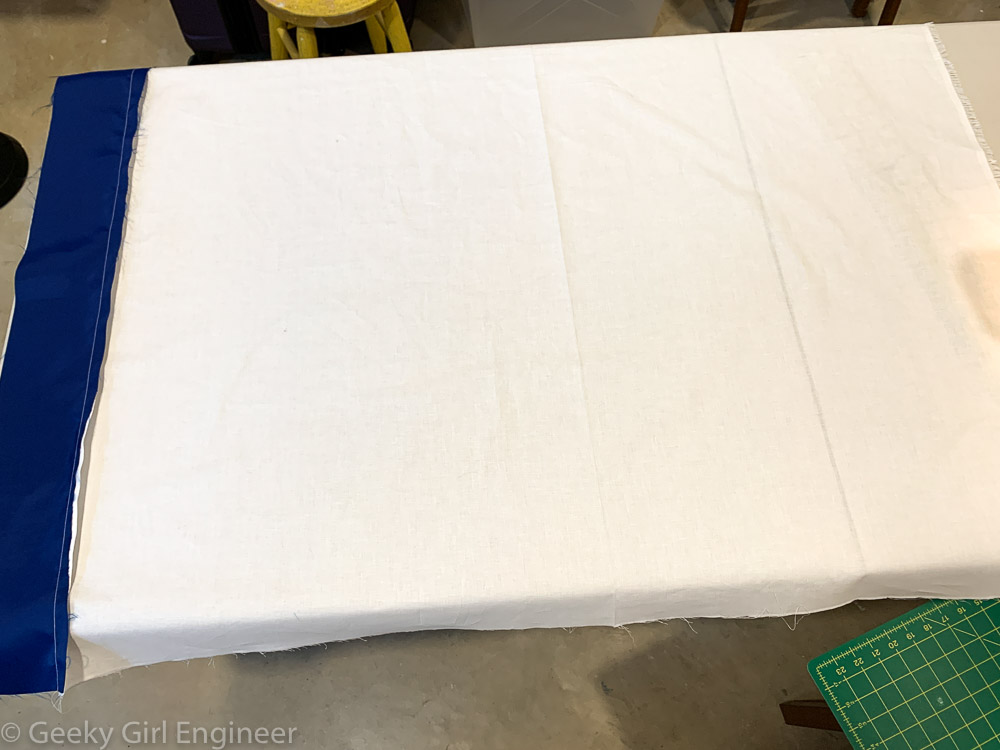
After I made my first quilt, which was a Christmas gift for my mom, I made my second quilt, which was a Christmas gift for my sister. I think I am more proud of my second quilt because it is a patchwork quilt of completely original design. The independent fabric store where I spend way too much money had a sidewalk sale in October with lots of fabric remnants for sale. It was perfect for what I had planned for the quilt. My sister and I went to Alaska for vacation this summer, and this photo below that I took in Tracy Arms was the inspiration for the quilt.
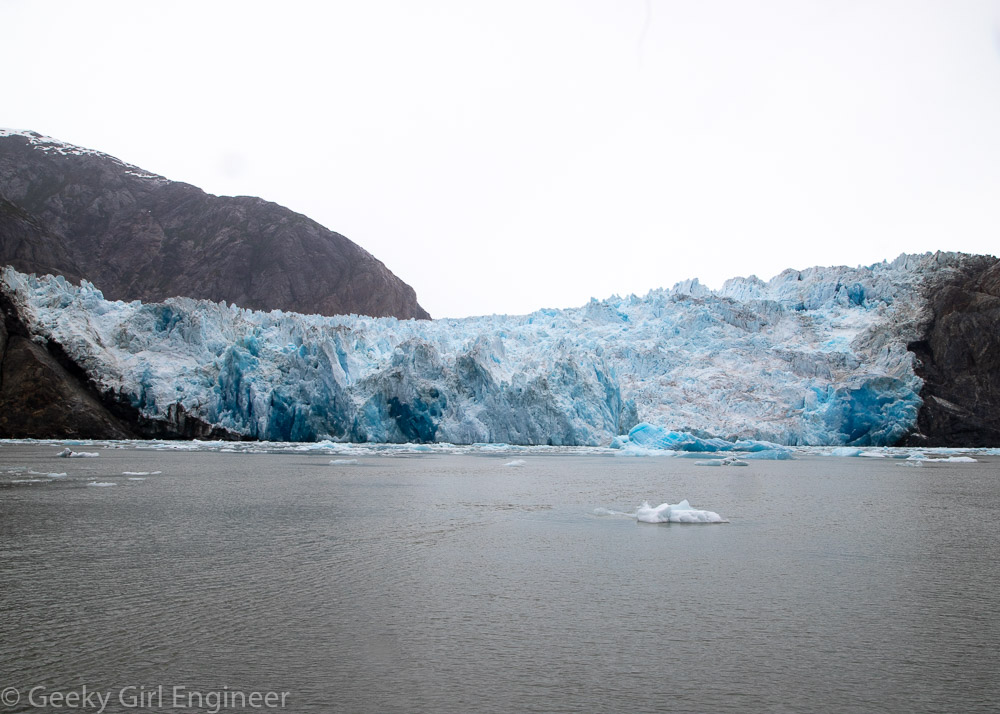
South Sawyer Glacier
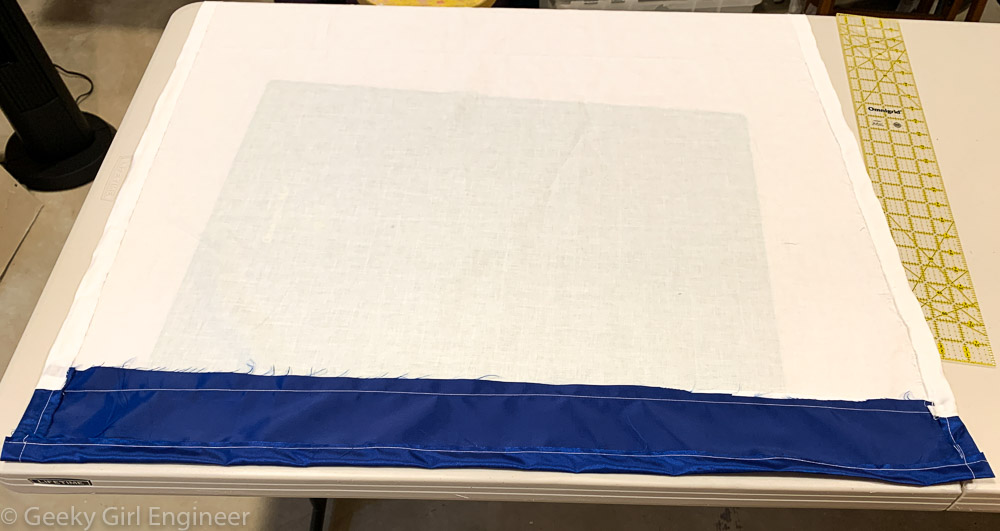
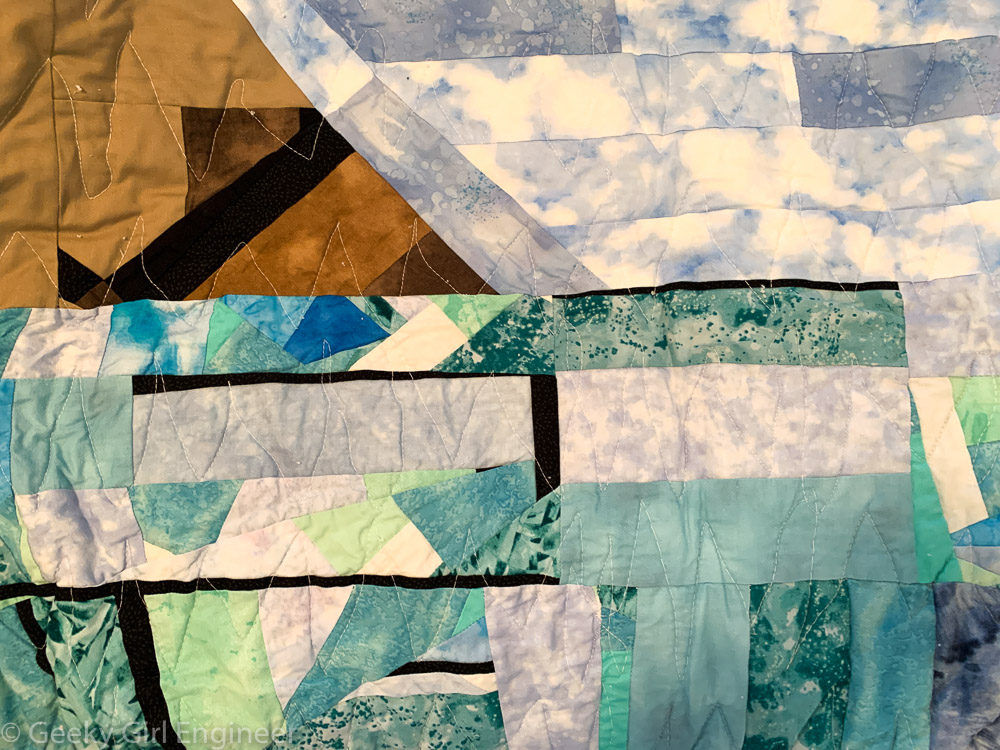
I wanted the quilt to essentially have three sections. The middle and biggest section would be the glacier. The bottom section would be the water, and the top section would be the sky with a bit of the mountain behind the glacier. Other than that, the only other real design was to vary the blues and greens in the glacier to reflect the dark blues visible at the front of the glacier. I also used some black fabric to represent glacier moraine. There was no real pattern to pieces. I just cut and sewed the fabric to make it look the way I liked it. I also challenged myself to have as few scraps leftover as possible. You kind of have to squint your eyes and use your imagination, but I think it looks like a glacier. I am happy with the way it came out, and my sister likes it too.

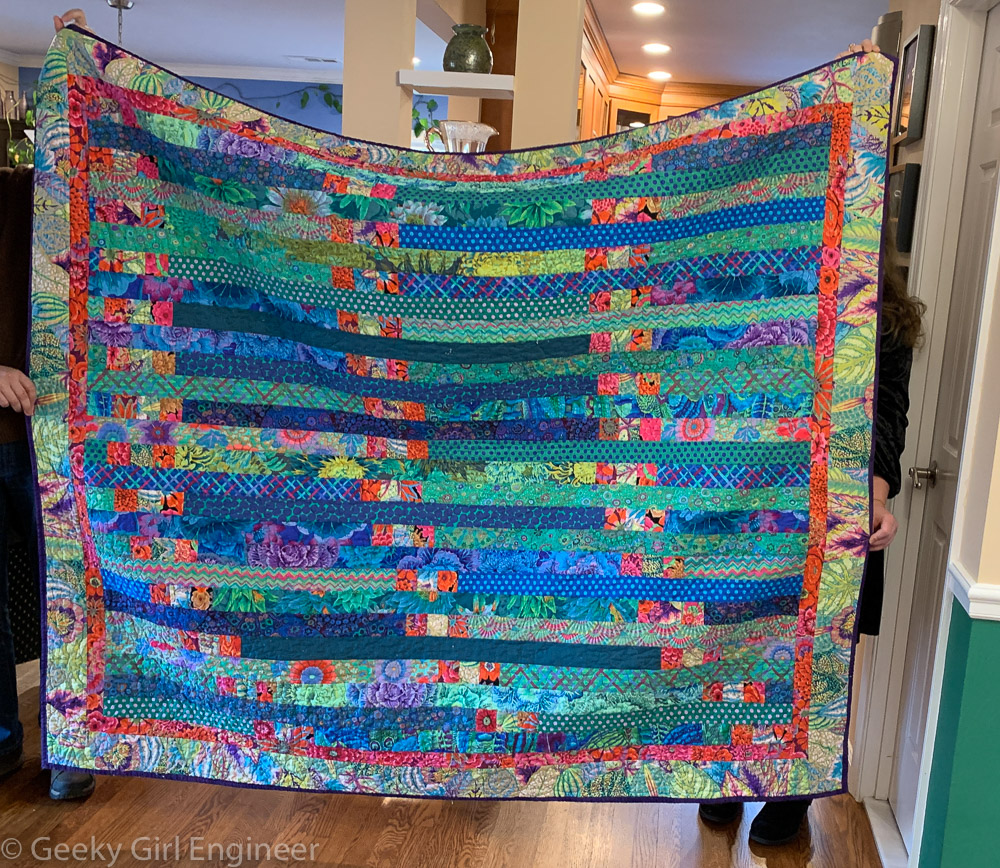
Front of the glacier patchwork quilt
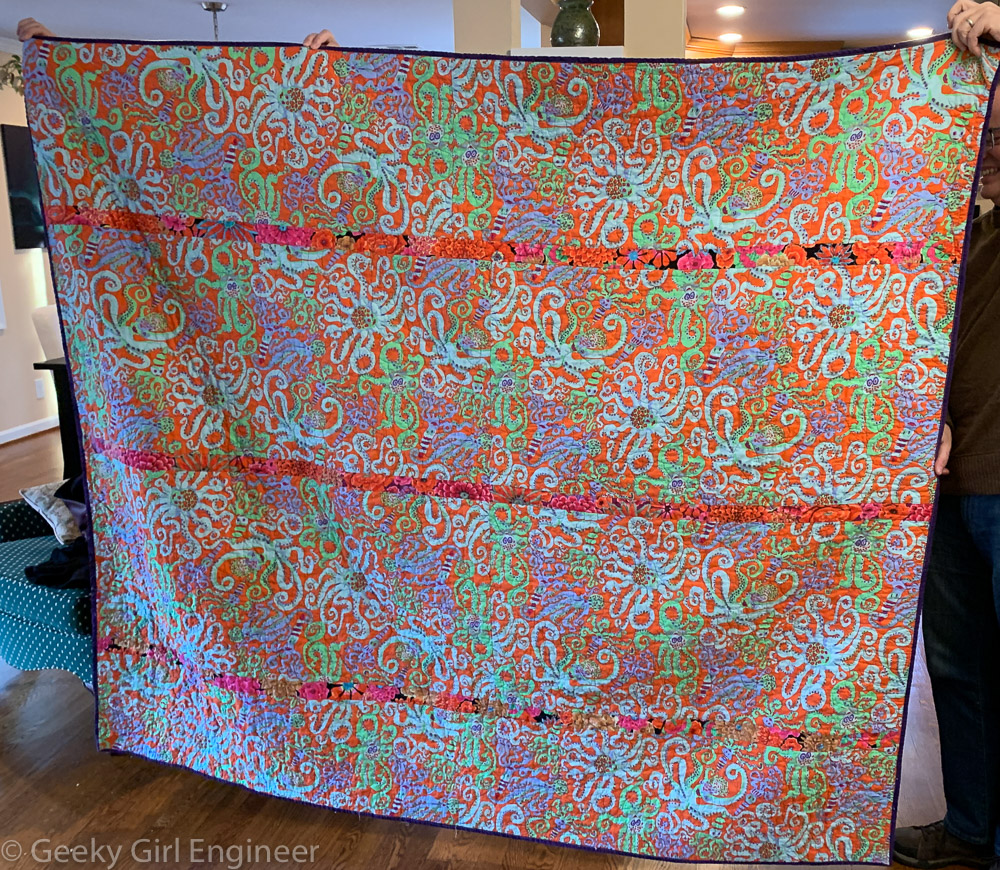
I used remaining scraps left over from the front on the back as well as whatever blues I had left from the remnant pile from the sale. Once I looked at the finished back, it kind of looked like I sewed a message on the back, but that was not intentional.
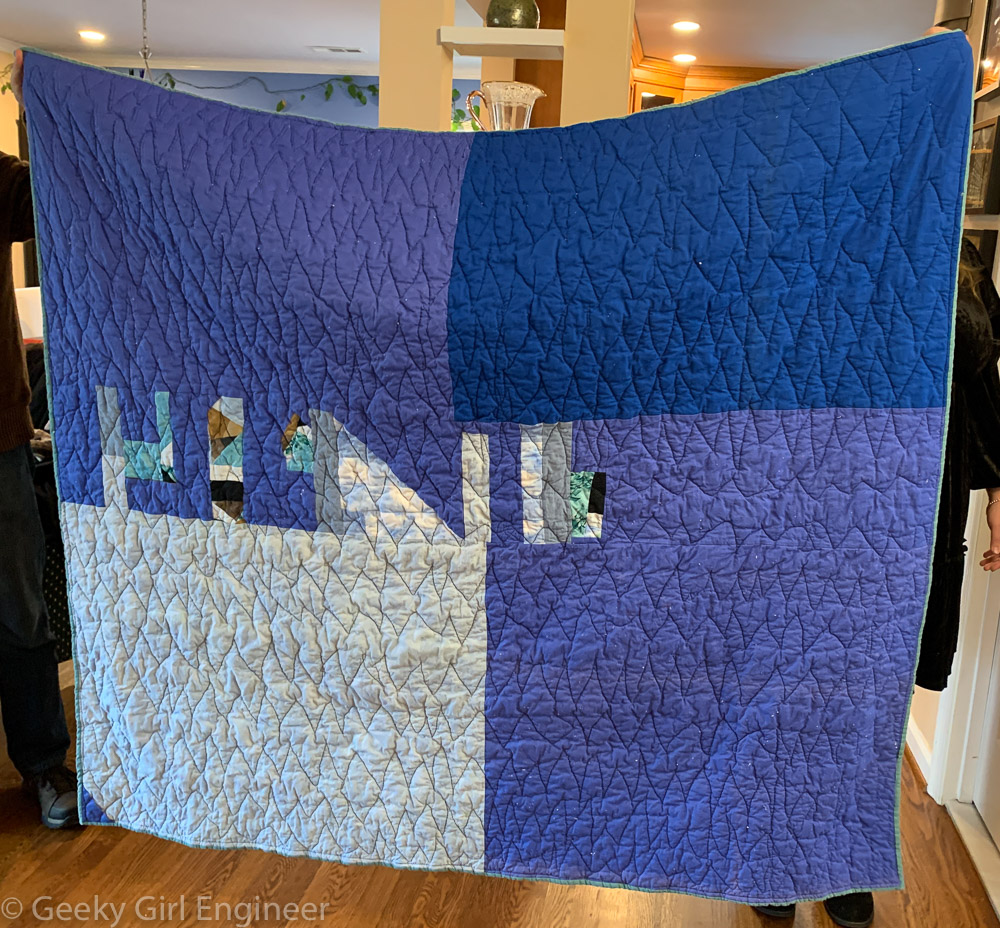
Back of the glacier patchwork quilt
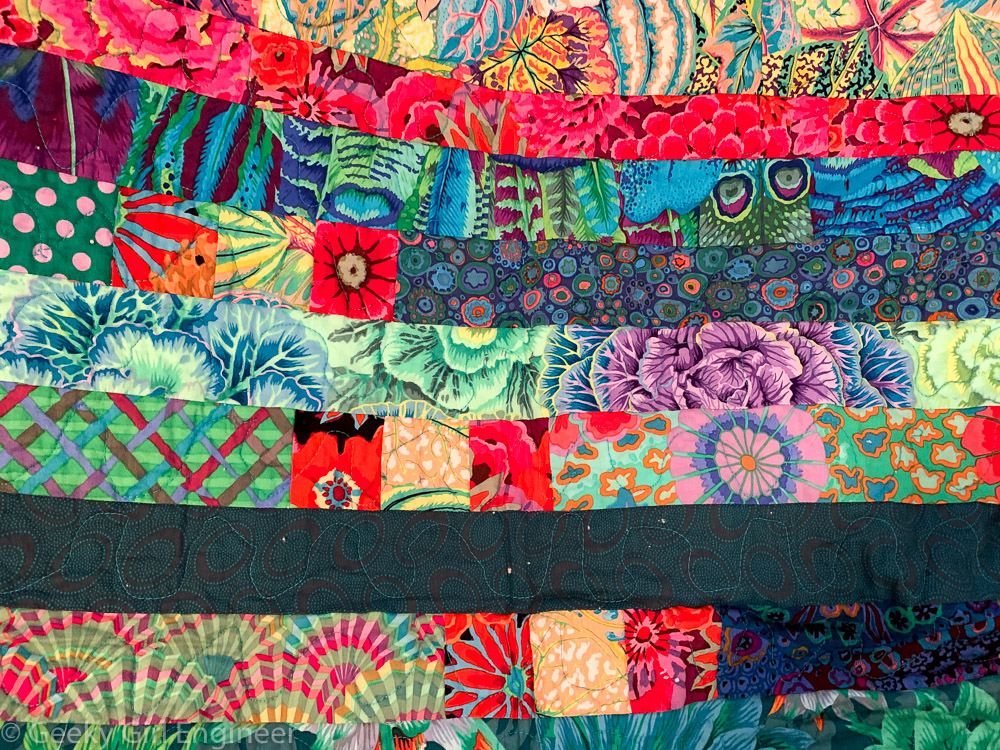
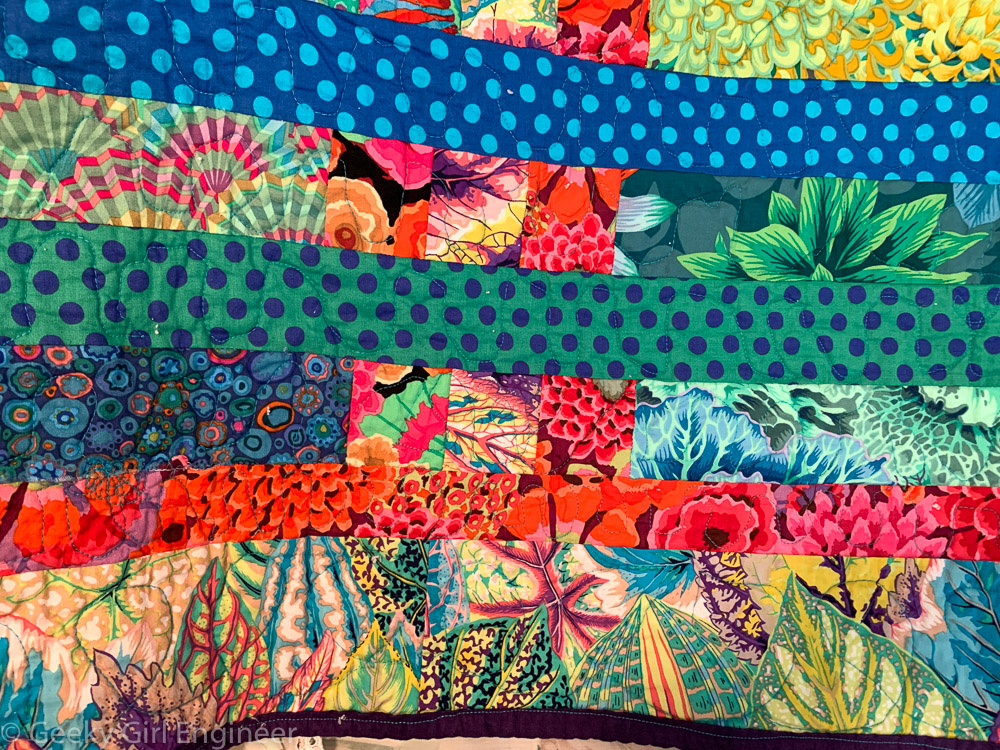
A few up close photos of the front are below to show the patchwork.
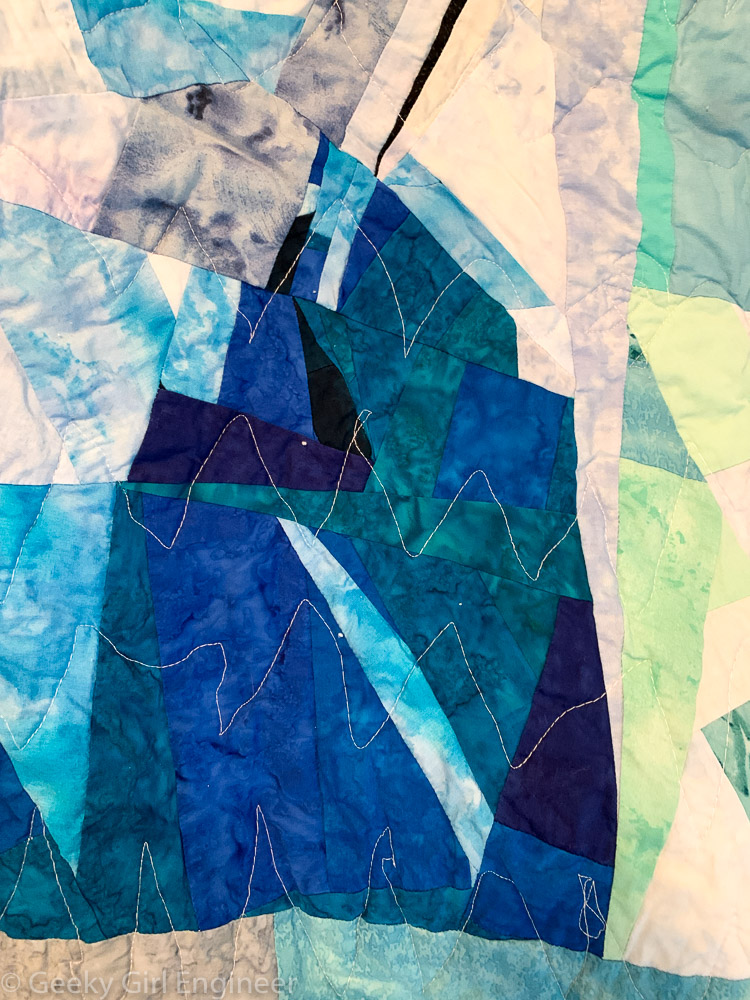
Up close view of glacier patchwork quilt
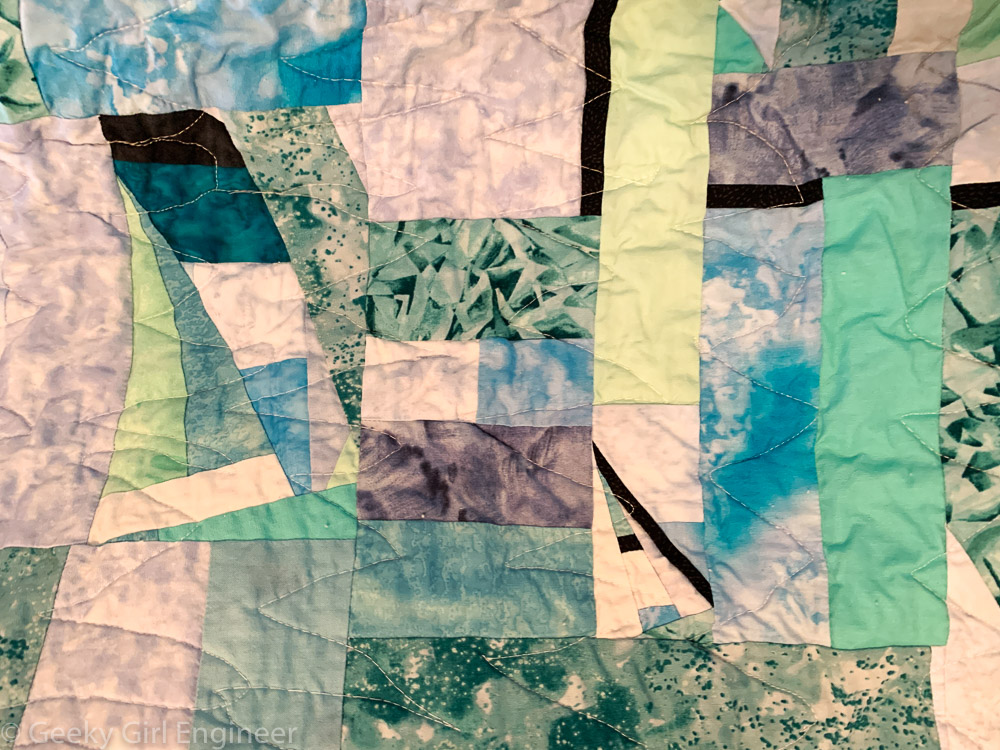
Up close view of glacier patchwork quilt
Up close view of glacier patchwork quilt